
A guitar strap is arguably as essential to your playing experience as the instrument itself. It grants you the freedom to move, perform, and truly connect with your music, whether you’re jamming at home, hitting the stage for a local gig, or rocking out in a stadium. For both electric and acoustic guitarists, the strap is a crucial link, allowing you to play standing up and express yourself fully.
Beyond just holding your guitar, the strap is a significant point of contact between you and your instrument. Therefore, understanding how to attach it correctly isn’t just about convenience—it’s about ensuring comfortable, ergonomic playing that supports your musical journey. This guide will walk you through the straightforward steps to properly fit a guitar strap, so you can spend less time fiddling and more time playing.
Understanding Guitar Strap Attachment: Two Pins vs. One Pin
Before we dive into the fitting process, it’s important to understand the two primary methods of guitar strap attachment, which depend on the number of strap pins (or buttons) your guitar has.
-
Two-Pin System: Predominantly found on electric guitars and basses, and increasingly common on acoustic guitars, this system utilizes two strap pins. Typically, one pin is located at the bottom end of the guitar body, and the other is positioned either on the upper shoulder of the body or where the neck joins the body.
-
One-Pin System: More traditional for acoustic guitars, this setup features a single strap pin, usually located at the bottom of the guitar. The other end of the strap is then typically tied to the guitar’s headstock.
Let’s explore how to fit your guitar strap using both of these methods.
Step-by-Step: Attaching a Guitar Strap with Two Pins
This is the most common method, especially for electric guitar players. Follow these simple steps to securely attach your strap:
-
Identify Strap Orientation: Guitar straps aren’t always symmetrical. Many are designed to be oriented a specific way. Look for features like a sliding plastic buckle (often adjusted from the bottom end) or varying material thickness (thinner end usually goes to the bottom pin). Decorative elements or logos are often intended for the neck-side of the guitar.
-
Attach to the Bottom Pin: Take one end of your guitar strap and locate the buttonhole or slit designed for attachment. Firmly push the strap button through this hole. Ensure the strap is securely fastened around the pin, preventing it from slipping off.
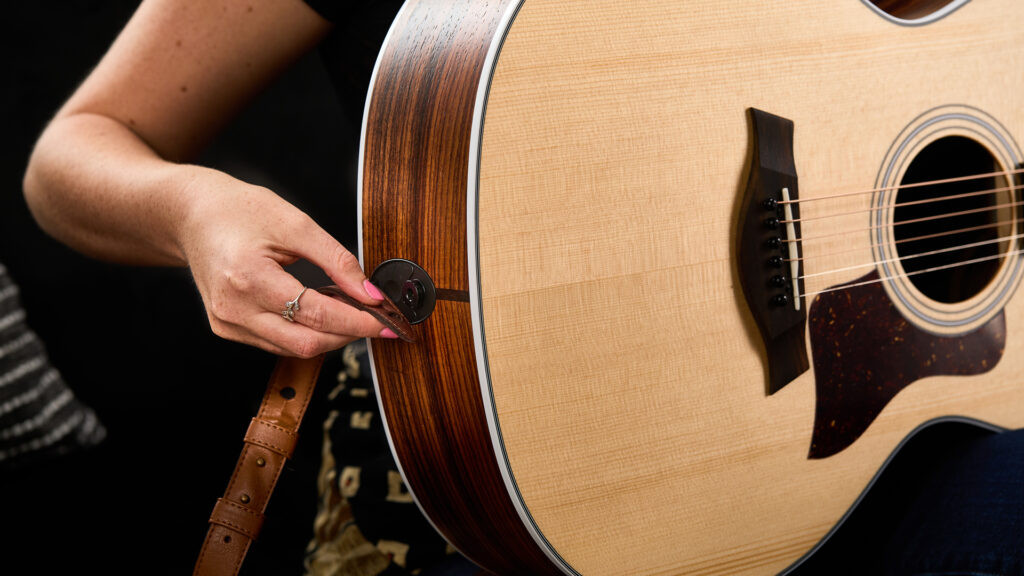 Attaching guitar strap to bottom pin
 -
Attach to the Top Pin: Take the remaining end of the strap and repeat the process, inserting the other strap pin through the corresponding hole or slit on the strap. Again, make sure it’s snugly fitted.
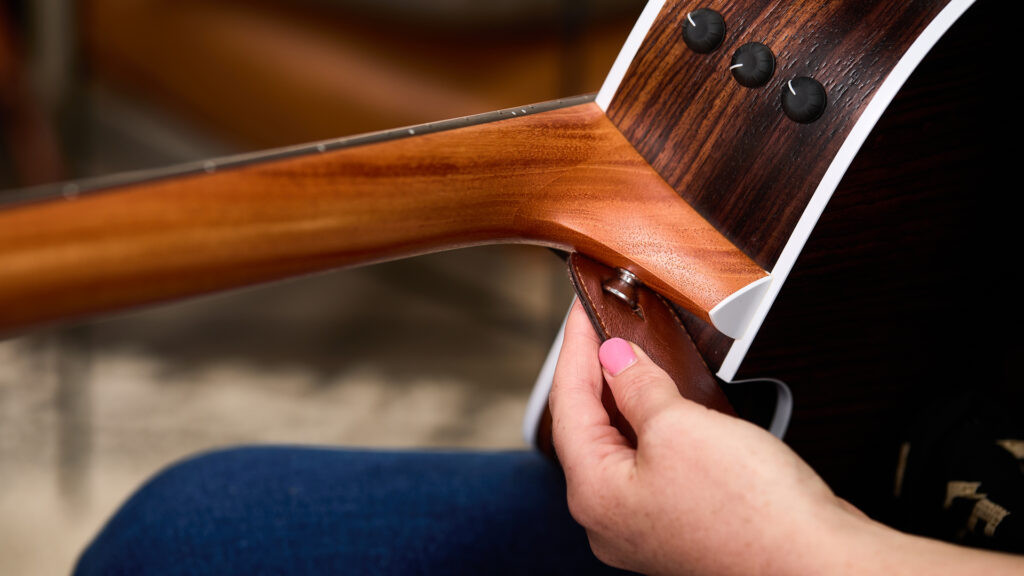 Attaching guitar strap to top pin
 -
Perform a Security Check: Before trusting your guitar to the strap, gently tug on both ends of the strap where they connect to the pins. This ensures that the strap is securely fastened and won’t detach unexpectedly during playing. A snug and secure fit is crucial for protecting your instrument.
Even with a two-pin setup, some guitarists prefer the feel of a headstock attachment, which we’ll cover next.
Step-by-Step: Attaching a Guitar Strap with One Pin (Headstock Method)
Many acoustic guitars come with a single strap pin at the base of the guitar. While adding a second pin is an option, the traditional one-pin method is straightforward and avoids any modifications to your instrument.
-
Orient the Strap and Attach to the Bottom Pin: Follow steps 1 and 2 from the two-pin method above to orient your strap and securely attach one end to the strap pin at the bottom of your guitar.
-
Prepare for Headstock Attachment: Since there’s no strap pin at the headstock, you’ll need an alternative method to secure the other end of your strap. This typically involves using a lace, a specialized strap adapter, or even the strap itself if it’s designed for this purpose. Many straps actually include a lace specifically for headstock attachment.
-
Secure to the Headstock: Thread your chosen material (lace or strap adapter) through the buttonhole at the free end of your guitar strap. Then, carefully thread this material underneath the strings, just above the guitar’s nut on the headstock.
-
Fasten Securely: If using a lace, tie a tight and reliable double knot to secure the strap to the headstock. If using a strap adapter, follow the manufacturer’s instructions to fasten it, usually involving a small pin or button.
 Adjusting leather guitar strap length
 -
Evaluate the Balance: A headstock attachment creates a different balance compared to a two-pin system. With the strap connected at the headstock, the guitar’s weight tends to feel more centered. In contrast, two-pin setups often shift the center of gravity slightly towards the lower body of the guitar. Experiment with both methods (if your guitar allows) to find your preferred balance and playing feel.
Adjusting Your Guitar Strap for Optimal Playing Height and Comfort
Simply attaching your strap is only the first step. Adjusting the strap to the correct length is crucial for comfortable playing and proper ergonomics. A well-adjusted strap allows you to play for extended periods without strain, and it positions your guitar at an optimal height for both fretting and strumming.
-
Ergonomic Considerations: The ideal strap length allows you to maintain a relaxed wrist position when playing, especially your fretting hand. You should not have to excessively bend your wrist to reach notes or chords when standing. This relaxed posture is key to preventing strain and potential injuries over time.
-
On-the-Fly Adjustments (Buckle Straps): Many modern straps feature a sliding plastic buckle for easy adjustments. To lengthen the strap, slide the buckle towards the bottom of the guitar. To shorten it, slide the buckle towards the neck. The beauty of this system is that you can make these adjustments while the strap is still attached to your guitar.
-
Adjusting Leather or Suede Straps (Slit System): Traditional leather or suede straps often use a two-piece design for length adjustment. These straps typically feature a wider main piece with slits and a narrower piece that weaves through them. To adjust the length, you’ll need to detach the smaller piece from the larger one. The slits on the wider strap piece correspond to different strap lengths. Thread the thin strap piece through the slits to achieve your desired length. Experiment with different slit combinations to find the perfect fit.
Enhancing Security: Considering Guitar Strap Locks
Once you’ve found your ideal strap length, consider adding strap locks to your setup. Strap locks are a small but incredibly valuable investment that significantly reduces the risk of your strap detaching and your guitar falling. They replace your standard strap buttons and provide a locking mechanism that securely holds your strap in place.
If you’re performing, moving around a lot while playing, or simply want extra peace of mind, strap locks are highly recommended. They are easy to install and offer excellent protection for your instrument.
Choosing the Right Guitar Strap: Material, Comfort, and Style
Knowing How To Fit A Guitar Strap is essential, but the journey doesn’t end there. With a vast array of materials, styles, and features available, choosing the right guitar strap is just as important for your playing experience and personal style.
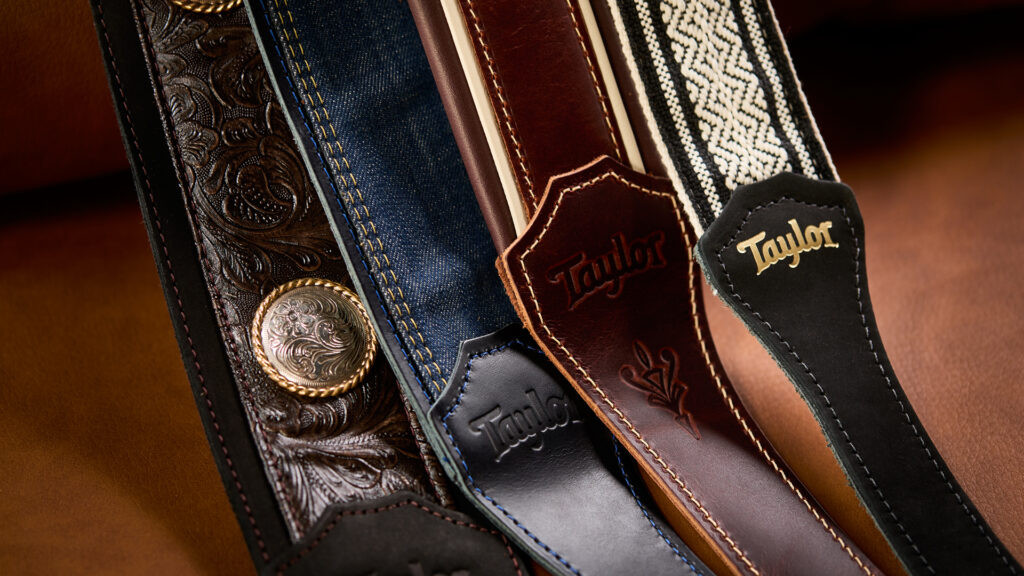 Variety of guitar strap materials
Here are key factors to consider when selecting your perfect guitar strap:
-
Material: The material of your guitar strap impacts its durability, comfort, and overall feel. Popular options include:
- Leather: Durable, classic look, often becomes more comfortable over time.
- Vegan Leather: Ethical alternative to leather, offering similar durability and aesthetic.
- Suede: Soft, comfortable, and provides good grip.
- Denim/Cotton: Affordable, lightweight, breathable, often preferred for electric guitars.
Strap ends are typically made of leather or suede regardless of the main strap material, ensuring a secure grip on the strap buttons.
-
Padding: For longer playing sessions or heavier guitars, consider a padded strap. Padding, often made of foam or similar materials, adds extra comfort to your shoulder and neck, reducing strain during extended practice or performances.
-
Width: Strap width affects weight distribution. Wider straps (2.5″ – 3″) distribute the guitar’s weight more evenly across your shoulder, which can be beneficial for heavier instruments or players who prefer to stand. Narrower straps (around 2″) are more streamlined and lightweight but concentrate the weight on a smaller area.
-
Aesthetics: Your guitar strap is an extension of your personal style. Straps come in countless colors, designs, and embellishments. Choose a strap that complements your guitar and reflects your personality. Whether you prefer a minimalist black strap, a vibrant patterned strap, or a classic leather design, find one that you love and that enhances your overall playing experience.
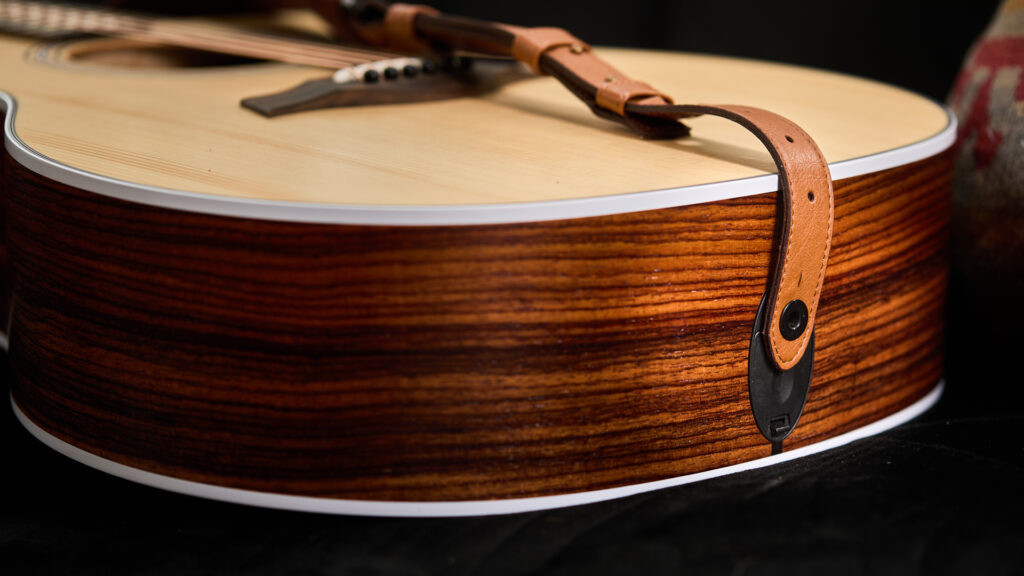
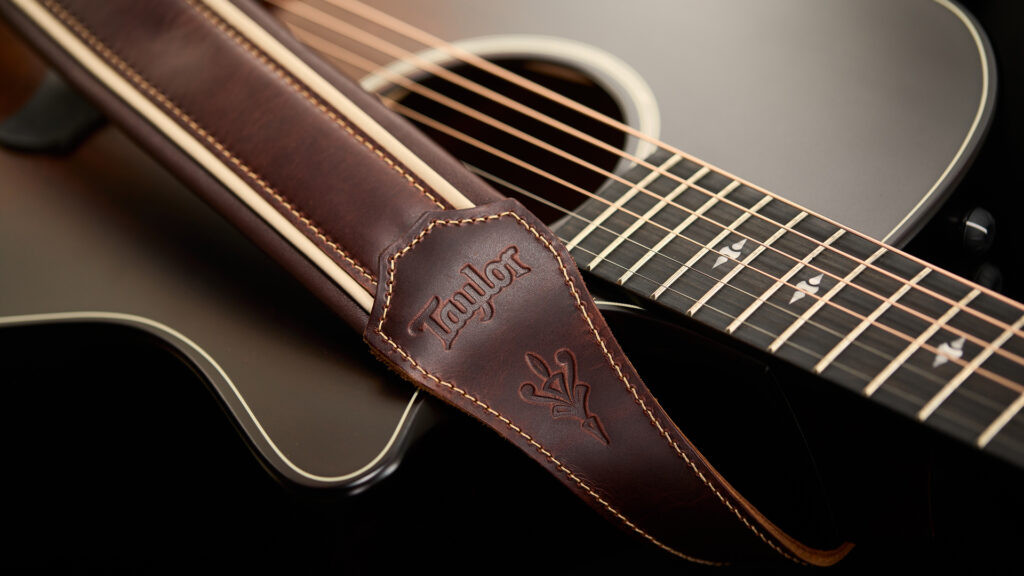 Brown leather guitar strap
Get Strapped In and Play!
A guitar strap is more than just an accessory; it’s a vital component that connects you to your instrument and unlocks your freedom to play in any setting. A comfortable and stylish strap enhances your playing experience and allows you to express yourself fully through music.
Just as attention to detail goes into crafting quality guitars, the same care is applied to creating exceptional guitar straps. Now that you’ve mastered the art of fitting a guitar strap, it’s time to grab your instrument, strap in, and let the music flow! Continue exploring essential guitar skills, like mastering your pick technique and learning how to tune your guitar, to further elevate your playing journey.