The Guitar Nut. It’s a small piece of material, often overlooked, nestled at the headstock of your guitar. Yet, this unassuming component plays a pivotal role in your instrument’s tuning stability, playability, and overall tone. For a guitar technician, crafting a guitar nut from scratch is a task that truly separates the skilled from the novice. It’s less about rigid science and more akin to a delicate art form – a sculpting process where precision meets intuition. Each guitar is unique, and therefore, each guitar nut must be equally unique, meticulously tailored to the instrument it serves. You simply can’t expect an off-the-shelf nut to deliver optimal performance; it requires a custom fit to the nut slot, precise shaping to match the neck’s contours, and accurately cut slots.
The guitar nut is arguably one of the most critical, yet frequently underestimated, elements of any guitar. It’s often the culprit behind frustrating tuning issues. If the nut slots aren’t cut with precision, they can bind and snag the strings, leading to that irritating “pinging” sound during tuning and, more importantly, unstable tuning while playing. Slots cut too high result in stiff action and sharpness in the lower frets, making chords and riffs feel cumbersome. Conversely, slots that are too low will cause open strings to buzz against the frets. The tolerances are incredibly tight; everything needs to be exact.
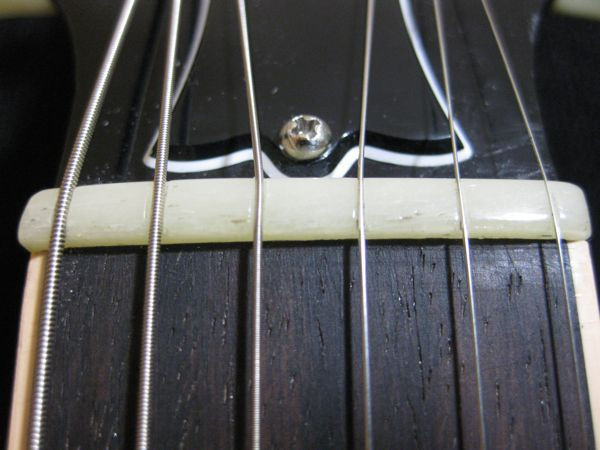
The original nut on the Les Paul I worked on recently, while functional, was far from perfect:
 aftermarket bone nut
Alt text: Close-up of an improperly slotted aftermarket bone guitar nut showing uneven string spacing and slot angles.
As you can see, the D and G string slots were subtly misaligned with the strings’ path to the tuners. Furthermore, the slot walls were unnecessarily high, the string spacing was less than ideal, and the nut wasn’t perfectly seated in its slot. These minor imperfections were collectively contributing to the guitar owner’s tuning woes, prompting the decision to craft a new, custom guitar nut.
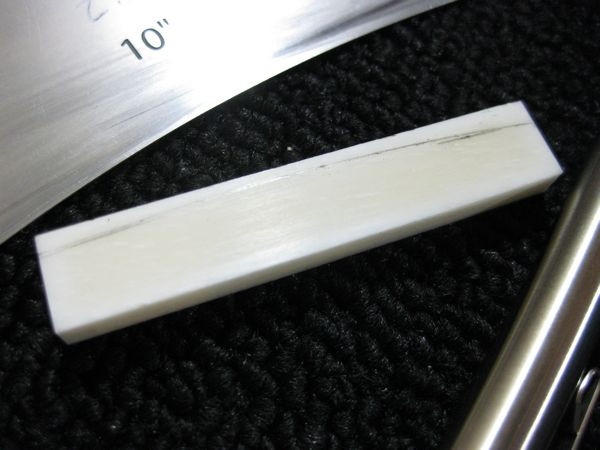
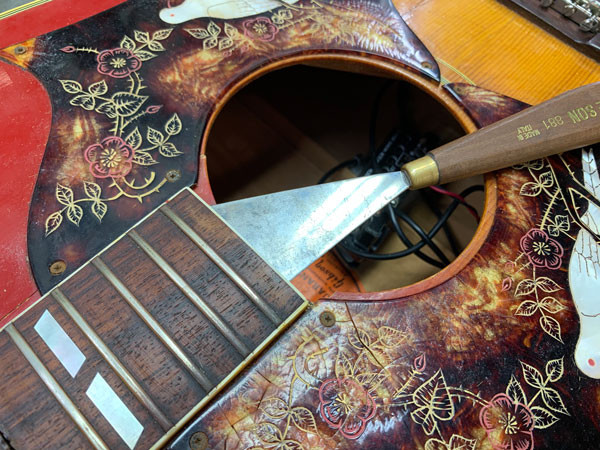
My process begins with carefully removing the old nut and preparing a perfectly square base for the new one. For this, I utilize a specialized nut seating file from StewMac, ensuring a clean and even surface. Accurate measurements of the nut slot are then crucial. I select a piece of bone and, using a belt sander, carefully shape it to match these dimensions, creating a snug bone nut blank ready for fitting.
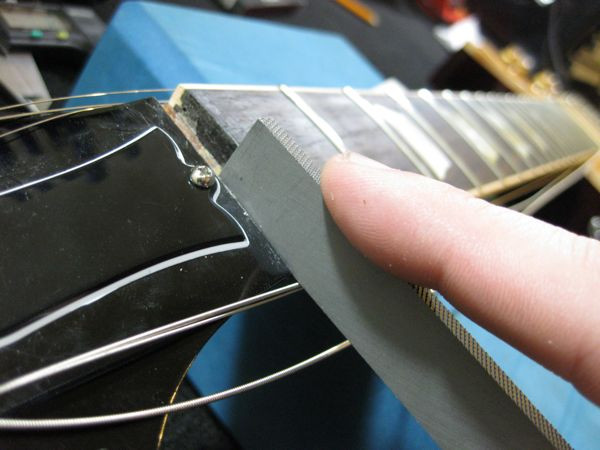 squaring the nut slot
Alt text: Guitar technician using a nut seating file to precisely square and clean the guitar nut slot on a Les Paul headstock.
 seated bone nut blank
Alt text: A bone guitar nut blank perfectly seated in the prepared nut slot of a Les Paul guitar, ready for shaping and slotting.
Next comes the critical step of determining the nut height. The ideal height allows the strings to sit at roughly the halfway point, providing sufficient support without causing binding. It’s about finding that sweet spot – enough material to hold the string securely, but not so much that it impedes smooth string movement. After marking this height on the bone blank, it’s back to the belt sander for precise material removal.
 marking the nut blank
Alt text: Close-up showing a guitar technician marking the bone nut blank to indicate the desired height for optimal string clearance.
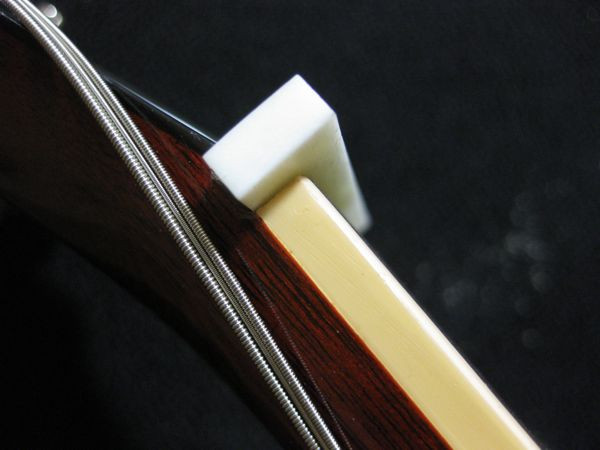
With the top of the guitar nut roughly shaped, I place it back onto the guitar and install the outer E strings. Personal preference plays a role here; I favor maximizing string spacing, particularly in the lower registers, as it enhances chording comfort. Setting the outer strings approximately 2mm inward from the fret bevel, I mark the nut blank to define the positions for the outer string slots before cutting them.
 outer string spacing
Alt text: View of the guitar headstock demonstrating the outer string spacing being marked on the bone nut blank for precise slot placement.
For the remaining four strings, I rely on the precision of a StewMac nut spacing ruler. This invaluable tool ensures consistent and ergonomically optimized string spacing. Each increment on the ruler is subtly wider than the last, progressively increasing the space between strings as you move towards the thicker gauges. This nuanced spacing contributes significantly to improved playability. Using the ruler as a guide, I mark the positions for the remaining slots and then carefully cut each slot using nut files gauged to the specific string thicknesses.
 nut spacing ruler
Alt text: StewMac nut spacing ruler being used to accurately mark the string positions on the guitar nut blank for optimal playability.
 nut spacing
Alt text: Close-up of precisely marked string slots on the bone nut blank, guided by the nut spacing ruler, ready for filing.
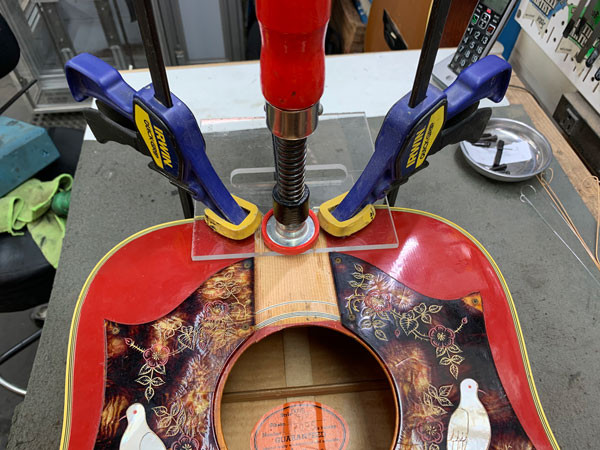
With each nut slot now accurately cut to depth and width, the guitar nut is ready for its final shaping. Following the neck’s contours, I carefully score the nut blank with a razor blade. Then, it’s back to the belt sander to remove the excess material, refining the shape to seamlessly blend with the guitar neck. While at the sander, I also perform a rough shaping of the top and corners, preparing it for hand-finishing.
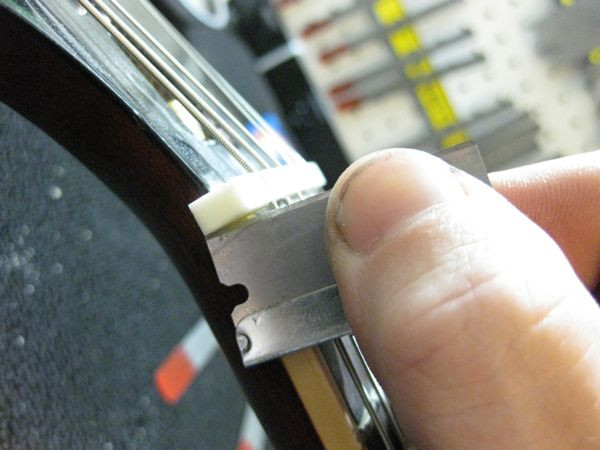 scoring the nut
Alt text: Razor blade scoring along the guitar neck contour to guide the final shaping of the bone guitar nut blank.
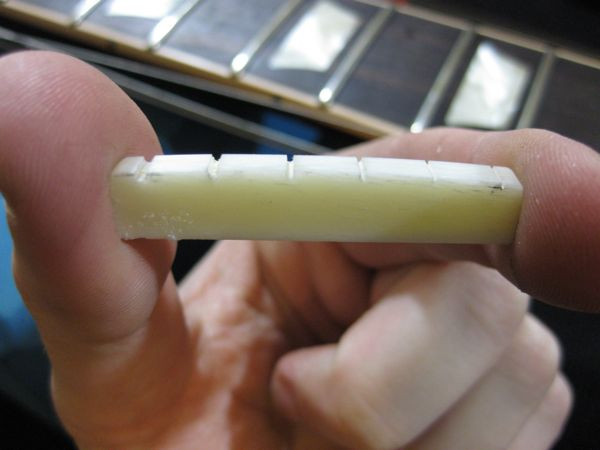 rough cut
Alt text: Rough shaping of the bone guitar nut blank after using a belt sander, showing the initial contouring process.
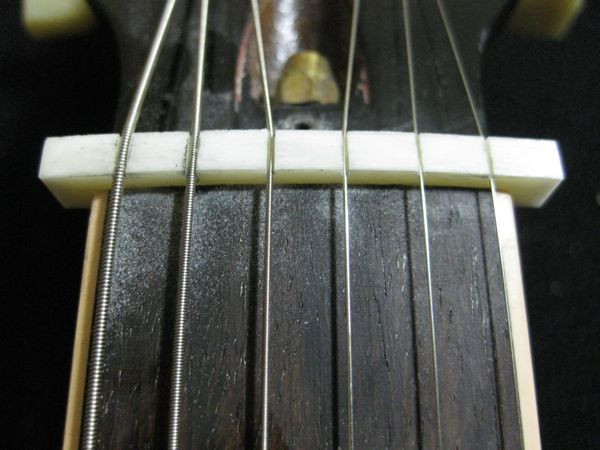
The final shaping and polishing stages demand a hands-on approach. Using files to refine the contour, I progress through medium-grit sandpaper to eliminate file marks and sanding scratches. The final polish is achieved with a fingernail buffer, bringing the guitar nut to a smooth, professional sheen. A tiny dab of glue secures the finished nut into the prepared slot. A final touch involves meticulously refining the nut slots with fine-grit sandpaper to ensure the strings glide effortlessly without catching.
And that concludes the process of crafting a guitar nut from raw bone. The result is a component precisely tailored to the instrument, optimizing both playability and tone. What do you think of the final product?
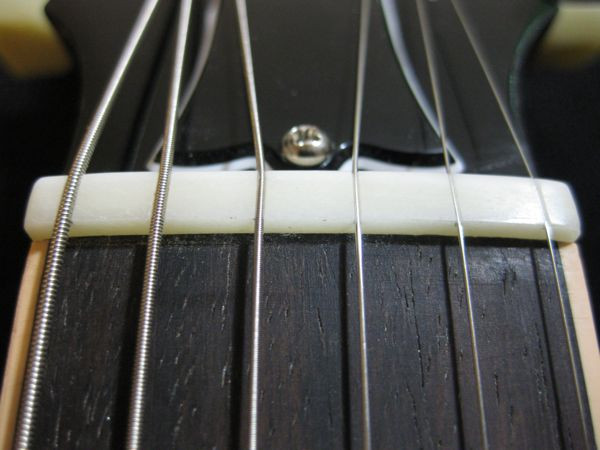 completed guitar nut
Alt text: Finished and installed custom bone guitar nut on a Les Paul, showcasing clean slots and polished finish.
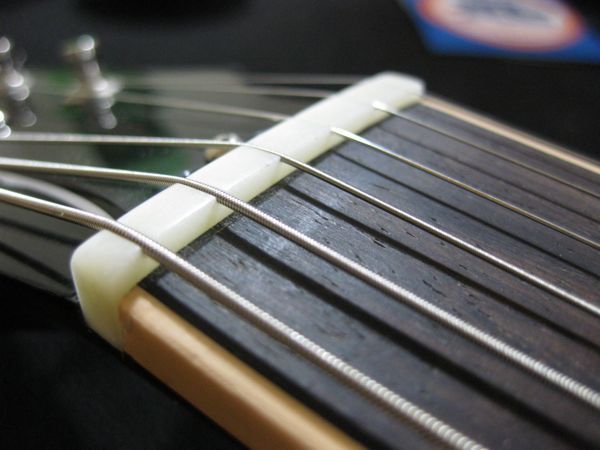 completed guitar nut 2
Alt text: Angled view of the completed bone guitar nut on a Les Paul headstock, highlighting the precise string spacing and overall craftsmanship.