
For guitar enthusiasts, especially those who cherish the iconic Les Paul guitar, every detail matters. From the tonewood to the hardware, each component contributes to the instrument’s unique character and playability. Recently, a client named Kirk brought in his beloved Les Paul for an inlay upgrade after a refret job. While typically inlay replacement is done before refretting, we took on the challenge of doing it “bass-ackwards” to give his Les Paul a fresh, personalized look with new pearl inlays. This article details the intricate process, offering insights for anyone considering a similar upgrade on their guitar, particularly a Les Paul.
The original inlays on Kirk’s Les Paul were aged plastic trapezoids, a common sight on many classic guitars. They had developed a yellowed patina over time, which while vintage-looking, wasn’t the aesthetic Kirk was after. He opted for a set of pristine pearl inlays, aiming for a brighter, more modern visual appeal for his cherished Les Paul.
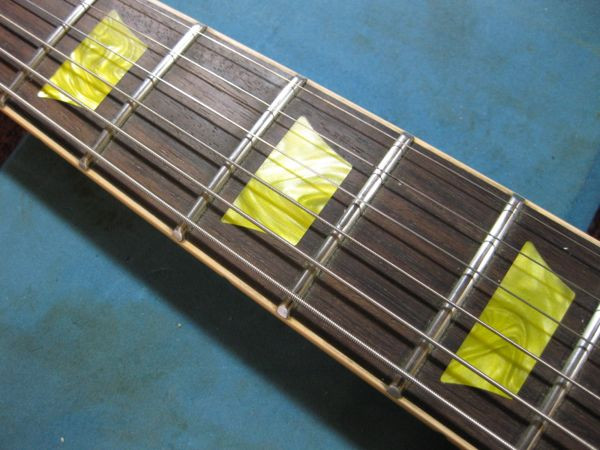 Original trapezoidal inlays on the Les Paul guitar fingerboard
Before diving into the replacement, we laid the new pearl inlays over the existing ones to ensure a close fit. Fortunately, the sizes were compatible, meaning with some careful adjustments, the new inlays would seamlessly integrate into the Les Paul’s fretboard. This initial check was the simplest step; the real work was about to begin, demanding precision and patience to successfully upgrade the inlays on this already refretted Les Paul guitar.
Removing the Old Les Paul Inlays: A Delicate Operation
The first hurdle was removing the old inlays without damaging the rosewood fingerboard of the Les Paul, especially with the newly installed frets in place. Typically, inlay routing is done on a flat, unfretted fingerboard, simplifying the process. However, working around frets and a radiused fretboard added significant complexity. The primary concern was controlling the depth of the routing to avoid going too deep, which would cause the new, thinner pearl inlays to sit too low.
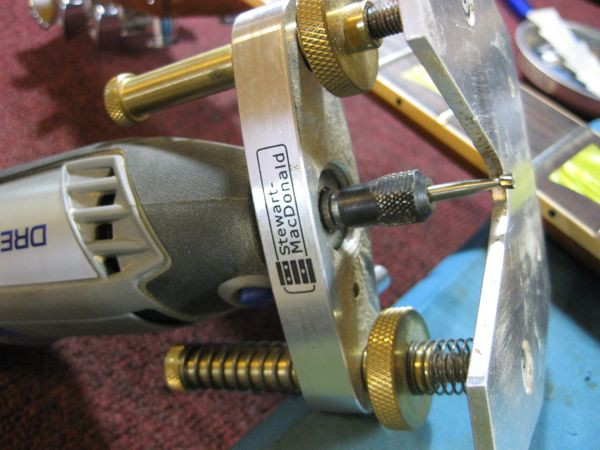
To gauge the depth, we carefully drilled a pilot hole into the center of one of the plastic inlays using a Dremel with a small cutting bit. Incrementally lowering the bit by 0.25mm at a time, we cautiously worked downwards until we reached the rosewood. This exploratory step was crucial for understanding the depth of the existing inlay and the amount of adhesive used.
 Drilling a pilot hole into the old plastic inlay of the Les Paul guitar
 Close-up of the pilot hole drilling process on the guitar inlay
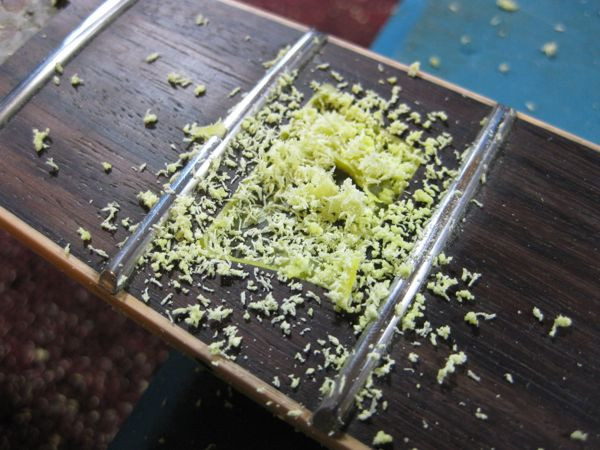
Initially, we considered trying to lift the inlays out in one piece. However, it quickly became clear that the original inlays were firmly glued down. Therefore, routing them out became the necessary approach. This required extreme care to stay within the inlay boundaries. Any deviation would result in visible gaps around the new inlays, compromising the clean look we aimed to achieve for this Les Paul inlay upgrade. We adjusted the router bit depth based on our pilot hole findings, ensuring we wouldn’t cut too deep.
 Routing out the old plastic inlay from the Les Paul guitar fretboard
 Close up view after partially routing the plastic inlay, showing the defined edges
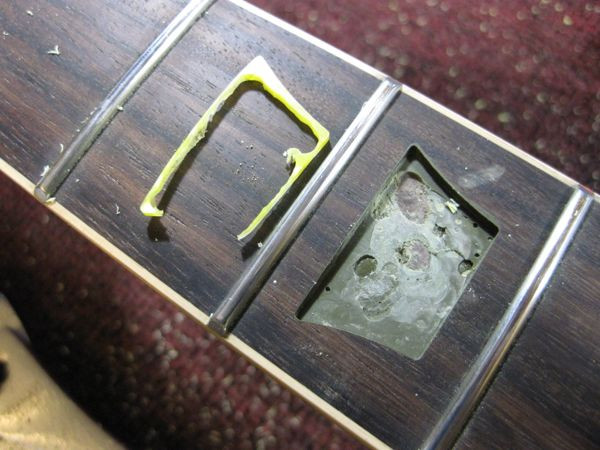
Once the first inlay was removed, we gained valuable insight. The original plastic inlays were thicker than the replacement pearl inlays (1.9mm vs. 1.6mm), and there was nearly 1mm of glue underneath. This discovery highlighted the importance of the pilot hole test – routing to the initial estimated depth could have been problematic.
With the correct depth established, removing the remaining inlays became a more controlled process, resulting in cleaner cavities ready for the new pearl inlays to be installed in the Les Paul’s fingerboard.
 Cleanly routed cavity after removing the old inlay from the guitar neck
Preparing and Fitting the New Pearl Inlays
Due to the thickness difference between the original and new inlays, shims were needed to bring the pearl inlays to the correct height, flush with the Les Paul’s fretboard. We used mahogany veneer, gluing it to the back of each pearl inlay and then carefully trimming it to match the inlay shape.
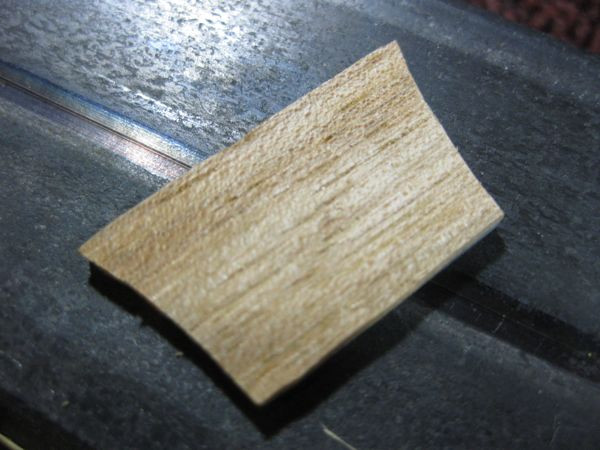 Mahogany veneer shim being glued to the back of a pearl inlay for guitar
After sanding the mahogany shims to the perfect thickness, each inlay sat just above the fretboard surface. However, some pearl inlays were slightly oversized for the routed cavities and required reshaping. This meticulous step demanded careful sanding to achieve a snug fit. Removing too much material would create unsightly gaps. Patience and precision were paramount to ensure the inlays fit seamlessly into the Les Paul fingerboard.
Installing and Finishing the Pearl Inlays on the Les Paul
With the inlays prepared and fitted, the next stage was gluing them into the fretboard. Once the adhesive had set, we filled any minor gaps around the inlays with black superglue. This step is crucial for a clean, professional finish, ensuring no visible seams around the newly installed pearl inlays on the Les Paul guitar.
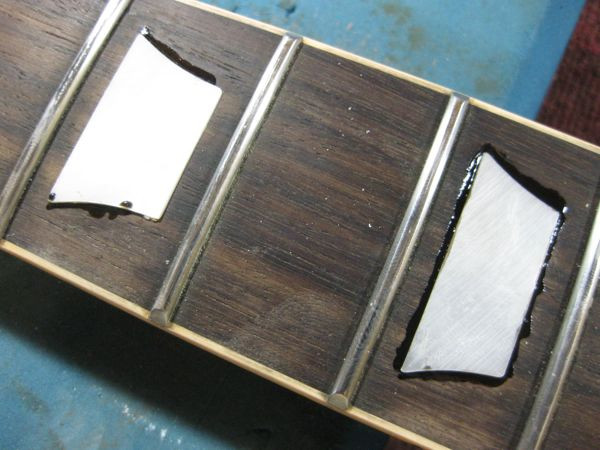 Pearl inlays glued into the guitar fretboard with edges filled with black superglue
Normally, inlay leveling is done during the fingerboard planing and radiusing process before fretting. In this “bass-ackwards” scenario, each inlay protruded slightly above the frets. Therefore, hand-filing was necessary to level the pearl inlays with the fretboard radius.
 Close-up showing the height difference between the new inlay and the guitar fretboard
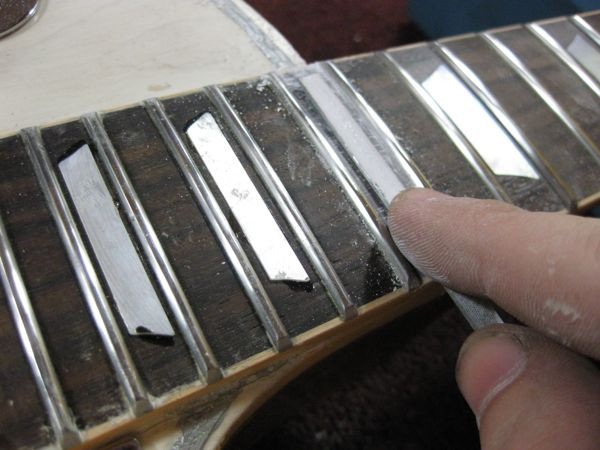
Filing the pearl down to match the fretboard radius and achieve a smooth, even surface was a time-consuming task. We used a series of files, followed by progressively finer grits of sandpaper, and finally, ultrafine Scotch-Brite pads for polishing. This meticulous process ensured the inlays were perfectly smooth to the touch, enhancing the playability and feel of the Les Paul neck.
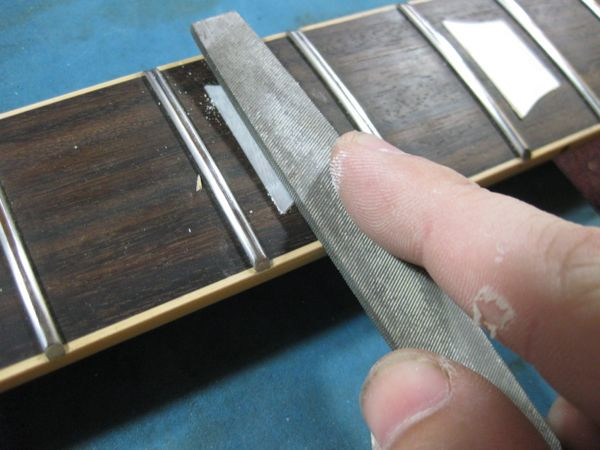 Filing down the pearl inlay to level it with the guitar fretboard
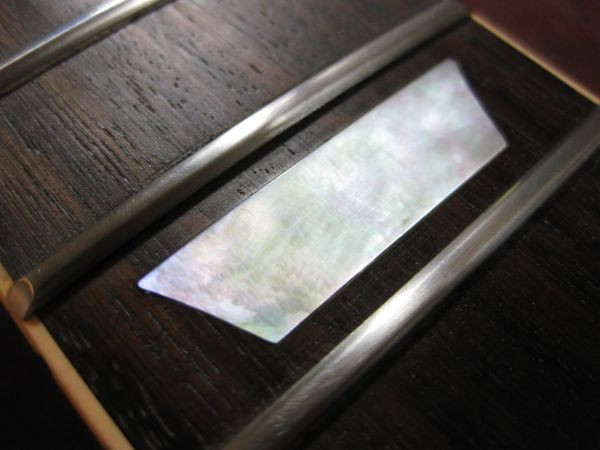
 Close up of the filed and leveled pearl inlay, now flush with the fretboard
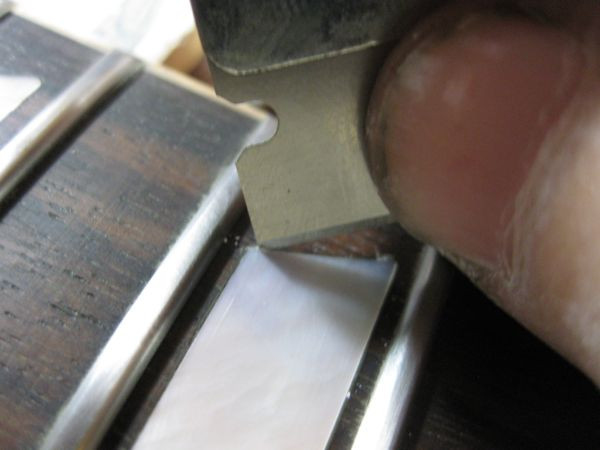
After cleaning and oiling the fretboard, we noticed some pearl dust trapped in air pockets within the black superglue filler on a few inlays. To achieve a flawless finish, these imperfections had to be addressed. Using a razor blade, we carefully removed the pearl dust, refilled the areas with black superglue, and repeated the sanding and polishing process.
 Pearl dust trapped in the superglue filler around the new guitar inlay
 Corrected inlay with clean superglue fill, after removing pearl dust
This extra effort was crucial for achieving a truly professional inlay job. The result was a set of flawlessly installed pearl inlays that looked and felt incredible on Kirk’s Les Paul.
The Finished Les Paul Inlay Upgrade
The completed inlay replacement was a resounding success. Despite the unconventional order of operations, the new pearl inlays transformed the look of Kirk’s Les Paul, providing a striking visual upgrade. The process, while challenging, demonstrates that even tasks done “bass-ackwards” can yield exceptional results with patience, precision, and the right techniques.
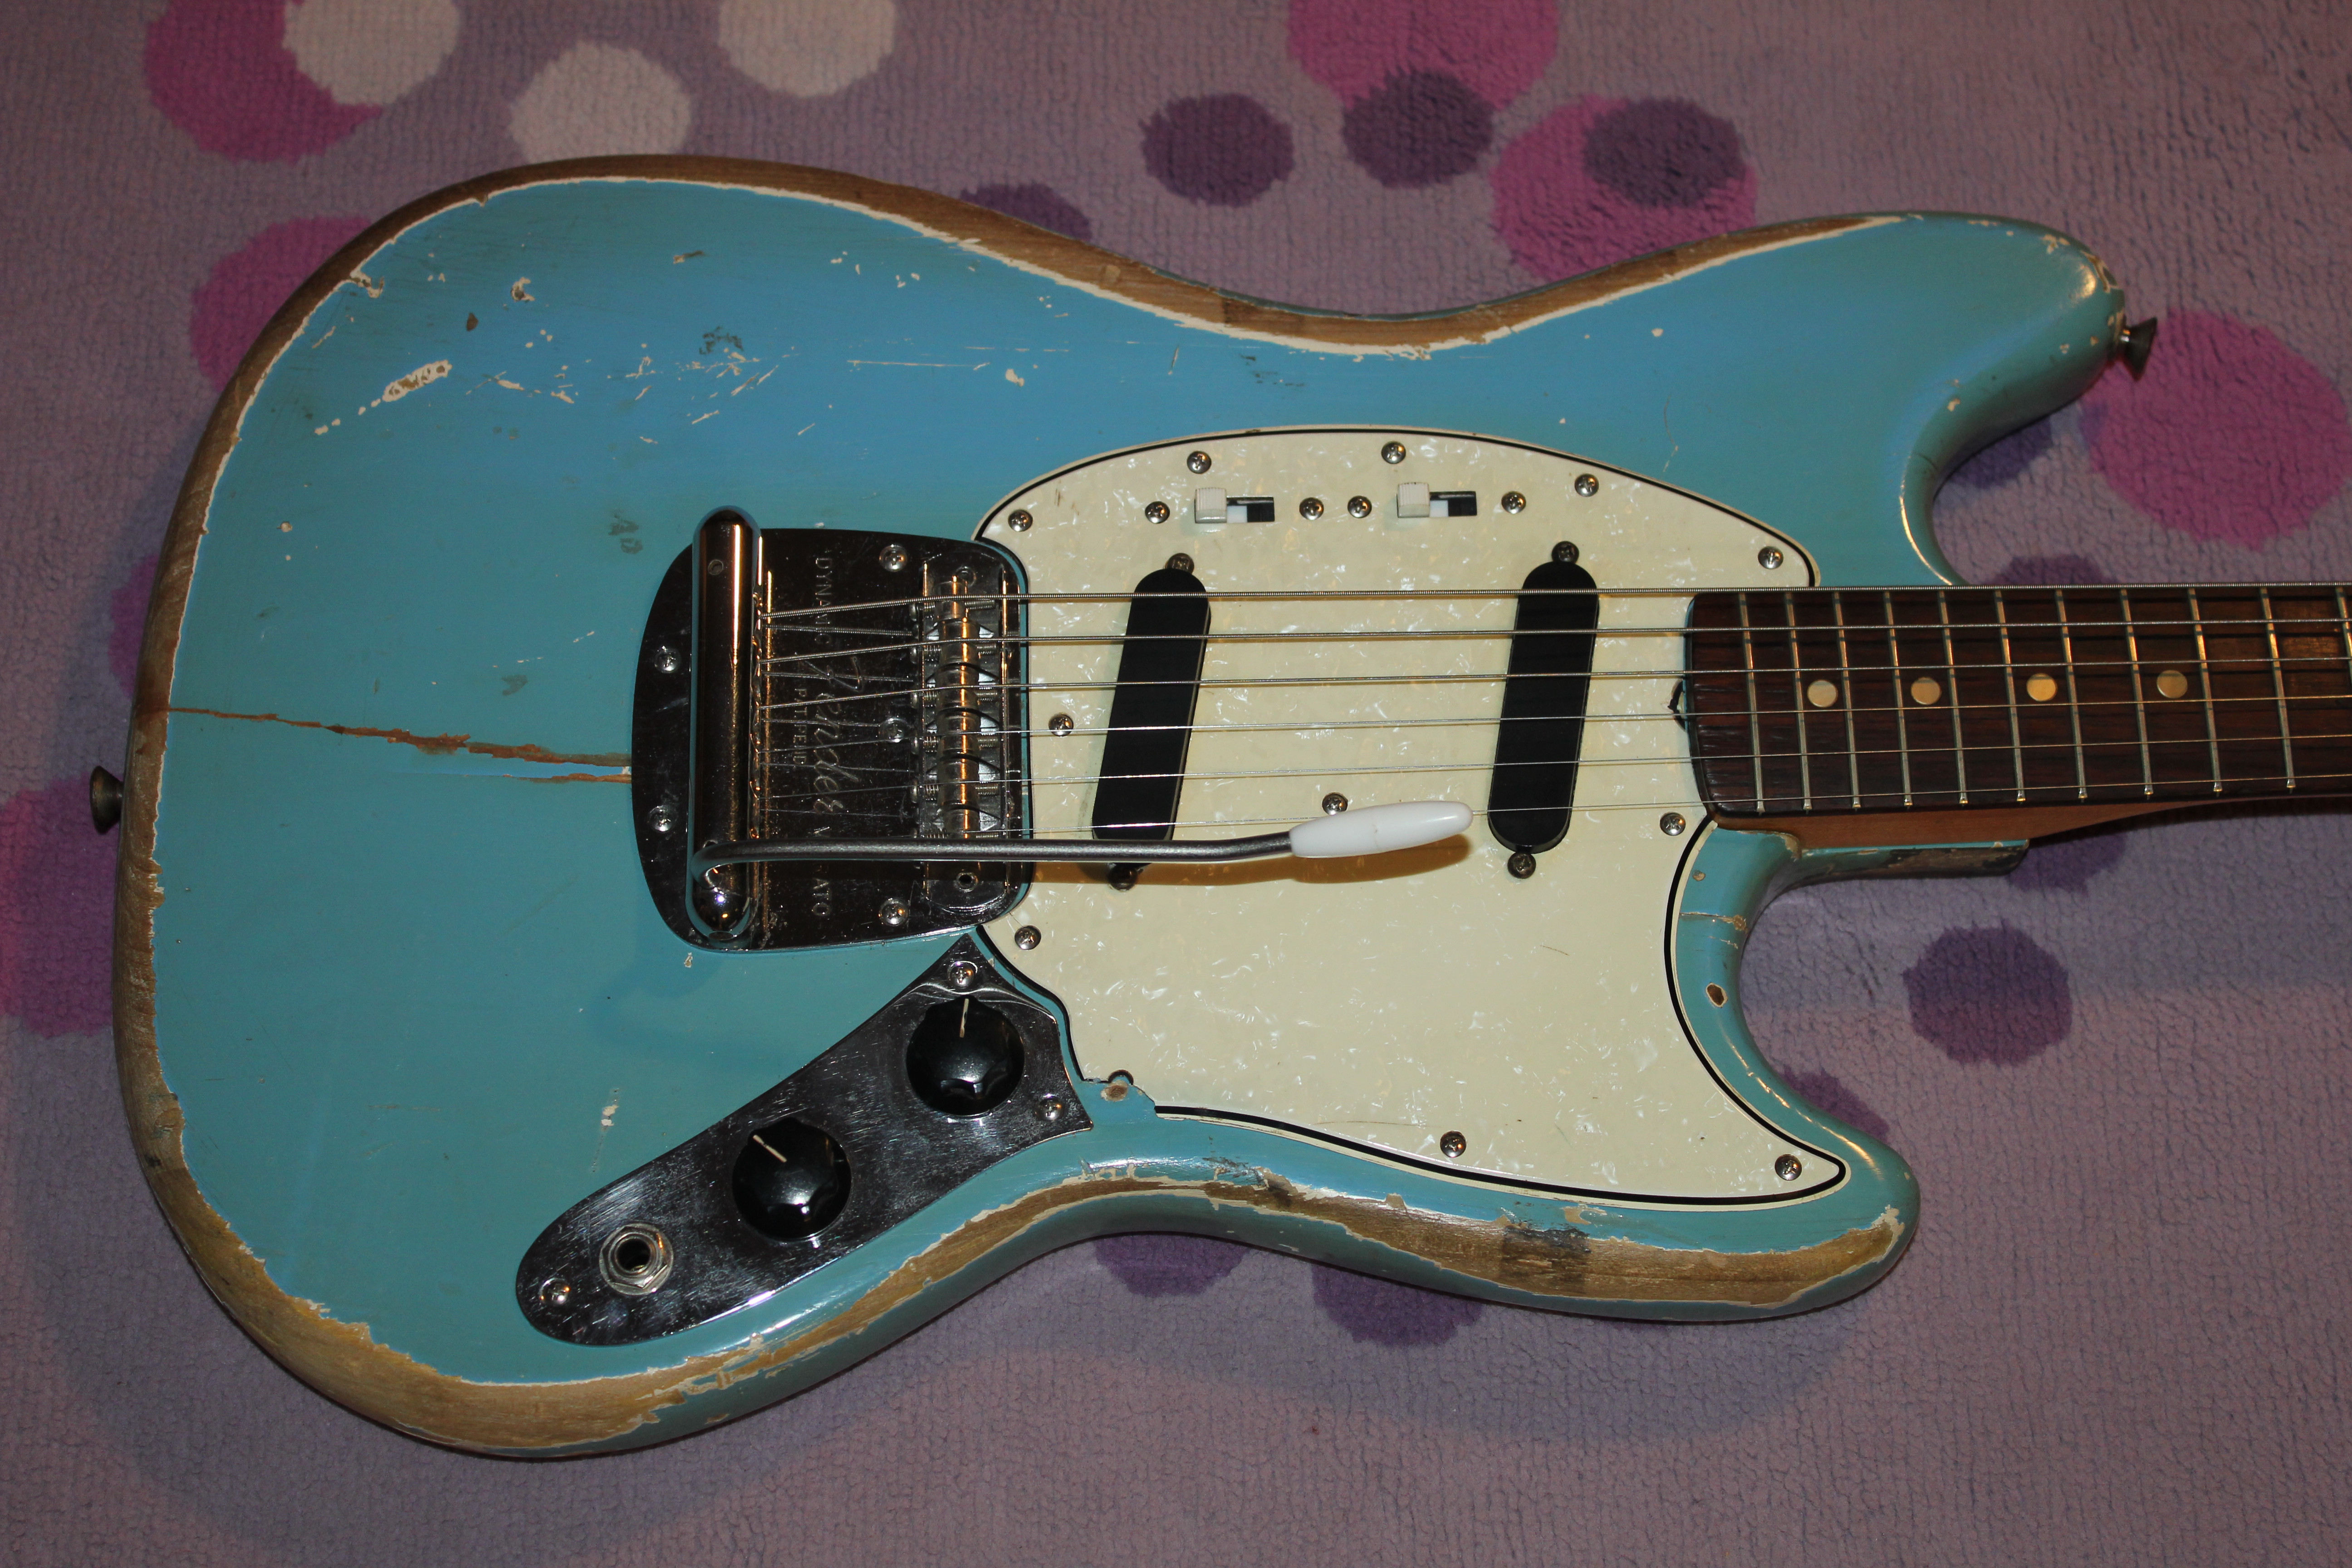
 Completed Les Paul guitar with new pearl inlays, full view of the fretboard
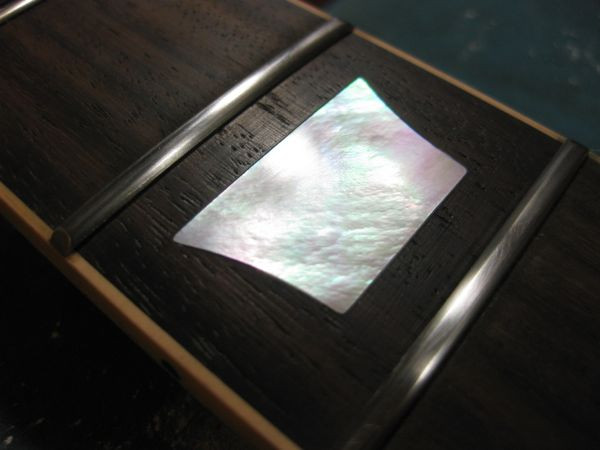
 Close-up of the newly installed pearl inlays on the Les Paul guitar, showcasing the finish
Upgrading the inlays on a Les Paul guitar is a fantastic way to personalize your instrument. While it’s typically easier to do during a refret, this project proves that it’s achievable even afterwards. Whether you’re looking to replace worn inlays or simply change the aesthetic of your Les Paul, understanding the process and potential challenges is the first step towards a successful fretboard transformation.