
Acoustic guitars equipped with piezo pickups are fantastic for amplification, but they can sometimes suffer from unwanted buzz or hum. This issue can be frustrating, especially when you’re trying to get a clean, natural sound. While acoustic guitars often utilize passive electronics, and even simple volume controls using passive pots, buzz can still creep in. This guide offers a straightforward, DIY solution to tackle that annoying buzz by implementing a string grounding technique, similar to what’s used on electric guitars.
Understanding Acoustic Guitar Buzz and Grounding
Buzz in acoustic guitars with piezo systems often arises from a lack of proper grounding. Unlike electric guitars with magnetic pickups that inherently ground through the bridge and strings, acoustic piezo systems can be more susceptible to noise. By creating a ground connection to your guitar strings, you effectively reduce this noise, leading to a cleaner amplified signal. This method is particularly effective for guitars that experience buzz regardless of the position of any passive pot volume control they might have.
Step-by-Step Guide to Grounding Your Acoustic Guitar Strings
Here’s how to implement a simple string grounding fix to eliminate buzz from your acoustic-electric guitar:
-
Prepare Your Guitar: Begin by removing the strings from your acoustic guitar. This will give you clear access to the bridge plate inside the soundhole.
-
Cut and Prepare Shielding Tape: Take a strip of adhesive copper foil shielding tape, approximately 3 inches long and 1 inch wide. Copper tape is conductive and will serve as our grounding element.
-
Solder Ground Wire: Solder one end of a 16-inch length of 20-gauge insulated wire to one end of the copper tape strip. Ensure a solid solder joint for good electrical conductivity.
-
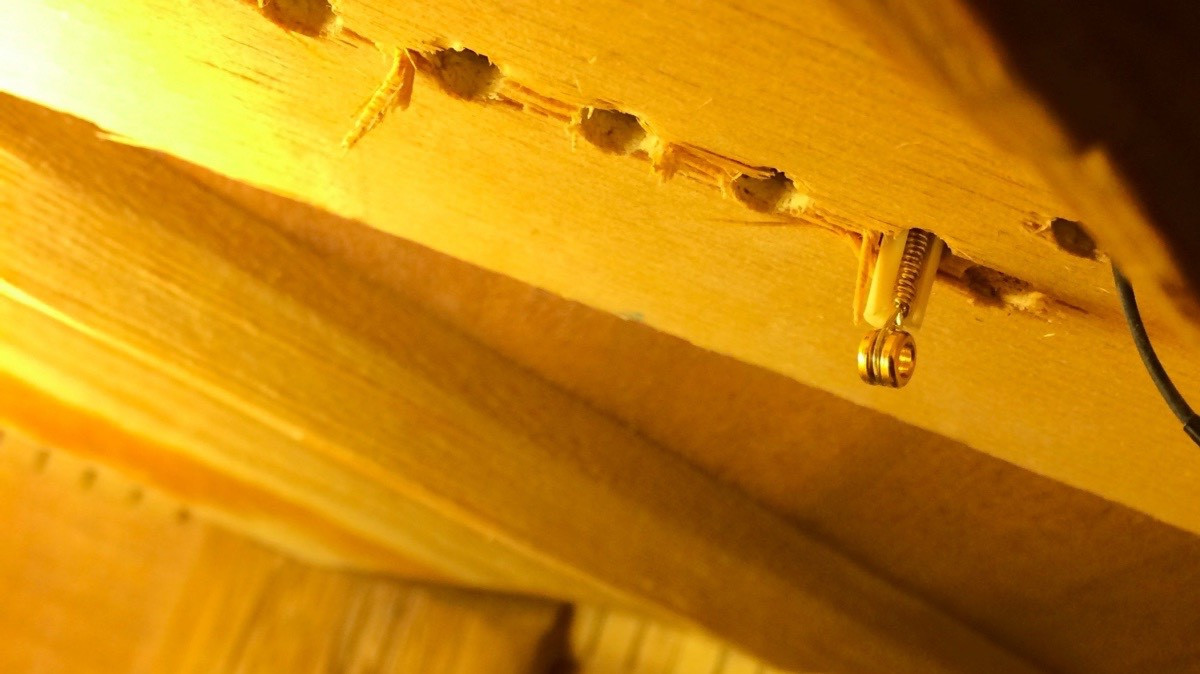
Clean the Bridge Plate: Reach inside the guitar’s soundhole and carefully clean the bridge plate area beneath the string holes. Use your fingertips to remove any loose wood splinters or debris. Be gentle, as some bridge plates can be roughly finished. Vacuum out any dislodged particles.
 Acoustic guitar bridge plate with string ball ends visible, highlighting the area where copper tape will be applied for grounding
-
Apply Copper Tape: Peel off the backing paper from the copper tape. Carefully position and apply the tape across the six string holes on the bridge plate inside the soundhole. It doesn’t need to be perfectly aligned; the key is to ensure all six string holes are covered by the tape. Press the tape firmly, especially around each hole, so it adheres well to the bridge plate and you can feel the indentations of the holes through the tape.
-
Form Tape Around String Holes: Using a wooden golf tee (or a similar tapered tool), gently poke through the copper tape at each string hole from inside the soundhole. Push the tee upwards and into each hole until it stops. The tapered shape of the golf tee helps to neatly form the copper tape around the inside edge of each string hole, ensuring good contact with the string ball ends. This step is crucial; pushing from the outside could push the tape away from the bridge plate.
-
Connect to Ground and Restring: Solder the free end of the wire to the ground connection of your guitar’s pickup system. This is typically the sleeve or ground terminal of the output jack or any accessible ground point within the guitar’s electronics. Finally, restring your guitar to tension.
The Result: Quieter Performance
By implementing this simple string grounding technique, you establish electrical continuity with each string, similar to the grounding system in electric guitars. This significantly reduces unwanted buzz and hum, allowing your acoustic guitar’s natural tone to shine through, free from distracting noise, even when using passive volume controls.