For a long time, I’ve been relying on amp modeling software and plugins for my guitar tones. Playing mostly at home, the idea of investing in a proper tube amp felt like a luxury. However, the allure of a classic tube amp sound and the satisfaction of a DIY project finally led me to the Mojotone British 18-Watt TMB Style Combo Amplifier Kit. Despite the initial price tag of around $900 (which could have gone towards a new camera!), the promise of building my own Cool Guitar Amp was too tempting to resist. After ordering, and a slightly shorter than expected wait of three weeks due to Covid-19 delays, the kit arrived.
 Unboxing the Mojotone amp kit
Eager to get started, I unpacked the kit. I’ve built microphone and preamp kits before, which are based on modern components and printed circuit boards. This Mojotone kit was a different beast altogether. Paying homage to vintage amp designs, it features point-to-point wiring on a turret board and, crucially, tubes! Five tubes, to be exact, along with a tube rectifier, high voltage transformers, and capacitors – a whole new world for me.
 Mojotone Circuit Schematic for a cool guitar amp build
Schematic diagram of the Mojotone 18W TMB amplifier, revealing the classic tube amp design that contributes to its cool guitar amp sound.
The included schematic revealed a classic tube amp design, reminiscent of the 18W Marshall combo amps from the mid-60s. These original amps had two channels, a single tone control, and tremolo on the second channel. A popular modification back in the day was to remove the tremolo and implement a proper TMB (Treble, Middle, Bass) tone stack. Mojotone cleverly incorporated this mod, using a JCM800 preamp circuit for channel 2, making this kit a truly cool guitar amp with a vintage vibe and modern flexibility. They even added a master volume, subtly placed where an input jack would have been on the original, maintaining the vintage aesthetic.
Mojotone estimated a build time of around six hours. For seasoned amp builders, this might be accurate. However, for me, it took closer to sixteen hours to get the amp up and running. And even after that, there was a subsequent rework session, adding a couple more hours to the project. I also have a planned modification in mind, so this cool guitar amp will be back on my workbench soon.
 Mojotone 18W TMB amp build in progress
Tube sockets and transformers installed on the chassis, showcasing the initial stages of building a cool guitar amp from the Mojotone kit.
Mistakes Made During the Build
Despite careful work, I did encounter a couple of minor hiccups during the build process:
-
Resistor Wattage Mix-up: I mistakenly installed lower wattage resistors on the high voltage filtering capacitors. While the resistance value was correct, I grabbed the lower wattage ones from the kit without paying close attention to the power rating. Realizing my mistake, I attempted to remove them, but they were destroyed in the process. This meant temporarily using modern metal oxide resistors instead of the vintage-style carbon ones. Thankfully, Mojotone quickly sent replacements, and I later installed the correct carbon resistors.
-
Solder Overflow in Tube Sockets: I got a bit overzealous with the solder on a couple of tube socket pins. The excess solder ran down into the sockets, hindering proper tube seating. Despite my best efforts with a solder sucker and other tricks, the sockets remained a bit messy. Although they were functional, I opted to replace them with new sockets for a cleaner and more reliable build.
 Power section wiring of the DIY guitar amp
Wiring the power section of the Mojotone 18W TMB amp, illustrating the point-to-point construction of this cool guitar amp kit.
 Turret board wiring of the Mojotone amp kit
Close-up of the turret board wiring, showcasing the meticulous point-to-point construction method used in this cool guitar amp project.
The Moment of Truth: Powering Up
After meticulously checking and rechecking all connections, the moment of truth arrived. I plugged in the amp, took a deep breath, and flipped the power switch. The initial bench testing involves a series of power cycles, gradually adding tubes and taking voltage measurements. Everything looked promising, and thankfully, the slightly wonky tube sockets didn’t cause any immediate issues.
 Chassis assembly and testing of the tube amp
Final chassis assembly and testing, with the power light on and no smoke, marking a successful milestone in building this cool guitar amp.
The Speaker’s Impact on Tone
The speaker is a critical component in shaping a guitar amp’s tone. A quick YouTube search for “guitar speaker shootout” reveals countless videos demonstrating the significant differences between various speakers. For this build, I initially ordered the kit without tubes or a speaker. I had a pair of Electrovoice EVM12Ls on hand and decided to try one of those first. While some might consider this an unconventional choice, it actually sounded surprisingly good – even great! However, a friend later offered me a Celestion Vintage 30, which proved to be a significant upgrade. The Celestion Vintage 30 truly unlocked the potential of this cool guitar amp, providing a noticeable improvement in tone and also reducing the overall weight by about 15lbs!
 Celestion Vintage 30 speaker in the Mojotone amp
Celestion Vintage 30 speaker mounted in the Mojotone 18W TMB combo, highlighting the importance of speaker choice for a cool guitar amp’s tone.
Rework and Future Modifications
A few weeks after the initial build, I revisited the amp to address the minor issues. I replaced the two tube sockets I had slightly damaged and swapped out the metal oxide resistors for the correct carbon ones. This rework session took a couple of hours and resulted in a much cleaner and more refined build.
Looking ahead, I have a couple of minor complaints I plan to address with further modifications:
-
Power Section Hum: There’s a slight 120Hz hum in the power section, noticeable even at low volumes. While not a major issue for recording or playing, it’s a minor annoyance. To mitigate this, I’ve ordered additional 47uF high voltage capacitors to supplement the existing 32uF caps. My 50W Sovtek, for comparison, uses dual 220uF caps, suggesting there’s room for improvement in filtering.
-
Touchy Master Volume: The master volume is quite sensitive at the lower end of its range, making it challenging to dial in quiet studio or bedroom levels. It tends to jump from silence to slightly too loud with minimal knob movement. This is a common issue with master volume circuits in many amps. My solution is to replace the master volume potentiometer with a push/pull pot. The push/pull switch will introduce a series resistor into the circuit, creating a “low range” setting for finer volume control at lower levels. For full volume performance, simply pull the switch.
The Verdict: A Truly Cool Guitar Amp
Despite these minor points, I am absolutely thrilled with this amp. I’ve spent countless hours playing through it since completing the build. It’s incredibly responsive, with a truly gorgeous tone. It can deliver JCM800 levels of overdrive but also excels at the mid-level distorted tones I prefer. Although it’s a combo amp, it has a surprisingly large sound, almost like playing through a 4×12 cabinet. Building this Mojotone kit has been a rewarding experience, resulting in a cool guitar amp that I love to play.
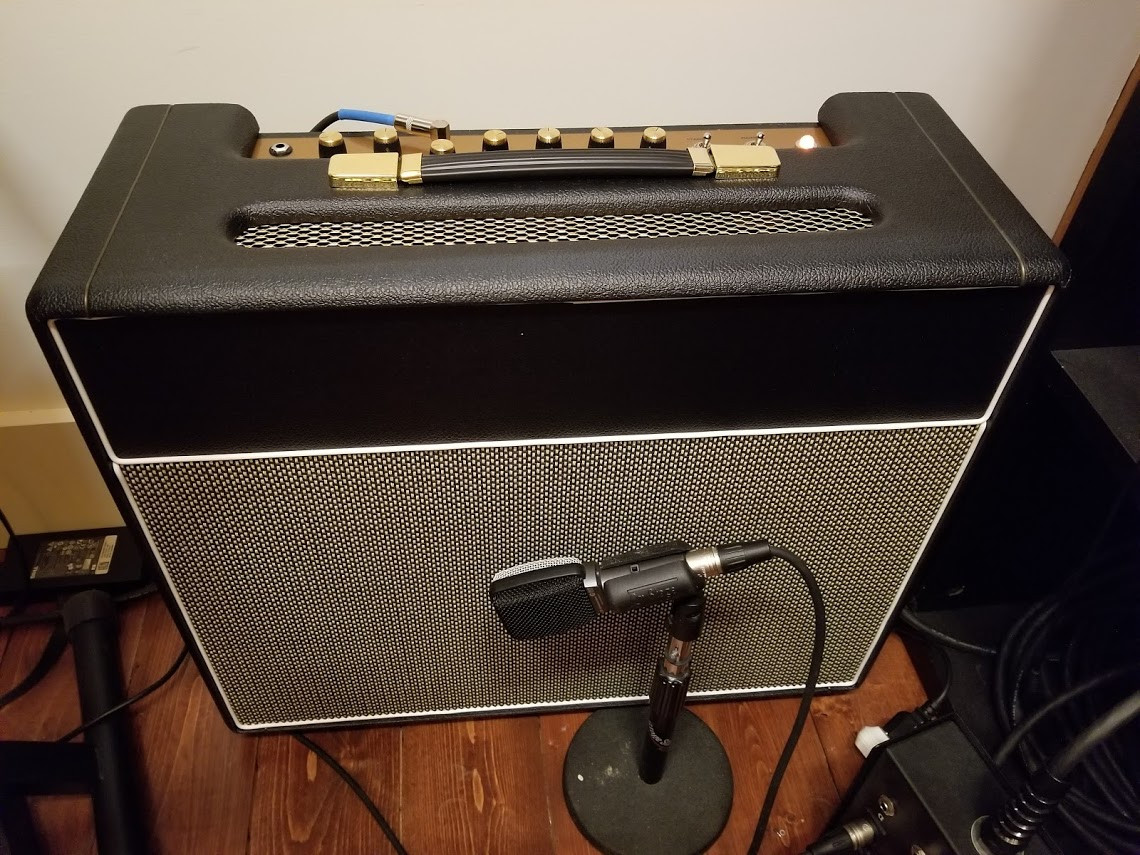 Mojotone 18W TMB amp mic'd up