
Dive into the vibrant world of Coco and bring Miguel’s iconic guitar to life with this fun and easy DIY project! Whether you’re gearing up for a Coco-themed Halloween, surprising a Coco enthusiast, or simply looking for a creative craft, this guide will walk you through creating your very own Coco Guitar. This inexpensive and engaging project is perfect for adding an authentic touch to any Coco costume or serving as a delightful keepsake for fans of the beloved movie.
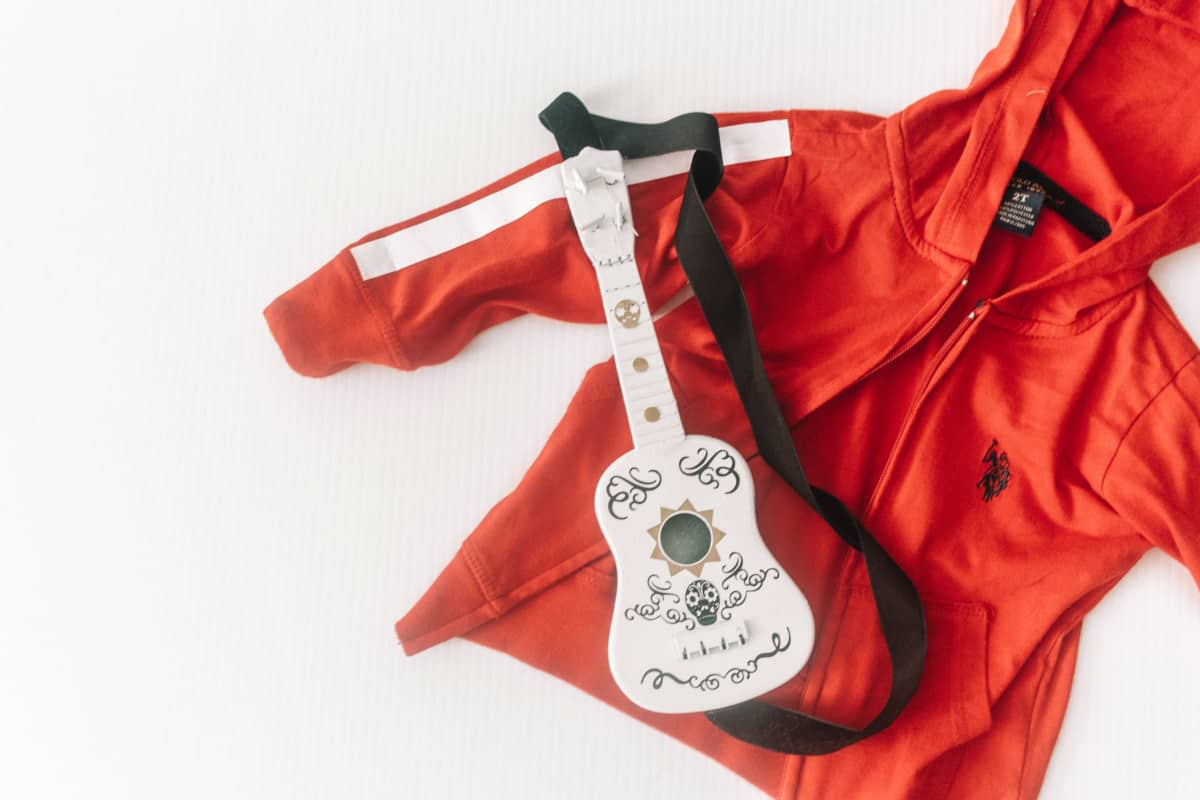 Inexpensive DIY Coco guitar for Halloween or Coco fans
This step-by-step tutorial is designed to be straightforward and enjoyable, even if you’re not a seasoned crafter. Get ready to transform a simple toy guitar into a stunning replica of Miguel’s cherished instrument. And if you’re looking to complete the Coco look, don’t forget to check out our guide to creating a full Miguel costume! Plus, for more DIY costume fun, explore our adorable Bluey costume tutorial.
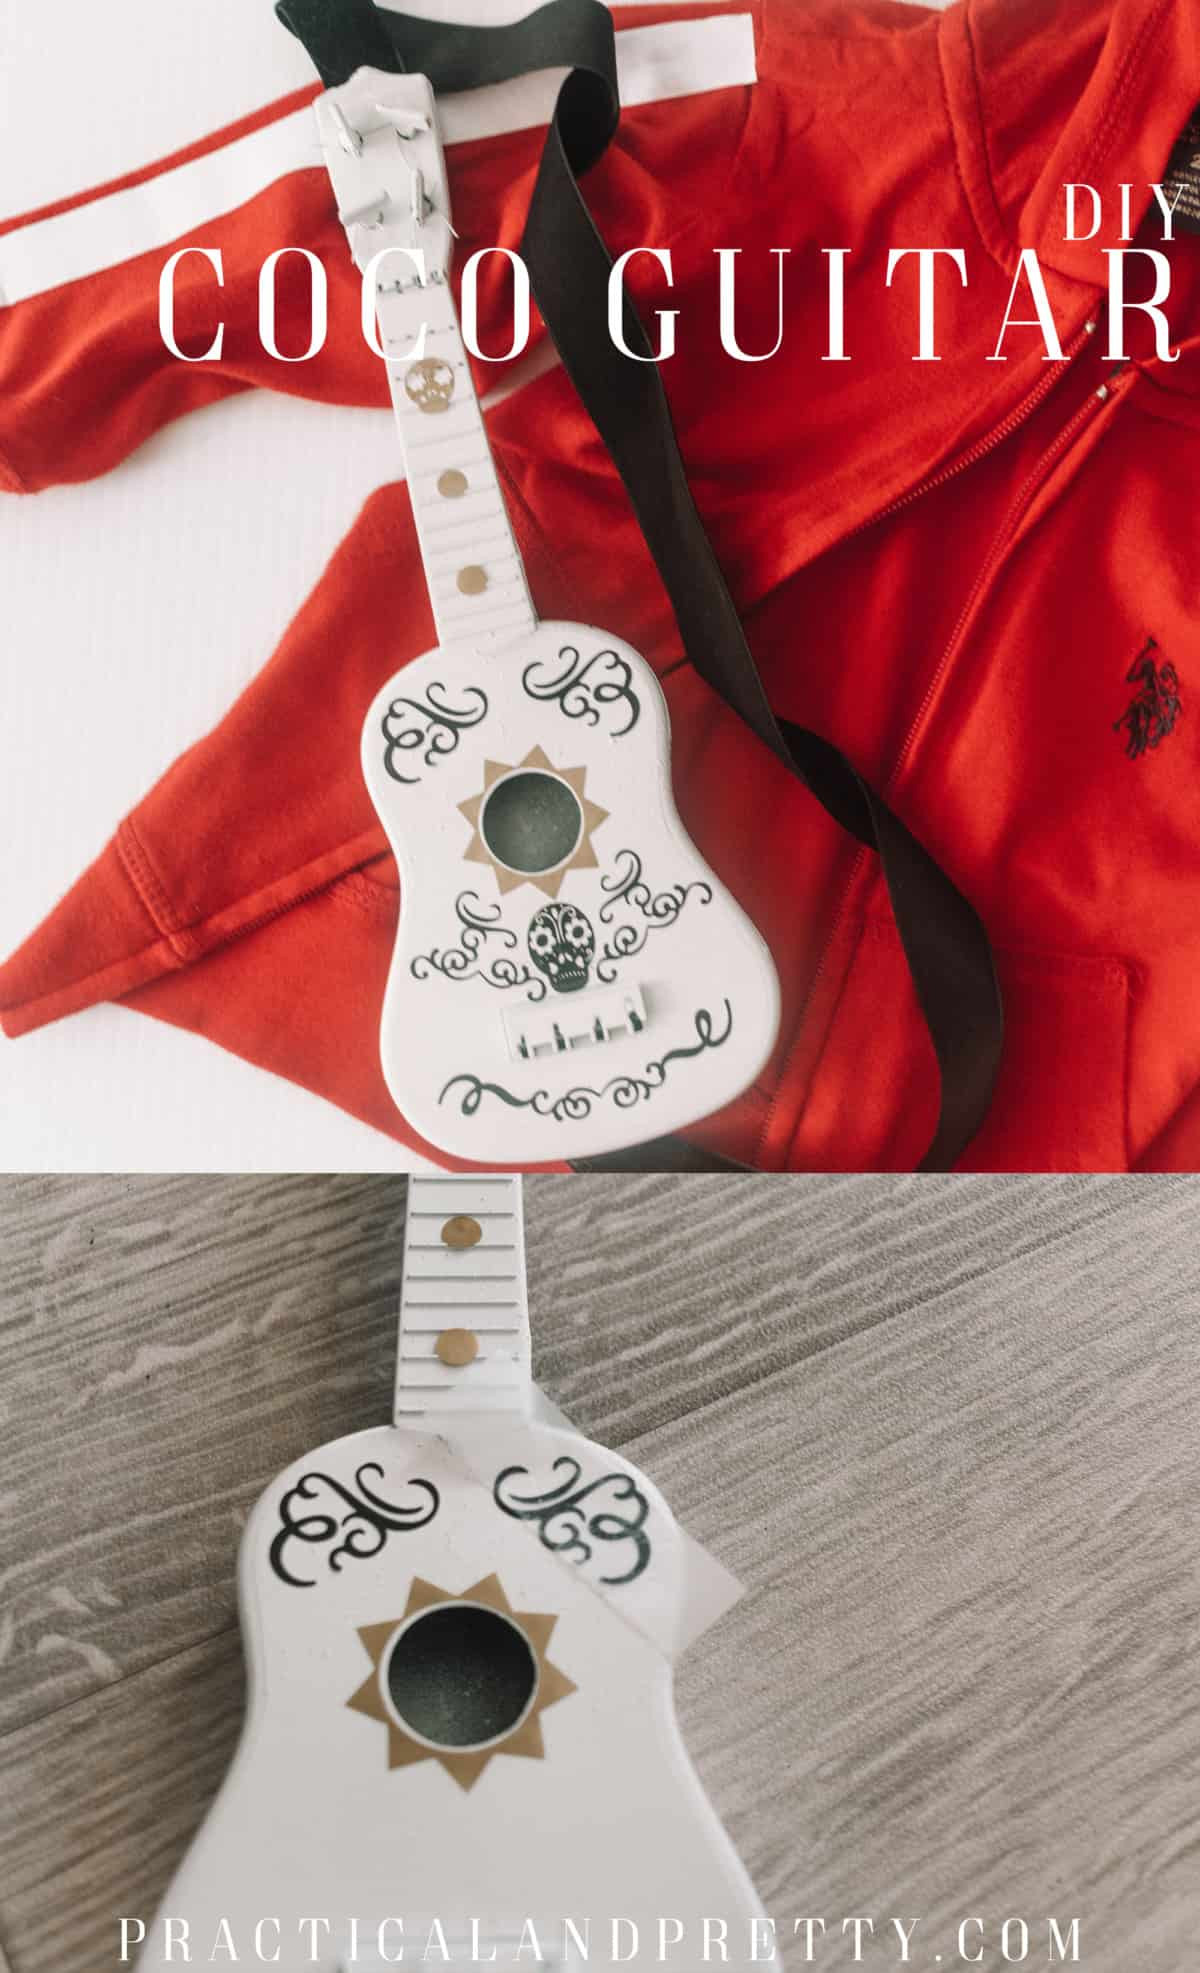 DIY Coco guitar project for costume accessory or gift idea
DIY Coco Guitar Tutorial: Crafting Miguel’s Mariachi Guitar
Ready to begin your coco guitar crafting journey? Let’s gather our materials and tools and get started on creating this magical musical instrument.
Materials You’ll Need to Make Your Coco Guitar:
- Toy Guitar (A budget-friendly option from a dollar store works perfectly!)
- Black Vinyl
- Gold Vinyl
- Velvet Ribbon (or any string/cord for the guitar strap)
- White Spray Paint
Tools of the Trade:
- Cricut Machine (or similar cutting machine)
- Hot Glue Gun
- BrightPad (helpful for weeding vinyl)
- Cricut Design Space File: Coco Guitar Bottom Vinyl Cutout
Step-by-Step Guide to Your Coco Guitar:
Follow these simple instructions to bring your coco guitar to life:
-
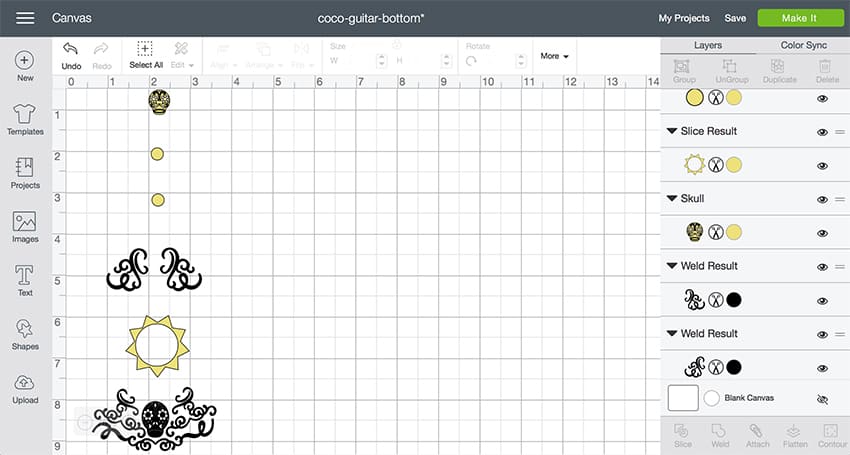
Vinyl Prep and Cutting: Begin by cutting your vinyl. The design is detailed but small, making it manageable even for beginners. The great news is that you won’t need a lot of vinyl, and extra is always handy for practice or mistakes. Access the Cricut Design Space file here: Coco Guitar Bottom Vinyl Cutout.
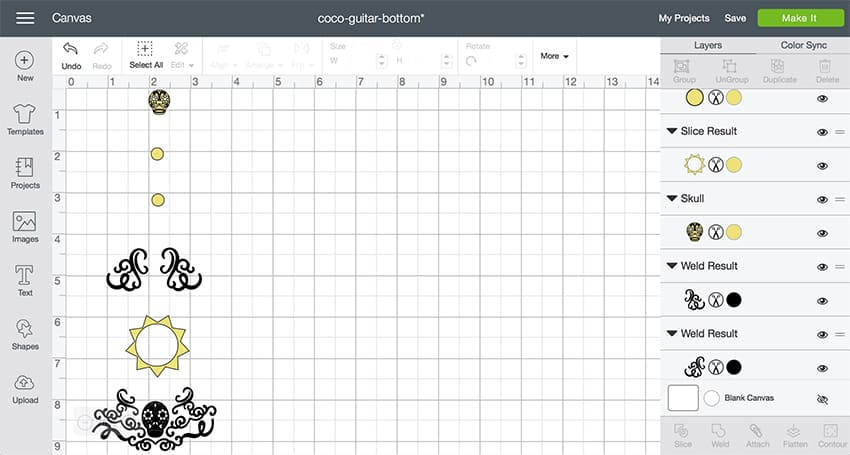 Cricut Design Space file for Coco guitar vinyl decals
Resize the design in Cricut Design Space to perfectly fit your toy guitar. Once you’re happy with the size, click ‘MAKE IT’. For individual placement of decals on the guitar, keep the designs separate. If you prefer to keep elements grouped, ‘attach’ the black design elements together and the yellow design elements together before proceeding to ‘MAKE IT’.
-
Weeding the Vinyl: After cutting, use a BrightPad to weed your vinyl. A BrightPad is especially helpful for intricate designs like this, particularly with black vinyl, making the weeding process much clearer and easier.
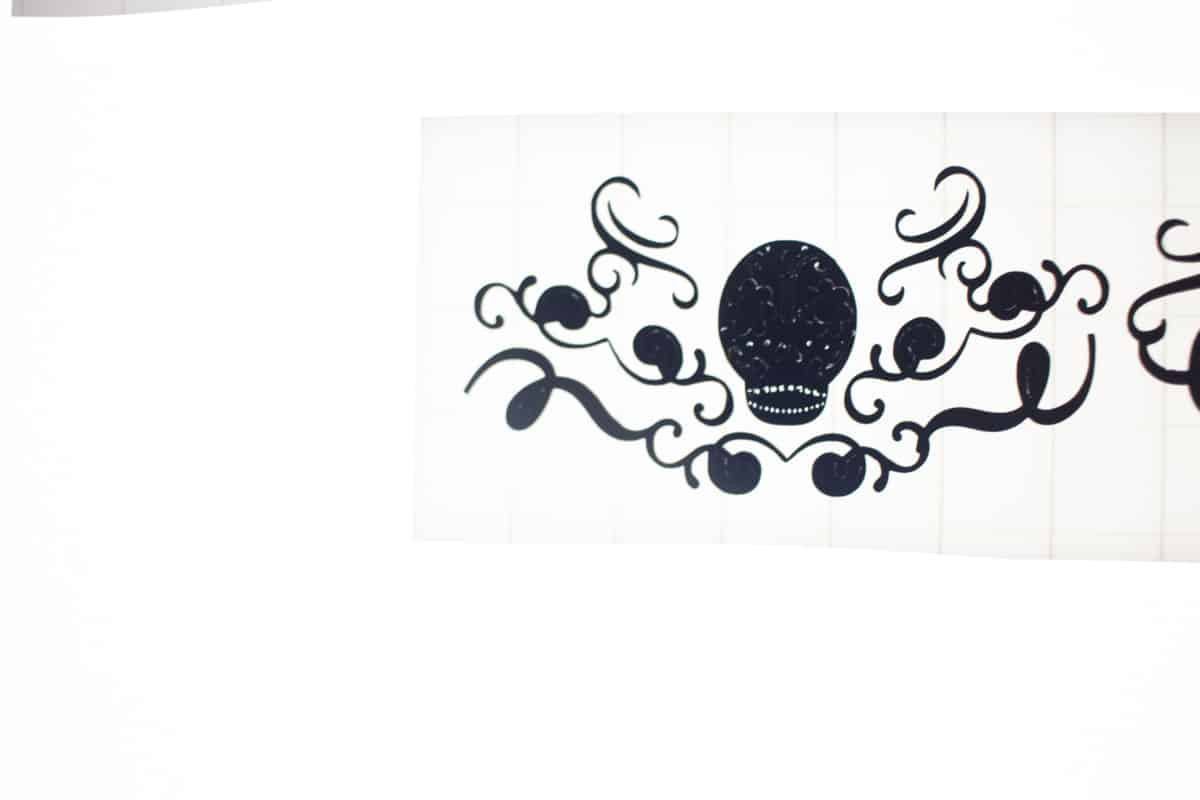 Weeding black vinyl for Coco guitar decals using BrightPad
The BrightPad illuminates the cut lines, ensuring you remove only the excess vinyl, leaving behind the desired design for your coco guitar.
-
Guitar Painting Primer: While weeding your vinyl decals, prepare your toy guitar for its transformation. Use white spray paint to coat the guitar. After the first coat, consider removing the strings from the ukulele to simplify painting. Apply multiple light coats of spray paint to prevent drips and ensure even coverage. Allow the paint to dry completely before moving on to the next step.
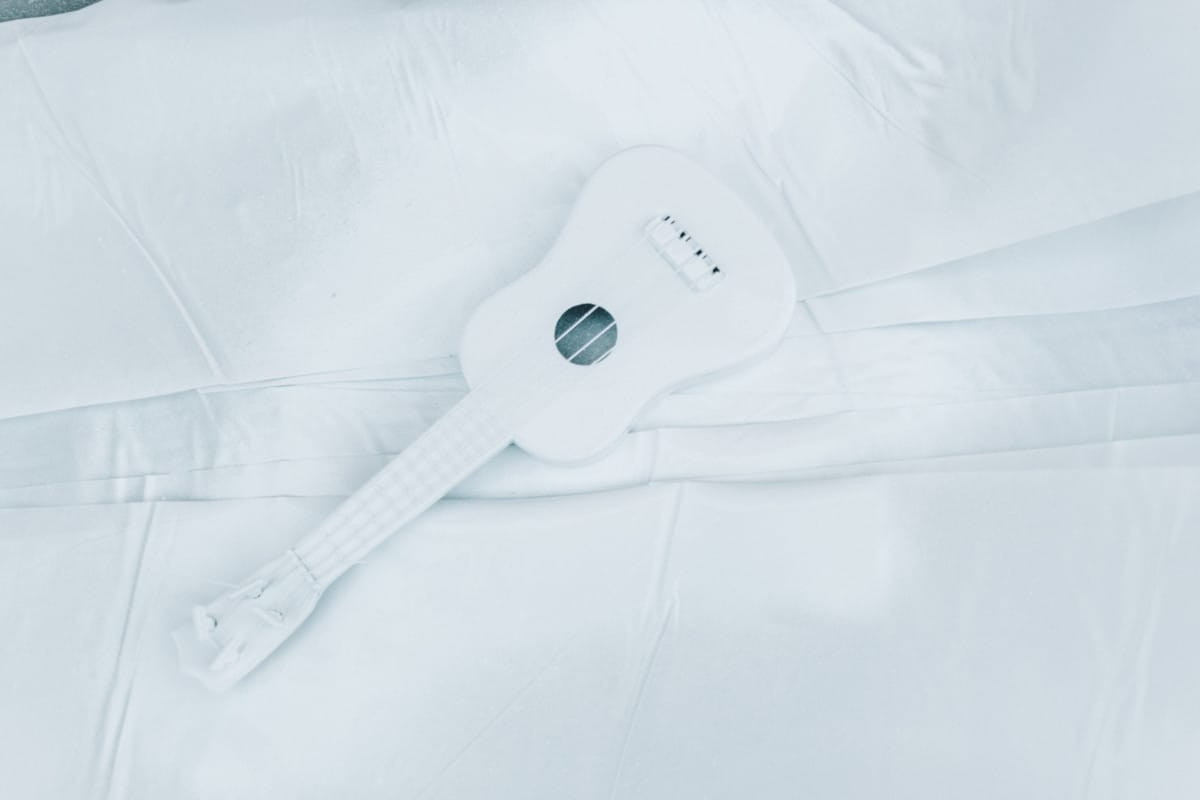 White spray painting the toy guitar for Coco guitar DIY
 -
Applying Vinyl Decals: Once the white paint is completely dry, it’s time to apply your meticulously weeded vinyl decals to create the signature coco guitar look. For transferring the delicate vinyl designs, Scotch tape is a great option because it’s less sticky than transfer tape, reducing the risk of lifting the fresh paint from your guitar.
Depending on the shape and size of your toy guitar, you might need to adjust the placement of the vinyl pieces. If necessary, like with the original creator’s guitar, you can cut and rearrange the vinyl to best fit the contours of your instrument.
-
Adding the Guitar Strap: To make the coco guitar easily portable for your little Miguel, attach a velvet ribbon or cord as a strap. This step is optional, but it allows for easy carrying and adds to the costume’s authenticity. Use a hot glue gun to secure the ribbon to the top of the neck and the lower body of the guitar. While hot glue provides a temporary hold suitable for costume use, be mindful that it may not withstand heavy play.
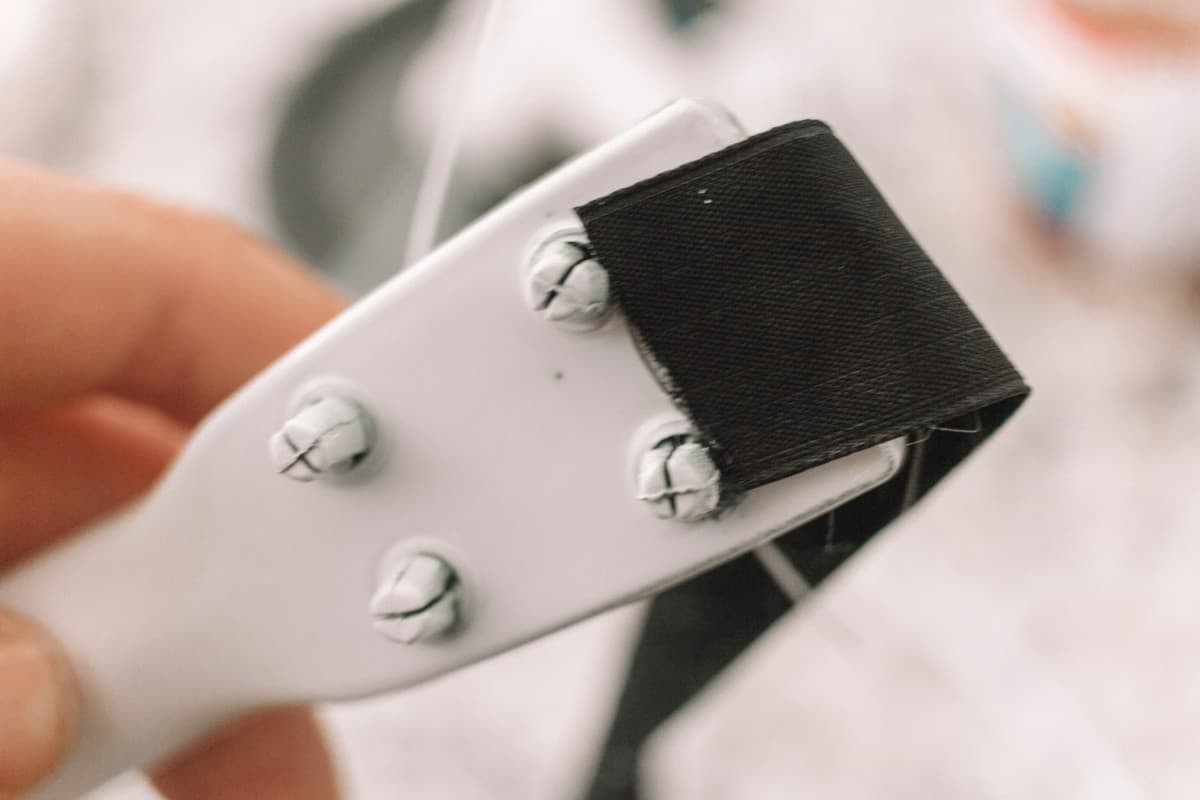 Attaching velvet ribbon strap to Coco guitar for easy carrying
 Cricut Design Space file for Coco guitar vinyl decals
Miguel’s Guitar from Coco: Finished and Ready to Play!
Congratulations! Your DIY coco guitar is now complete. This charming replica of Miguel’s guitar is perfect for completing a Coco costume, as a fun prop, or as a special gift for any Coco fan.
 Finished DIY Coco guitar for Coco costume or fan gift
Your very own coco guitar is ready for adventures in the Land of the Dead or simply for strumming along to your favorite Coco tunes!