
Embarking on the journey of building your own electric guitar is an incredibly rewarding experience, especially when you’re aiming for the iconic Les Paul style. This series will guide you through the process of creating a Les Paul Style Guitar that pays homage to the legendary ’59 Standard, while still proudly bearing your own mark. Forget about mere replicas; this is about crafting an instrument with soul and personal touch.
You’ll find endless discussions and minute details debated on Les Paul forums, sometimes bordering on obsession. From the exact shade of “mother of toilet seat” celluloid for the pickguard, to the precise curve of the body, enthusiasts delve into every conceivable aspect. Books like Yasuhiko Iwanade’s “The Beauty of the Burst” beautifully illustrate this dedication to detail. However, the key takeaway is that these guitars were handcrafted, each possessing its own unique character and variations.
For this build, we’ll utilize both the Stew-Mac blueprint and templates from guitarbuildingtemplates.com. While templates can be helpful, especially if readily available, a detailed blueprint is truly the essential foundation. Accuracy and careful execution are paramount, but remember the spirit of hand-craftsmanship that makes each Les Paul special.
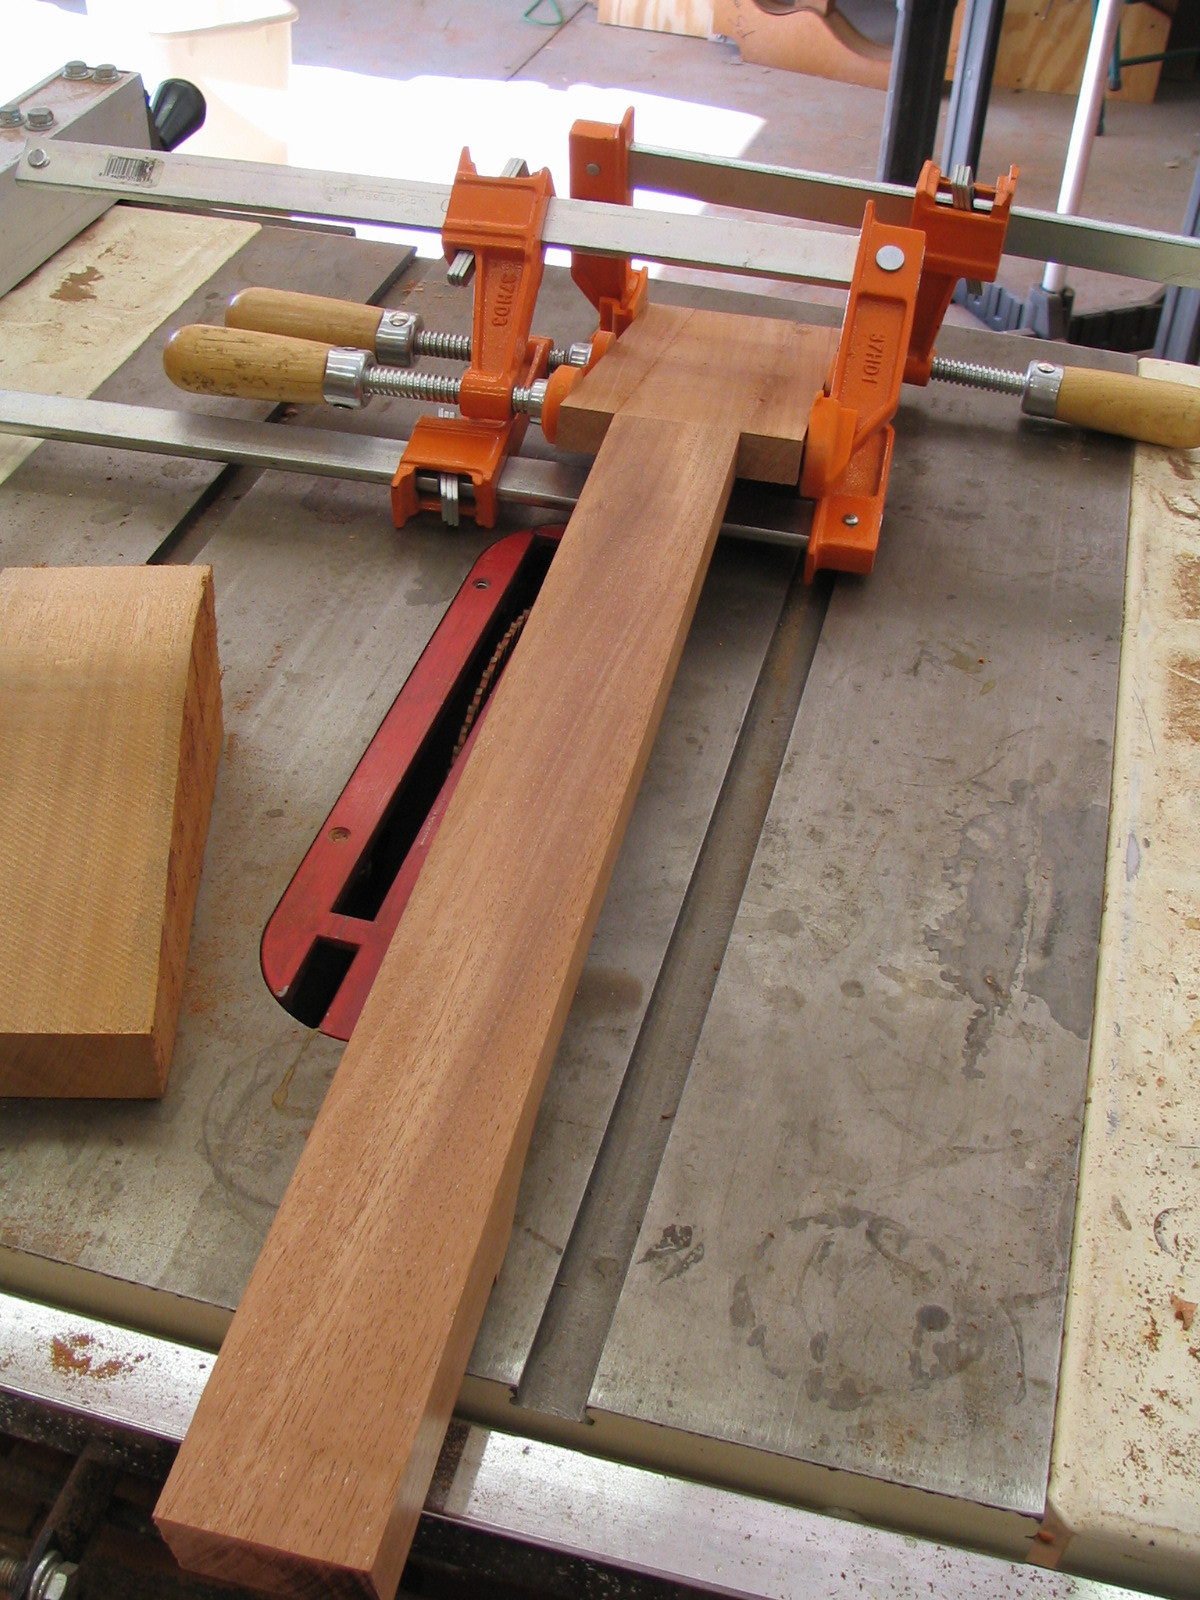
The first crucial step is sourcing your wood. For an authentic tone and feel, genuine Honduran mahogany is ideal for the body and neck. You’ll need 8/4 (two-inch rough) stock for the body and 6/4 for the neck. Historically, one-piece mahogany bodies were favored, but utilizing two or even more pieces is perfectly acceptable and often more economical. For the neck, a three-piece construction, with the main shaft and headstock “ears” glued on, offers both stability and efficient wood use.
 Close-up of Honduran mahogany wood for guitar neck and body
The original Les Pauls featured tops made from Eastern hard rock maple, often non-bookmatched. The figuring in the maple varied greatly, from highly flamed to plain. Modern reproductions, even those from Gibson, frequently use Western big leaf maple. While visually appealing, Western maple is softer and tonally different from the denser Eastern hard rock maple, which contributes to the brighter, snappier sound characteristic of vintage Les Pauls.
Let’s begin with the mahogany body. The first step is to cut the body blank to shape and rout the essential cavities: the control cavity and the wiring channel. Precision at this stage ensures proper component placement and clean wiring runs later on.
 Mahogany body blank with control cavity and wiring channel routes
 Routing the control cavity in the mahogany Les Paul style guitar body
Next comes the maple cap. We’re using non-bookmatched Eastern hard rock maple for this build, primarily for its aesthetic and tonal qualities. Cut the maple top to the same outline as the mahogany body. Don’t fret if the edges aren’t perfectly aligned at this stage; precise matching will be addressed when we cut the channels for the body binding later. You might notice holes drilled into the mahogany body in the images. These are weight relief holes, strategically placed to reduce the overall weight of the guitar, especially beneficial when working with denser pieces of mahogany.
 Maple cap placed on mahogany body with weight relief holes visible
Once the maple cap is securely glued to the mahogany body, the next step is to drill holes for the hardware and utilize a panel bit to create a recessed area on the top where it meets the body, reducing the top’s thickness to approximately 1/4 inch at the edge. This step also initiates the arch contour of the top. Crucially, the image also shows a jig used to establish the correct neck angle. A 4.4-degree neck angle is the target for optimal bridge height and playability. Too much or too little angle will result in an improperly positioned bridge. A protractor helps accurately determine the angle, and a simple jig can hold the guitar body at the precise angle for planing. A Wagner Safety Plane, a favored tool for luthiers, is then used to carefully plane the neck joint to the correct angle.
 Jig setup for setting the neck angle on a Les Paul style guitar body
 Planing the neck angle on the guitar body with a hand plane
Here’s a closer look at the body after the neck angle has been planed and the panel bit has started shaping the arch. You can see the initial curve forming on the maple top, hinting at the iconic contours to come.
Now for a critical element in Les Paul construction: the long neck tenon, highly prized by vintage guitar aficionados. Using a pattern maker’s router bit and a neck pocket template, carefully cut the mortise for the long tenon. This deep, strong neck joint is essential for sustain and resonance in a Les Paul style guitar.
 Cutting the long tenon neck joint on a Les Paul style guitar body
With the top still flat, before arch carving, rout the pickup cavities. This is easier to accomplish on a flat surface, ensuring accurate template placement. Also, drill the holes for the stop tailpiece and bridge at this point. Having these hardware locations established early streamlines the subsequent steps.
Now comes the physical work – carving the arch top! An Ibex archtop plane, equipped with a toothed iron, is ideal for removing wood efficiently and shaping the arch. As you approach the desired contour, switch to a pneumatic sander with a 40-grit abrasive to refine the curve and smooth out any plane marks. Patience and careful shaping are key to achieving a gracefully carved top.
 Arch carving process on the maple top of a Les Paul style guitar body
We’re getting closer to a finished guitar body! Next week, we’ll tackle the neck construction and neck fitting. Stay tuned for the next installment in this Les Paul style guitar build series.
Cheers,