
For anyone starting their musical journey with the acoustic guitar, mastering tuning is the absolute first step. Whether you dream of playing simple chords or shredding complex solos, a guitar that’s in tune is essential. Learning how to tune your acoustic guitar correctly from the start will pave the way for enjoyable practice sessions and unlock your ability to play your favorite songs.
This guide breaks down the process of acoustic guitar tuning into easy-to-understand steps. By the end, you’ll have the knowledge and confidence to keep your guitar sounding its best.
Understanding Guitar Tuning Basics
Before we dive into the methods, it’s helpful to grasp the mechanics behind tuning. Guitar strings are stretched between the bridge and the headstock. On acoustic guitars with steel strings, one end of the string is secured at the bridge with a bridge pin, and the other end wraps around tuning posts on the headstock. Nylon-string guitars use a tie-on method at the bridge and also wrap around tuning machines at the headstock.
Tuning pegs are crucial because they adjust string tension. Tension directly affects the pitch of the note. Tightening a string increases tension, resulting in a higher, sharper pitch. Conversely, loosening the string reduces tension, leading to a lower, flatter pitch. Sound itself is a pressure wave. A tighter string vibrates more rapidly, producing sound waves that are closer together (higher frequency), and therefore a higher pitch.
Thicker strings vibrate slower and produce lower pitches. This is why guitar strings have different gauges or thicknesses.
 Close-up of a guitar headstock showing tuning pegs and strings
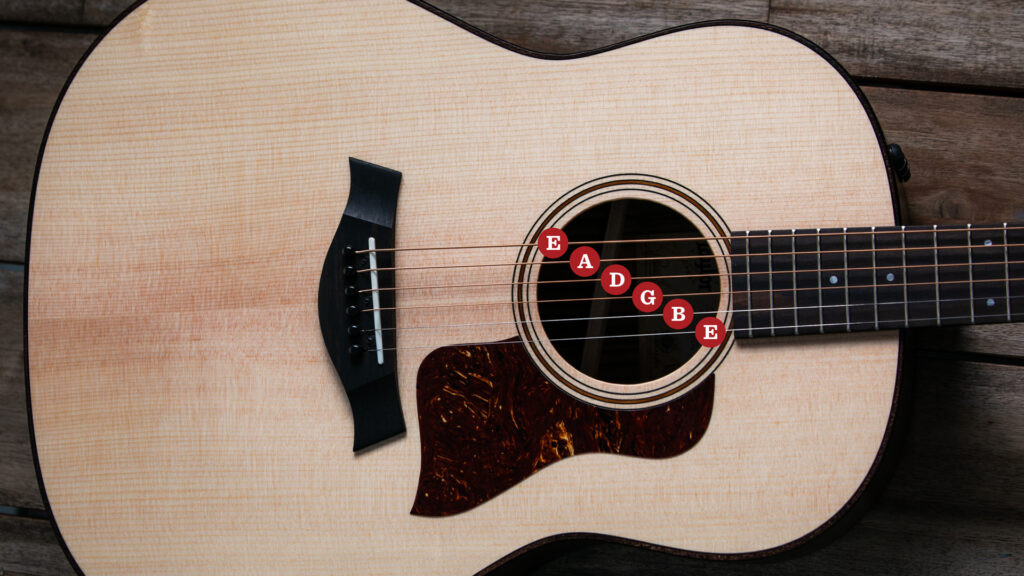
Standard Acoustic Guitar Tuning: EADGBE
Standard tuning is the most common tuning for acoustic guitars and is used across countless musical genres. Starting from the thickest string to the thinnest, the standard tuning notes are E A D G B E. Many players use mnemonics to memorize this sequence. Here are a few popular ones:
- Eddie Ate Dynamite, Good Bye Eddie
- Elephants And Donkeys Grow Big Ears
- Eat Apples Daily Get Better Energy
Guitar strings are also numbered, starting with the thickest, lowest-pitched string as the 6th string (low E), then the 5th string (A), and so on, down to the thinnest, highest-pitched string as the 1st string (high E). When tuning, remember that turning the tuning peg away from you (usually counter-clockwise when looking at the top of the headstock) tightens the string and raises the pitch. Turning the peg towards you (clockwise) loosens the string and lowers the pitch.
Always tune up to pitch. If a string is sharp (too high), loosen it below the correct pitch, and then tune upwards to the desired note. Tuning up to pitch helps stabilize the tuning because it reduces slack in the tuning gears, making them less likely to slip and cause the string to go out of tune.
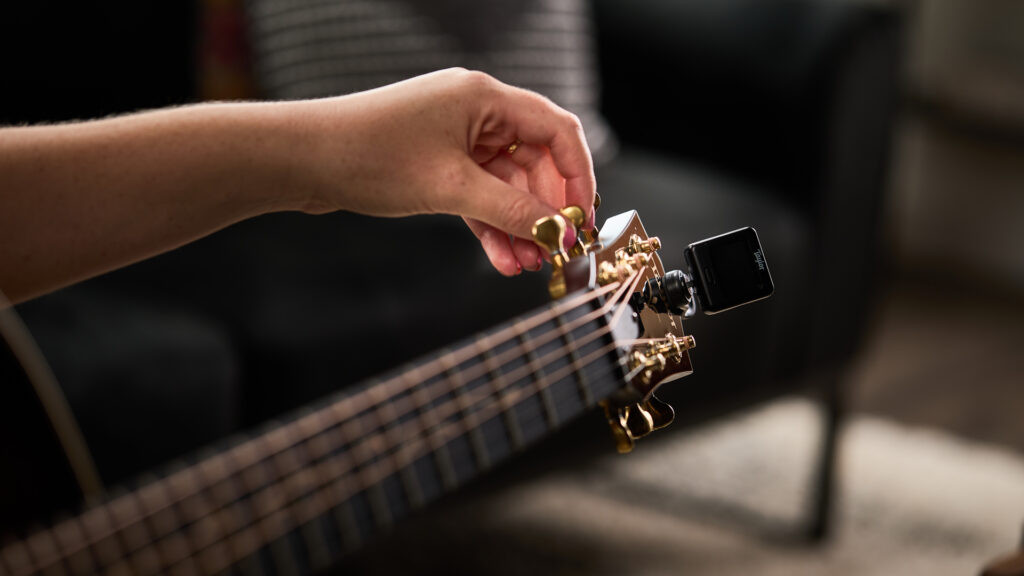
 Hands tuning a guitar headstock, showing tuning pegs
Effective Methods for Tuning Your Acoustic Guitar
Once you understand the basics, you can explore different tuning methods. There’s no single “best” way, so experiment to find what suits you best.
1. Using a Guitar Tuner or a Tuner App
For beginners, a chromatic tuner is an invaluable tool. These devices detect the pitch of the string you play and display whether it’s sharp, flat, or in tune. If you pluck the B string and the tuner indicates it’s flat, you’ll tighten the tuning peg until the display shows you’ve reached the correct B note.
Chromatic tuners come in several forms:
-
Pedal Tuners: These stompbox-style tuners are widely used by guitarists of all levels. You plug your guitar into the pedal using a standard guitar cable, and the tuner display lights up. Popular pedal tuners include models like the Korg Pitchblack or the BOSS TU-3, seen on many professional pedalboards. Note that pedal tuners require a guitar with a pickup as they don’t use a microphone.
-
Tuner Apps: For convenient tuning anywhere, tuner apps are excellent. Apps like GuitarTuna or Fender Guitar Tuner utilize your phone’s microphone to detect sound and guide you to the correct pitch. These are perfect for quick tuning on the go.
A crucial setting for chromatic tuners is the A440Hz reference frequency. Unless specified otherwise for a particular song, ensure your tuner is set to A440Hz. This is the standard frequency for the A note above middle C and is the universal standard in music. Most tuners default to this setting.
2. Tuning with a Piano or Keyboard
If you have access to a piano or keyboard, you can tune your guitar by matching pitches to the piano keys. This is particularly useful if you plan to play alongside a piano, ensuring both instruments are in tune with each other. Tuning to a piano requires some basic understanding of musical notes on the piano, but it’s a beneficial method that also trains your ear to recognize pitches.
3. Tuning Your Guitar by Ear
When a tuner or piano isn’t available, you can tune your guitar to itself by ear. While this might not be perfectly in tune to a reference pitch initially, it will ensure your guitar is internally consistent and sounds harmonious for casual playing, like around a campfire. Two common techniques for tuning by ear are:
-
Fifth Fret Method (5th Fret/Open String): The note at the 5th fret of any string (except the G string) should be the same pitch as the open string below it. For example, play the 5th fret of the 6th string (E), and you’ll hear an A note. Tune the open 5th string (A) to match this pitch. Repeat this process moving down the strings. The exception is between the G and B strings; for the B string, you’ll use the 4th fret of the G string to get a B note.
-
Harmonics Method: Guitar harmonics are clear, ringing tones produced by lightly touching a string above certain frets (typically the 5th, 7th, and 12th frets) and plucking the string. A 5th fret harmonic on one string will produce the same pitch as a 7th fret harmonic on the string below it. Play these harmonics simultaneously. If they are out of tune, you will hear a wavering or “beating” sound. Adjust the tuning peg until this “wobbling” disappears, and the harmonics ring clearly together. Again, for tuning the B string to the G string, you’ll need to use the 5th fret method described above due to the interval difference.
 Hands playing harmonics on an acoustic guitar neck
Tips to Keep Your Acoustic Guitar in Tune
Once your guitar is perfectly tuned, you’ll want to maintain that tuning for as long as possible. Here are some helpful tips:
-
Stretch New Strings: Whenever you put on new strings, take time to stretch them. Gently pull each string away from the fretboard a few times with your fingers, then retune. Repeat this a couple of times for each string. This pre-stretching minimizes string stretching while you play, which can quickly throw your guitar out of tune.
-
Use Quality Guitar Strings: Investing in high-quality strings significantly improves tuning stability. For example, Taylor guitars are factory-equipped with Elixir NANOWEB strings, known for their longevity and consistent tuning.
-
Tune Regularly: Frequent tuning, whether before practice, rehearsals, or performances, trains your ear to recognize when your guitar is out of tune. Developing this “tuning ear” allows you to identify and correct tuning issues quickly.
Stay Tuned and Keep Playing
Tuning might seem tedious at first, but it’s a fundamental skill that becomes second nature with practice. Whether you’re jamming with friends, playing on stage, or simply enjoying your guitar at home, being in tune is crucial for sounding your best.
Ultimately, a well-crafted and properly set-up acoustic guitar will be easier to tune and, more importantly, stay in tune. This is why quality craftsmanship matters, allowing you to focus on what you love most – playing music.
Explore more guitar tips and techniques on resources like the Taylor Guitars blog to continue your musical journey.