
Creating custom guitar pedals is a rewarding endeavor for any guitarist or electronics enthusiast. A key aspect of crafting your own stompbox is the enclosure, and etching offers a fantastic way to add professional-looking graphics and labels to your Guitar Pedal Enclosure. This guide provides a detailed, step-by-step process on how to etch your own guitar pedal enclosures, transforming a plain metal box into a personalized work of art.
Preparing Your Guitar Pedal Enclosure
Before you begin the etching process, proper preparation of your guitar pedal enclosure is crucial. Starting with the right type of enclosure can make a significant difference. Eddystone or Hammond enclosures are often favored for etching due to their quality and surface finish, which typically requires less initial preparation.
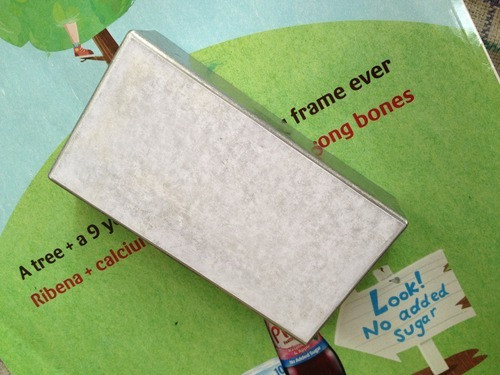
Begin by inspecting your chosen enclosure. It will likely have a slightly textured or imperfect surface straight from the manufacturer.
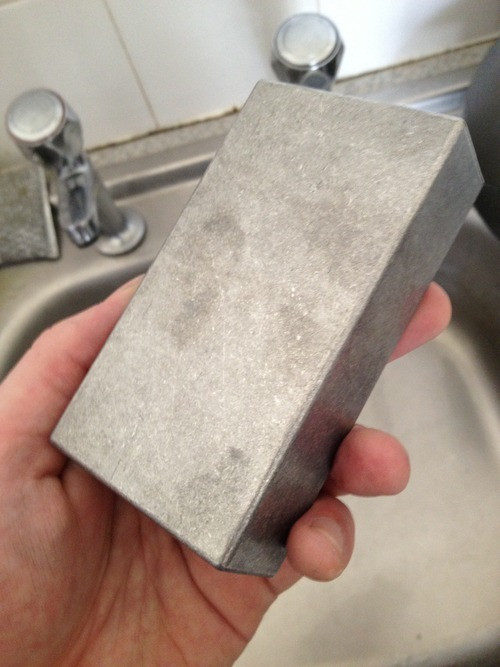 Unprepared guitar pedal enclosure ready for sanding
To create a smooth surface that will allow for a clean and crisp etch, you’ll need to sand the enclosure. Use a sanding block and 400 grit wet/dry sandpaper. Wet sanding helps to reduce dust and provides a smoother finish. Don’t overdo the water; a small splash is sufficient. Regularly rinse the enclosure to monitor your progress and ensure you’re removing imperfections evenly.
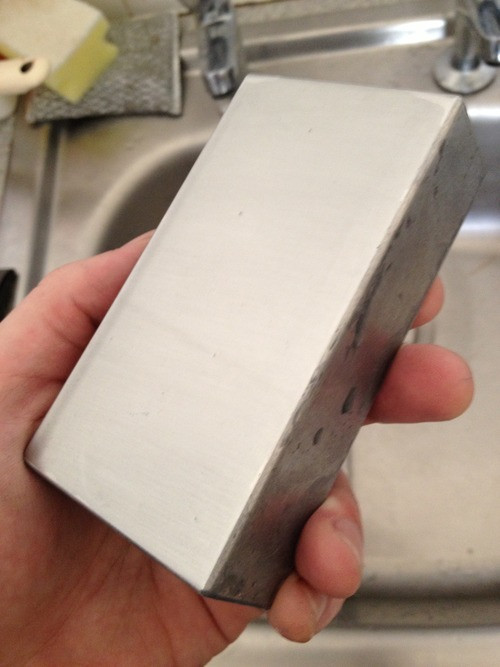 Guitar pedal enclosure after initial wet sanding with 400 grit sandpaper
Continue sanding until the surface is uniformly smooth and free of any visible scratches or imperfections. While moving to 800 grit sandpaper can create an even finer surface, it’s often unnecessary for a successful etch. The key is a consistent, smooth surface prepared with the 400 grit paper.
Cleaning for Optimal Etch Resist Adhesion
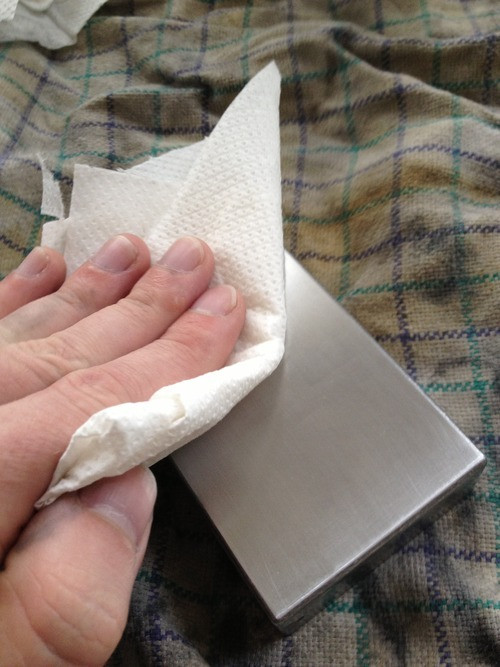
Cleanliness is paramount for the next stage. After sanding, rinse the enclosure thoroughly with water to remove any sanding residue. Then, use Acetone and a clean paper towel to meticulously clean the surface. This step is essential for removing any oils, fingerprints, or remaining dirt that could interfere with the transfer of your etch resist.
 Guitar pedal enclosure rinsed with water after sanding
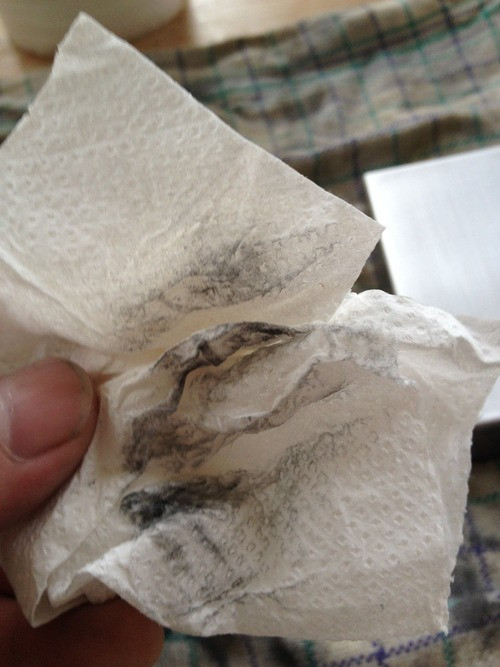 Guitar pedal enclosure being cleaned with acetone and a paper towel
A pristine, grease-free surface ensures that the toner from your printed image will properly adhere to the enclosure, creating a sharp and defined etch.
Preparing Your Image for Toner Transfer
The image you intend to etch onto your guitar pedal enclosure needs to be prepared correctly for toner transfer. This involves printing your design in negative and reverse. Printing in negative means that the areas you want to be etched will be clear on the transfer, allowing the etchant to reach the metal. Reversing the image ensures that your design reads correctly on the final etched pedal enclosure.
For optimal toner transfer, using a laser printer and specific paper is crucial. Polaroid Premium Gloss Photo Paper or similar glossy photo papers designed for laser printers work exceptionally well. Inkjet printers are not suitable for this process because inkjet ink sits on top of the paper and doesn’t transfer as effectively with heat. Laser printer toner, on the other hand, sits less firmly on this type of paper, making it ideal for heat transfer.
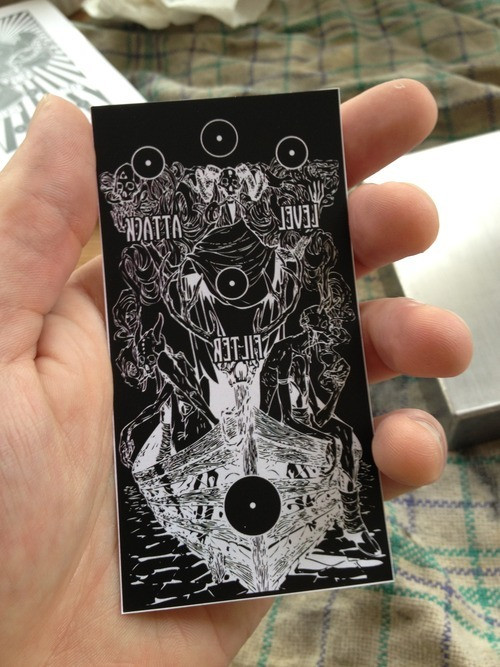 Printed reverse negative image on glossy photo paper for toner transfer
Toner Transfer to the Pedal Enclosure
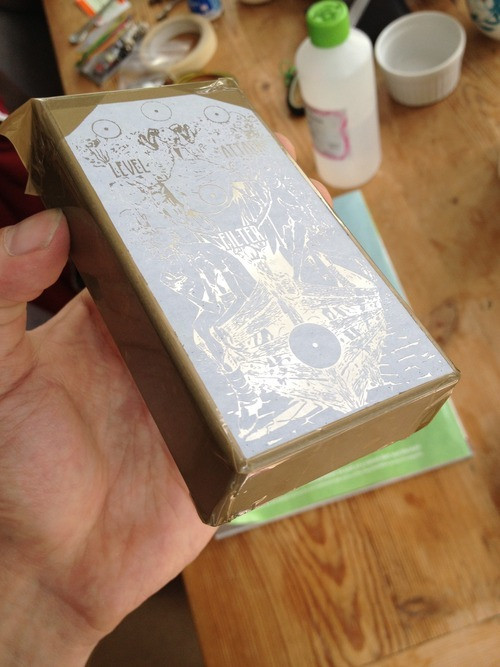
With your enclosure prepped and your image printed, the next step is transferring the toner to the metal surface. Handle the sanded surface of the enclosure with care, avoiding fingerprints. Carefully position your printed image face down onto the enclosure, aligning it precisely where you want the etch to appear. Once aligned, use paper masking tape to securely fix the image in place. Accurate alignment at this stage is critical, as repositioning is not possible once the transfer process begins.
 Positioning and taping the printed image onto the prepared guitar pedal enclosure
Heat is used to transfer the toner from the paper to the enclosure. Set a household iron to its maximum heat setting, ensuring steam is turned off. Place the hot iron onto the back of the printed image, applying even pressure across the design area for about 30 to 60 seconds. This initial heat application bonds the toner to the enclosure surface. Aluminum enclosures heat up rapidly, so be cautious when handling the enclosure during this process.
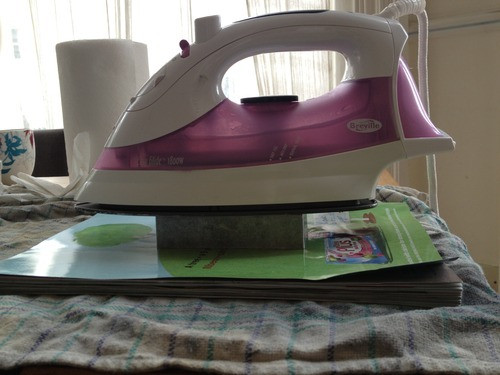 Applying heat with an iron to transfer toner onto the guitar pedal enclosure
After the initial heat set, begin moving the iron in small, circular motions over the entire design area. Maintain consistent pressure, but avoid pressing too hard, which could smudge the transferred toner. You’ll gradually see the toner transferring to the enclosure through the paper. This step requires thoroughness; spend at least 10 minutes for smaller enclosures and longer for larger ones to ensure a complete and even toner transfer.
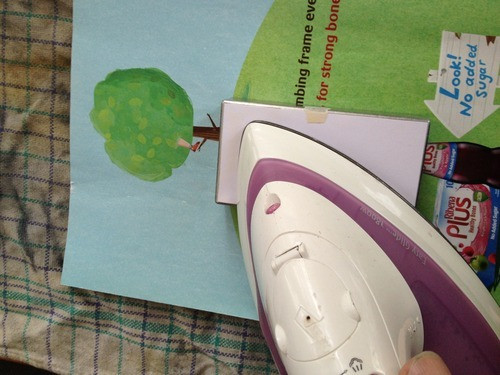 Applying continuous heat and pressure to ensure complete toner transfer
Inspecting the Toner Transfer
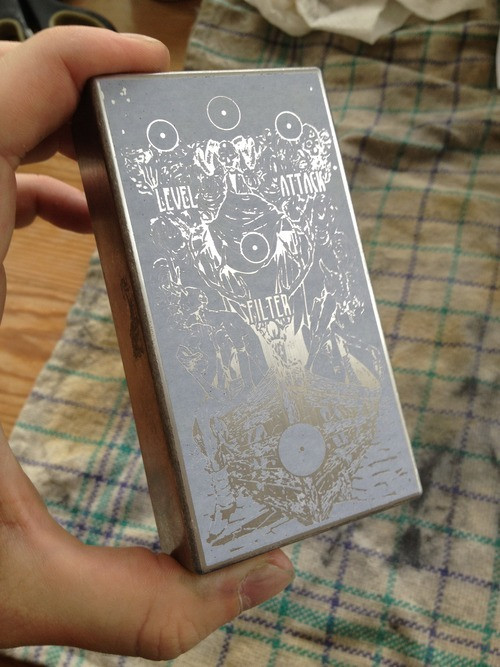
After applying heat, allow the enclosure to cool completely. Once cooled, carefully peel off the transfer paper. Ideally, the toner should have transferred cleanly and completely to the enclosure, leaving a crisp image.
 Guitar pedal enclosure after successful toner transfer, ready for etching
Examine the transferred image closely. The areas where the toner has transferred will resist the etchant, protecting the metal underneath. The exposed metal areas, where no toner is present, are the parts that will be etched away.
 Close-up of the guitar pedal enclosure showing the transferred toner image acting as an etch resist
Preparing for Etching with Caustic Soda
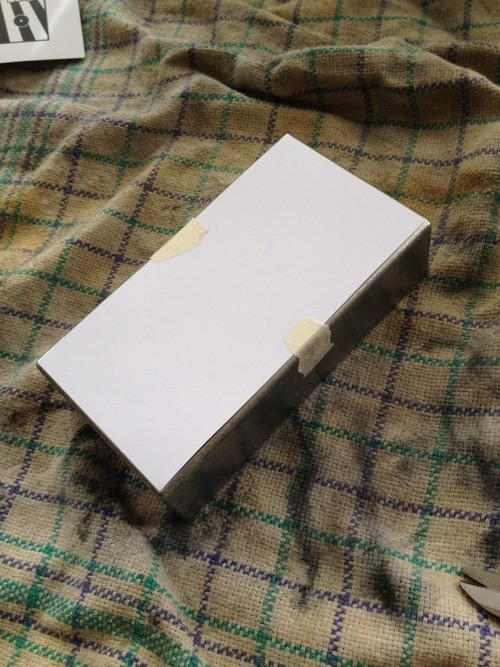
To contain the etching process to the top surface of the enclosure and protect the sides, use parcel tape to carefully mask off the sides. While some etchant might seep under the tape, this is usually minimal and can be easily addressed later.
 Taping the sides of the guitar pedal enclosure to protect them from etching
Safety First: Handling Caustic Soda
Warning: Caustic Soda (Sodium Hydroxide – NaOH) is a strong base and can cause severe burns. Always wear heavy-duty rubber gloves and appropriate eye protection when handling it and ensure you are working in a well-ventilated area.
For etching aluminum enclosures, Caustic Soda is an effective etchant that provides a sharper and cleaner result compared to Ferric Chloride. Furthermore, it’s drain-safe in diluted quantities, adding a small convenience to disposal.
To prepare the etching solution, you will need Caustic Soda flakes or granules and water. Crucially, always add Caustic Soda to water, never water to Caustic Soda. Adding water to Caustic Soda can cause a violent exothermic reaction, potentially leading to dangerous splashes and heat generation.
Start by measuring 100ml of water into a plastic container. Then, carefully add 40g of Caustic Soda to the water. Stir the solution gently to help the Caustic Soda dissolve completely. The exact concentration might need slight adjustments depending on the specific type of Caustic Soda you are using. It’s advisable to test with these proportions initially and adjust in future attempts if needed.
Once your solution is prepared, you are ready to begin etching.
Etching the Guitar Pedal Enclosure
Place your taped enclosure in a separate plastic container to catch any spills. Using a pipette, carefully apply the Caustic Soda solution to the exposed areas of the enclosure, i.e., the areas not covered by the toner resist. This controlled application method is preferable to submerging the entire enclosure, especially when using Caustic Soda, as submersion can lead to a much faster and potentially less controlled reaction that may damage the toner mask.
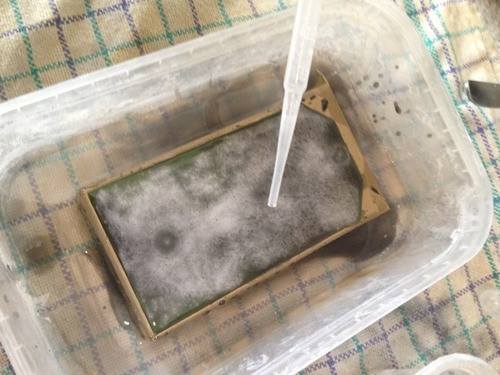 Applying caustic soda solution to the guitar pedal enclosure with a pipette
Upon application, you will observe a fizzing reaction as the Caustic Soda begins to etch the exposed aluminum. Be mindful of the fumes released during this process and ensure good ventilation. After applying the solution, let it sit for about 5 minutes to start the etching process.
Agitation is beneficial for achieving an even and faster etch. Using a paintbrush, gently move the solution around the surface of the enclosure for approximately 5 minutes. This agitation helps to remove reaction byproducts and keeps fresh etchant in contact with the metal. After agitation, use the brush to wipe off the solution from the surface and inspect the depth of the etch. Wiping lightly with a paper towel can improve visibility.
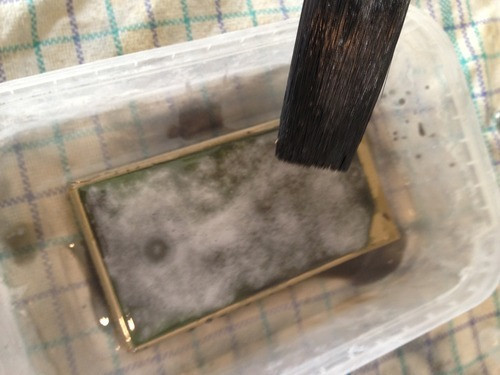 Agitating the caustic soda solution on the guitar pedal enclosure with a brush
Repeat the process of pipette application and brush agitation for 3-4 cycles, or until you achieve your desired etch depth. Keep a close watch on the toner resist; if you notice it starting to break down, it’s time to stop etching. Caustic Soda is aggressive and will eventually eat through the toner if left for too long.
Important Note: Unlike Ferric Chloride etching, using nail varnish to touch up minor imperfections in the toner resist is not advisable with Caustic Soda. The strong base will dissolve nail varnish.
Post-Etch Cleanup and Finishing
Once you are satisfied with the etch depth, rinse the enclosure thoroughly under running water to completely remove all traces of the Caustic Soda solution. Remember to keep your gloves on during this step. To remove the toner resist, use Acetone and a paper towel. You may need to use a liberal amount of Acetone. Alternatively, fine wire wool with soapy water can also be effective in removing the toner.
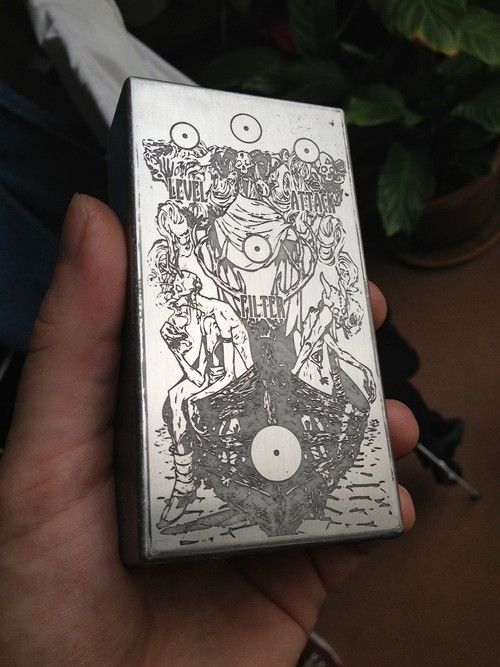 Guitar pedal enclosure after etching and toner removal, revealing the etched design
At this stage, you should have a nicely etched guitar pedal enclosure with your design clearly visible.
Enhancing the Etched Design with Paint Infill
To make the etched design stand out even more, consider using enamel spray paint to infill the etched areas. Mask off the sides of the enclosure again with tape. Spray paint over the etched surface, ensuring an even coat that fills the recessed areas.
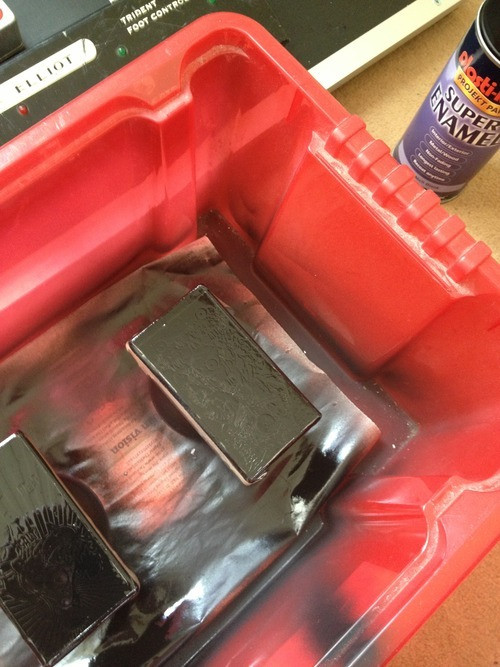 Applying enamel spray paint to the etched guitar pedal enclosure
Allow the paint to dry completely, ideally overnight. Once dry, use a sanding block and 1200 grit or higher sandpaper to carefully flat sand the surface of the enclosure. The goal is to remove the paint from the top surface, leaving paint only in the etched grooves. Using a fine grit sandpaper prevents scratching the unetched areas and helps maintain contrast.
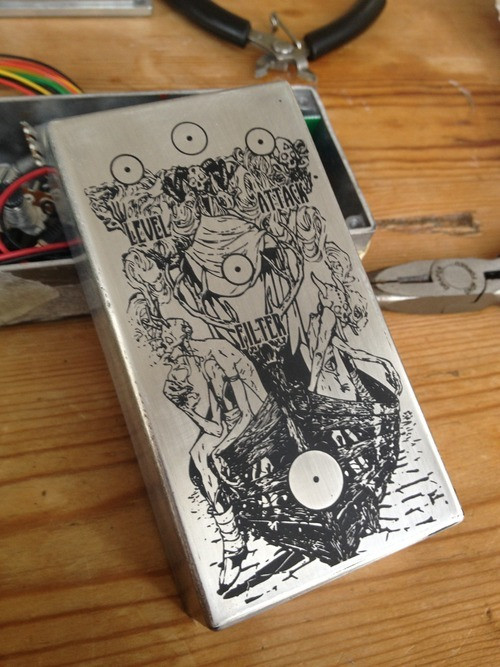 Finished etched and paint-filled guitar pedal enclosure after sanding off excess paint
For added protection and to maintain a glossy finish, especially with aluminum which can oxidize and dull over time, you can apply a clear spray lacquer as a final step. This will help preserve the finish and keep your custom etched guitar pedal enclosure looking its best.
With these steps, you can create professional and personalized guitar pedal enclosures, adding a unique touch to your DIY pedal builds.