
For anyone venturing into the world of guitar playing, grasping the function of a truss rod is crucial. This seemingly simple component within both acoustic and electric guitars plays a vital role in the instrument’s playability and sound. Whether you’re just starting your musical journey or looking to deepen your guitar knowledge, understanding the truss rod is an investment in your musical future.
What Exactly is a Guitar Truss Rod?
At its core, a truss rod is a slender metal rod embedded within the guitar’s neck. It stretches from the nut, located at the headstock, down to the heel, where the neck meets the guitar’s body. Positioned just beneath the fretboard, the truss rod is typically accessible through a small opening at the headstock, often concealed by a cover. As noted by Taylor Guitars, some models, particularly older nylon-string guitars and designs like the Big Baby, have the truss rod accessible via the soundhole – a design still employed by some acoustic guitar manufacturers today.
To visualize the truss rod’s placement, consider these cross-section views of a Taylor guitar neck:
Figure 1: Truss Rod Location at the Headstock
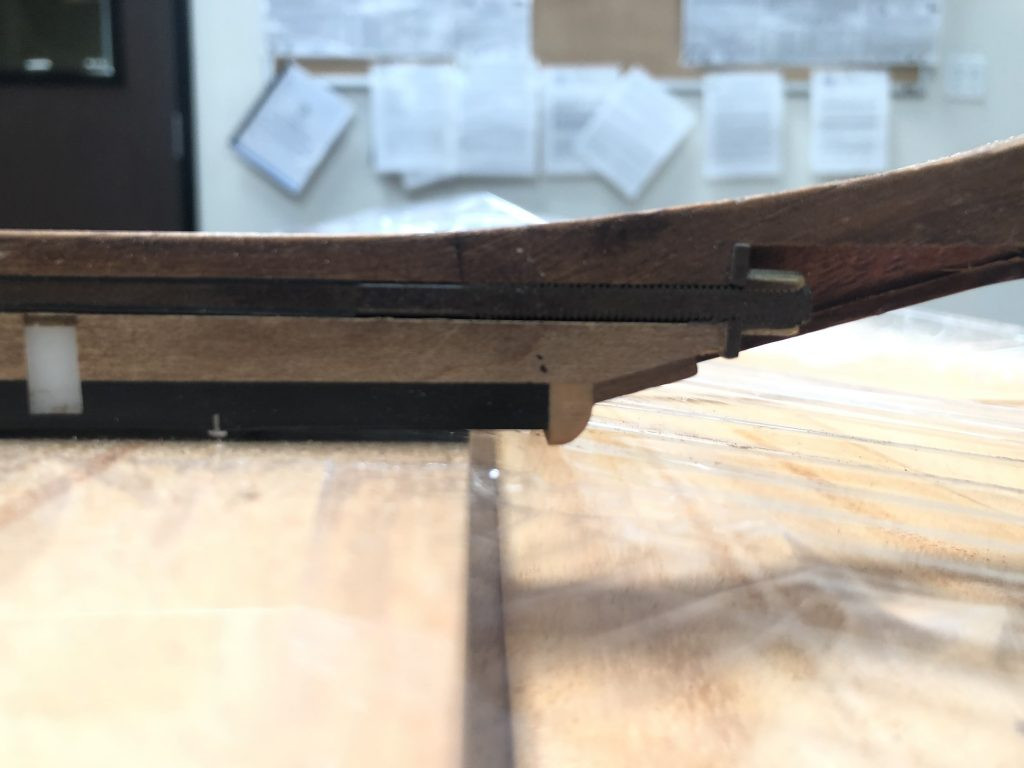 Truss rod positioned within the guitar neck at the headstock
Figure 2: Truss Rod Location at the Heel
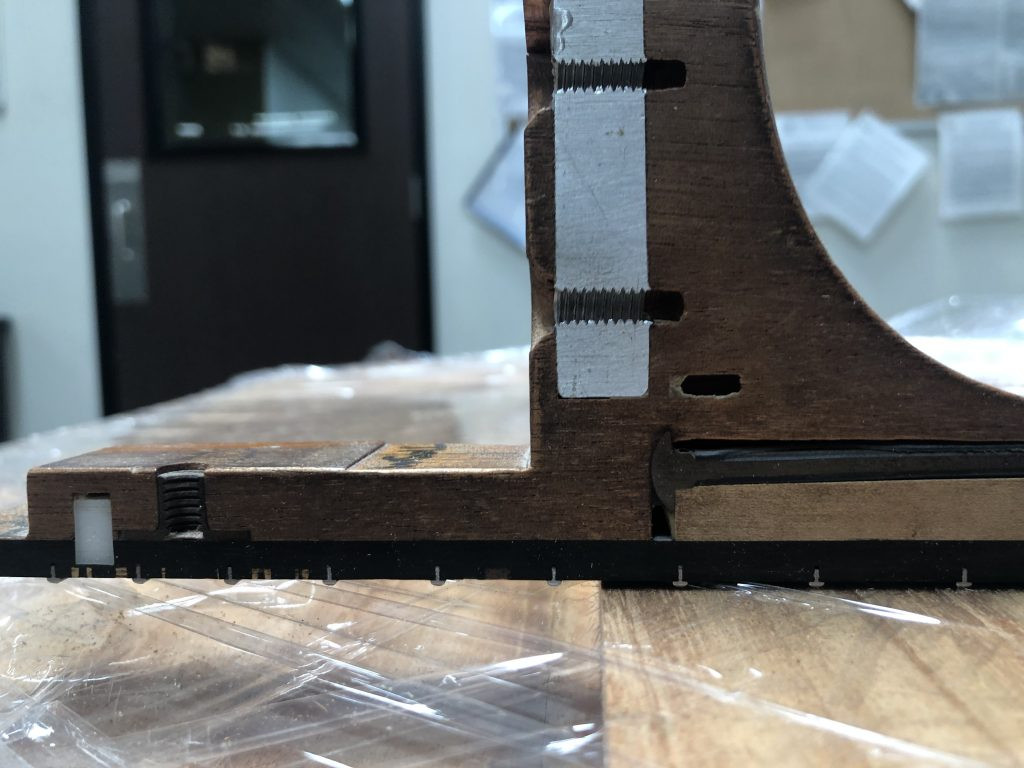 Truss rod running through the guitar neck and ending at the heel
The Critical Function of the Truss Rod: Managing Neck Relief
The primary purpose of the truss rod in steel-string guitars, both acoustic and electric, is to counteract the immense tension exerted by the strings. This tension can be significant; even light gauge acoustic strings can apply up to 180 pounds of force, pulling upwards on the guitar neck and bridge. The truss rod acts as a vital counterbalance, preventing the neck from bowing excessively under this pressure.
From a player’s perspective, the truss rod becomes essential when adjusting a guitar’s neck relief. Neck relief refers to the slight curve in the guitar neck, which is a deliberate and crucial aspect of guitar setup. This curvature is a matter of player preference and playing style; there’s no single “correct” relief setting that suits everyone. Different playing techniques and string gauges may necessitate adjustments to the neck relief for optimal performance.
It’s a common misconception that the truss rod is solely for adjusting guitar action – the string height above the fretboard. While truss rod adjustments can influence action, it’s not the direct solution for setting action. Action is more accurately defined as the ease of pressing down strings to play. Adjusting the truss rod might be one step in achieving desired action, but a comprehensive setup might also involve adjusting the neck angle or the bridge saddle. Over-relying on the truss rod to correct action issues, such as attempting to compensate for a poor neck angle, can lead to problems like fret buzz if taken too far.
How to Adjust Your Guitar’s Truss Rod for Optimal Playability
For minor adjustments to neck relief, you can confidently tweak the truss rod at home without needing a professional luthier for every small change. Glen Wolff, Customer Service Manager at Taylor Guitars, reassures players:
Myths abound about truss rod adjustments, often accompanied by warnings of snapping rods or advice to solely adjust the saddle. While these anxieties may stem from experiences with older, potentially problematic guitars, modern truss rods are robust and designed for adjustment. The truss rod’s very purpose is to allow for neck relief adjustments, counteracting string tension. Following instructions and utilizing available video demonstrations will empower you to confidently adjust your Taylor guitar’s truss rod without risk.
The adjustment process is relatively straightforward. Begin by sighting down the guitar neck from the headstock to assess its straightness. Observe if there’s a bow in the middle of the neck. If the neck bows downwards, away from the strings, you need to tighten the truss rod. This is done by turning the truss rod adjustment nut clockwise, typically in small increments like a quarter or half turn. Conversely, if the neck bows upwards, towards the strings, you’ll need to loosen the truss rod by turning it counter-clockwise. Remember the familiar phrase: “righty-tighty, lefty-loosey.”
This simple adjustment can often resolve common playability issues related to neck relief. However, if truss rod adjustments don’t address the problem, or if you’re uncomfortable performing the adjustment yourself, it’s always best to consult with an experienced guitar technician or luthier. For Taylor guitar owners, contacting their customer service line is a great first step to find a Taylor-authorized service center nearby for expert assistance.