 como pintar una guitarra
Painting A Guitar might seem daunting, but with the right guidance, it’s a rewarding DIY project. This comprehensive guide will walk you through each step of painting a guitar professionally, even if you’re starting from scratch. We’ll focus on using industry-standard nitrocellulose spray paints and varnishes, the most popular method for achieving a classic guitar finish.
Before you begin the painting process, it’s crucial to properly disassemble your guitar. This is a necessary step regardless of the painting technique you choose. We highly recommend reading our detailed guide on how to disassemble a guitar correctly to ensure you start this project on the right foot and avoid any damage to your instrument.
Essential Materials for Painting Your Guitar
 pintar guitarra desde cero
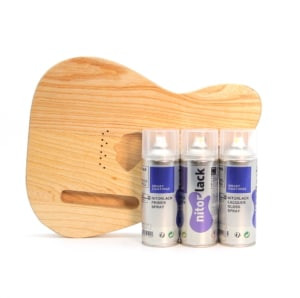
To successfully paint your guitar as outlined in this guide, you’ll need to gather the following materials. Using quality products will significantly impact the final outcome and ensure a durable, beautiful finish.
- Sanding Block: For even sanding and surface preparation.
- Sandpaper (Various Grits): 800, 1200, 1500, and 2000 grit for progressively smoother finishes.
- Nitorlack Primer: A high-quality primer specifically designed for guitar finishes, crucial for proper paint adhesion.
- Guitar Paint Sprays: Choose your desired color in nitrocellulose spray paint, formulated for musical instruments.
- Nitorlack Varnish / Nitorlack Golden Age Lacquer: Nitrocellulose varnish for a protective and glossy topcoat. Nitorlack Golden Age offers a vintage-style finish.
- Mirka Polarshine Polishing Compounds (10 & 5): Professional-grade polishing compounds for achieving a mirror-like shine.
- Microfiber Cloths: For cleaning and polishing without scratching the finish.
Step-by-Step Guide to Painting Your Guitar Professionally
Phase 1: Pore Filling and Surface Preparation
 cubrir poro madera
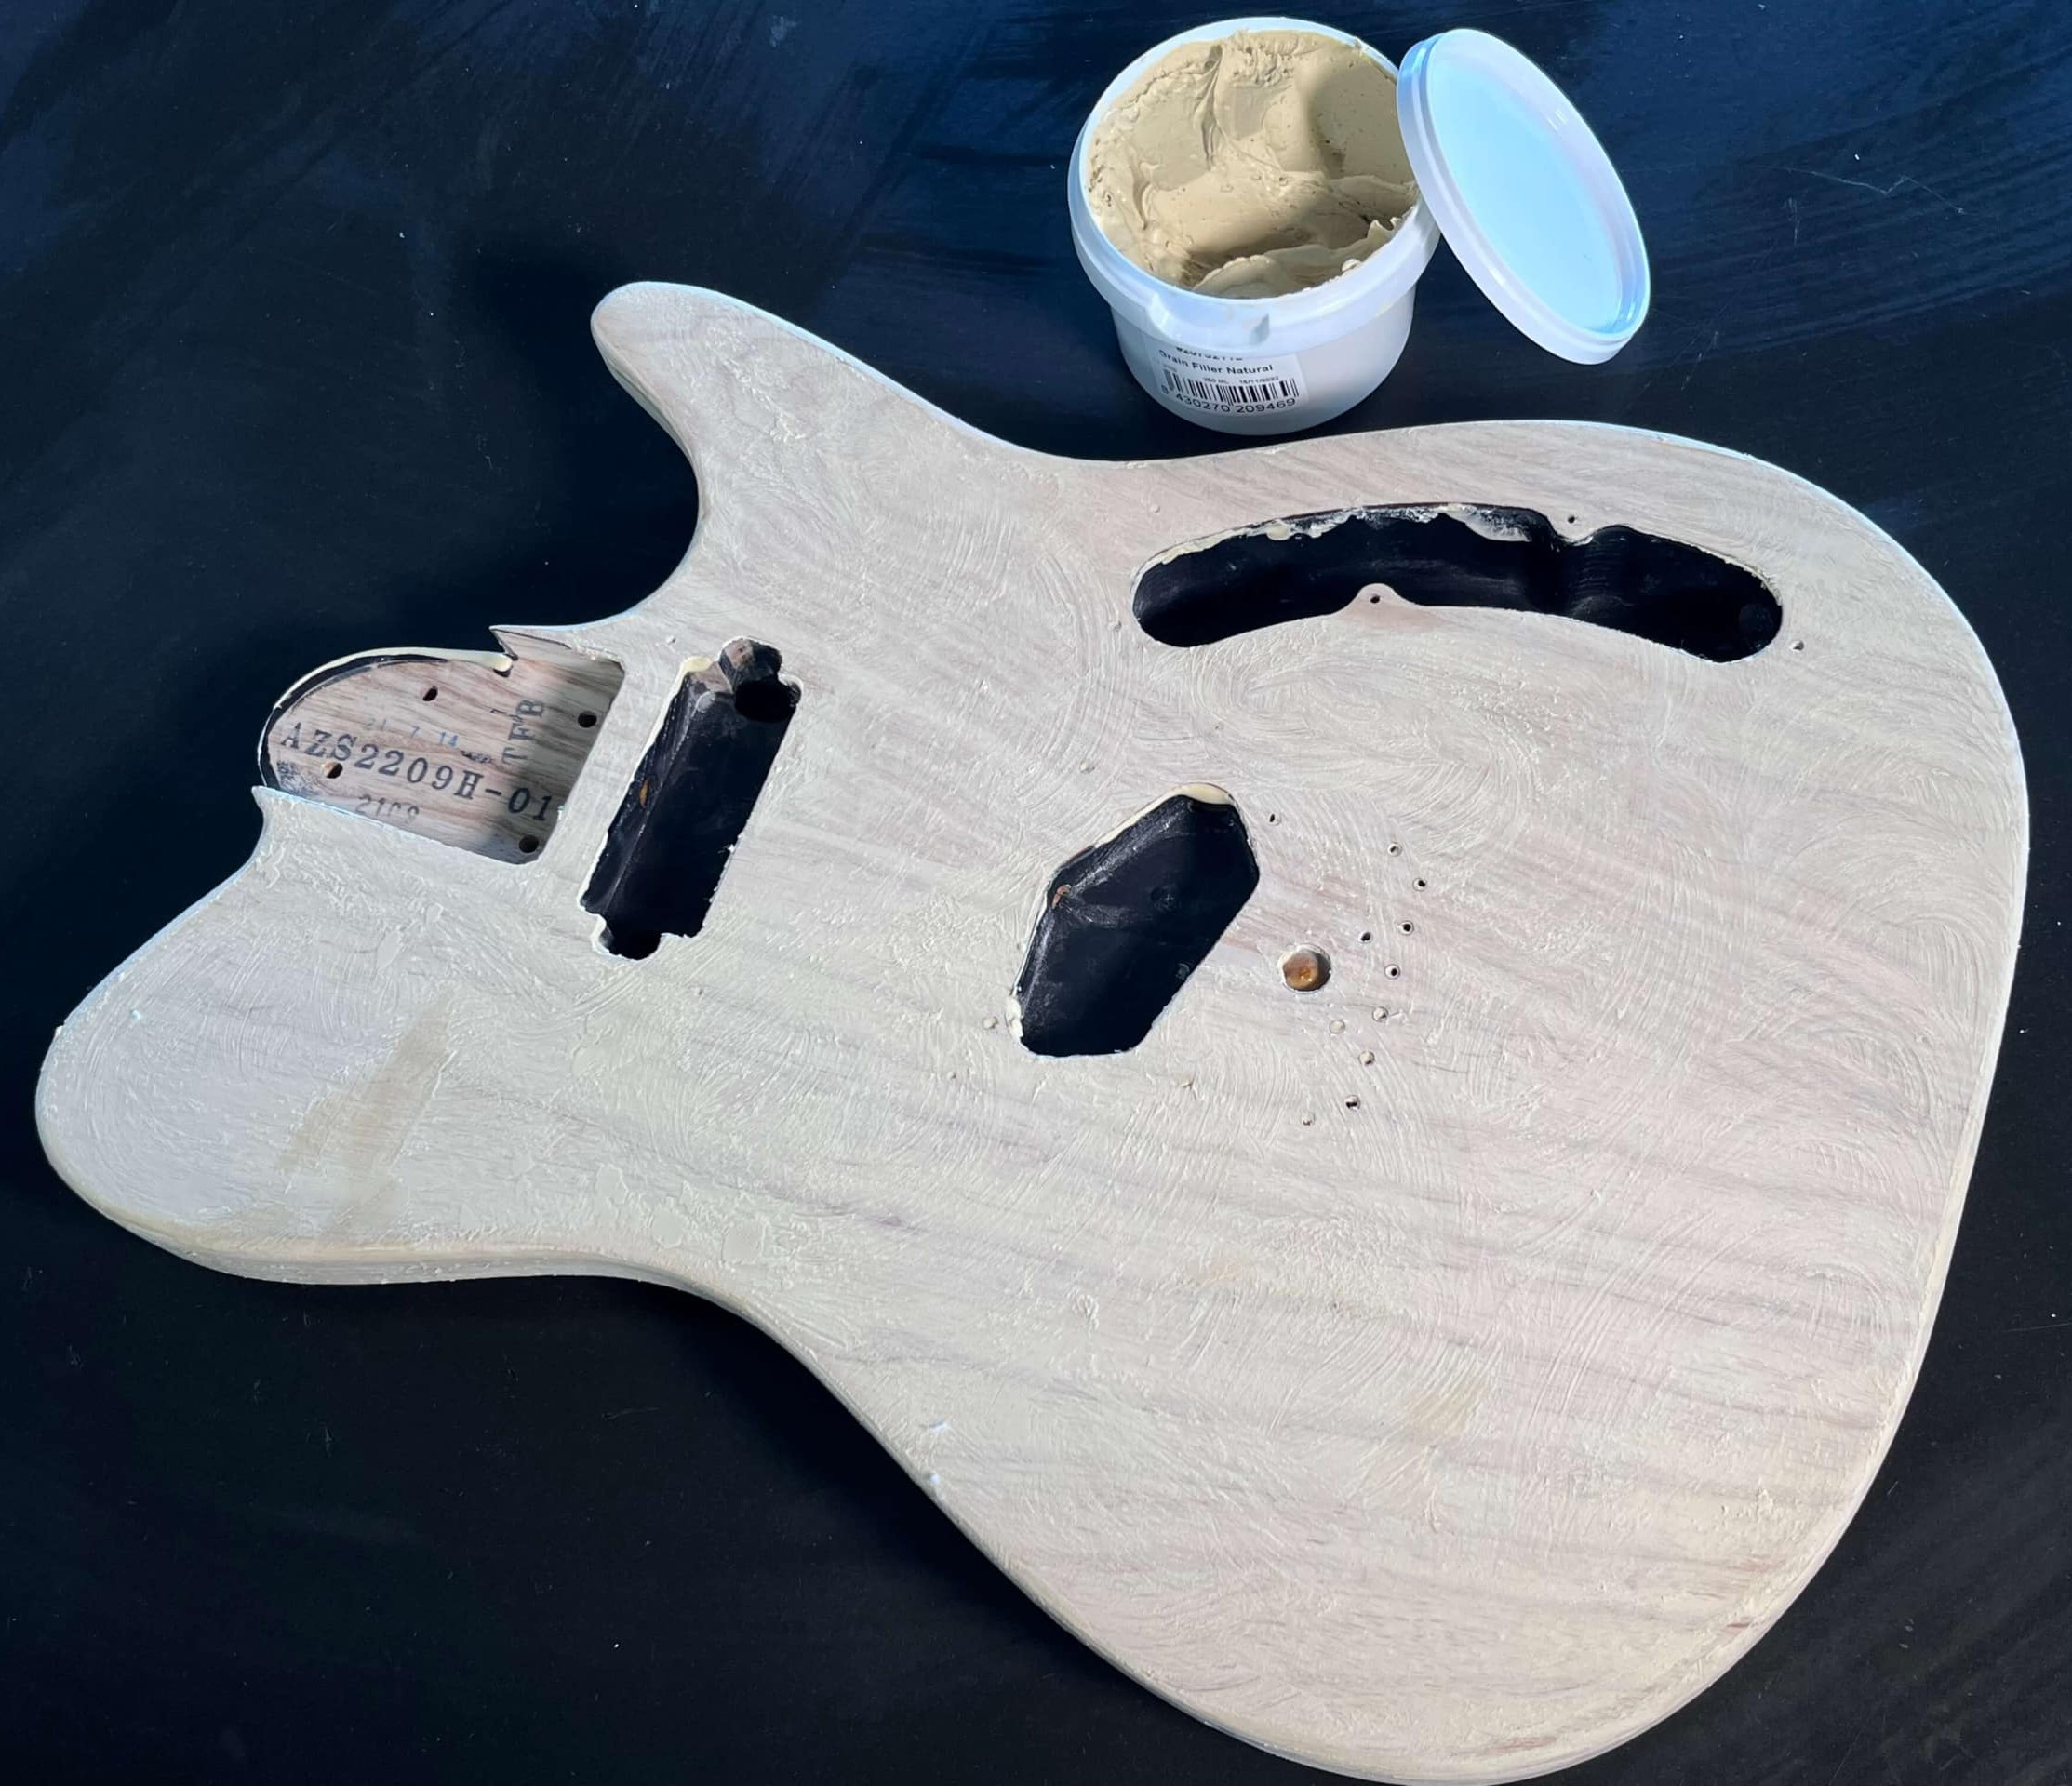
Properly sealing the wood pores is fundamental for a flawless guitar paint job. This step creates a smooth, even surface, reducing the amount of primer and color coats needed and ensuring a professional-looking finish.
Using a grain filler is highly recommended, especially for open-pore woods like mahogany or ash. For denser woods like alder or maple, it’s optional but can still enhance the final surface. Think of grain filler as a base coat that sets the stage for the primer and paint to follow.
- Applying Grain Filler (Optional but Recommended for Open-Pore Woods): Mix water-based grain filler with water until it forms a paste. Apply this paste to the guitar body, working it into the wood pores with a cloth or spatula. After a few minutes, clean off the excess and sand lightly once dry. This fills the pores and creates a level surface.
- Applying Nitorlack Primer: Apply thin, even coats of Nitorlack Primer. Allow each coat to dry completely and sand lightly with 800 grit sandpaper between coats. Repeat this process until all wood imperfections are filled, and you have a uniformly smooth surface. For guitars treated with grain filler, 2-3 coats of primer are usually sufficient. If you skipped the grain filler, you might need a few more coats to achieve a perfectly smooth base.
- Final Sanding (Primer): Finish the primer surface with 800 grit sandpaper. The goal is to create a flawlessly smooth surface, ready to receive the color coats. This meticulous sanding is key to avoiding imperfections in the final paint job.
Phase 2: Applying the Guitar Color Paint
 aplicación de la pintura
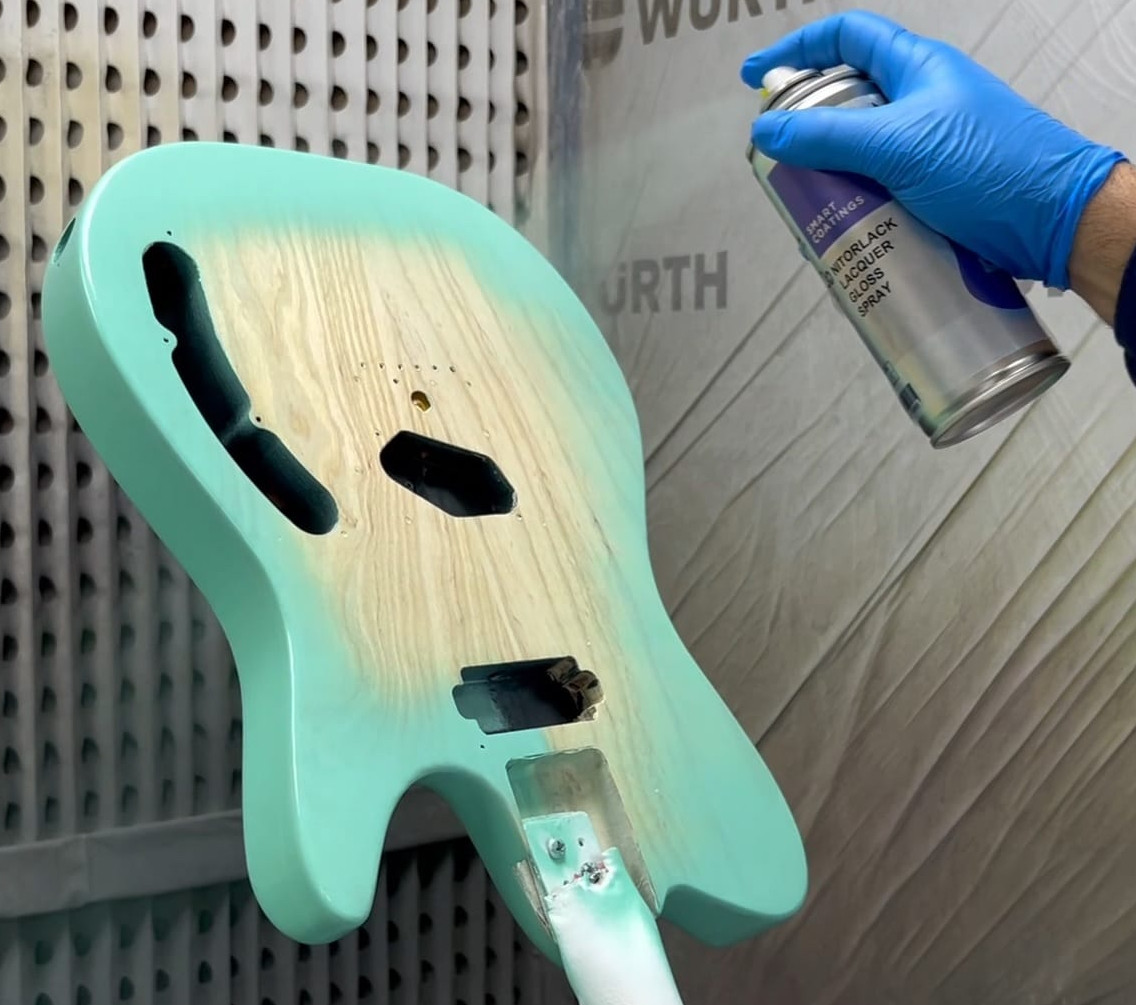
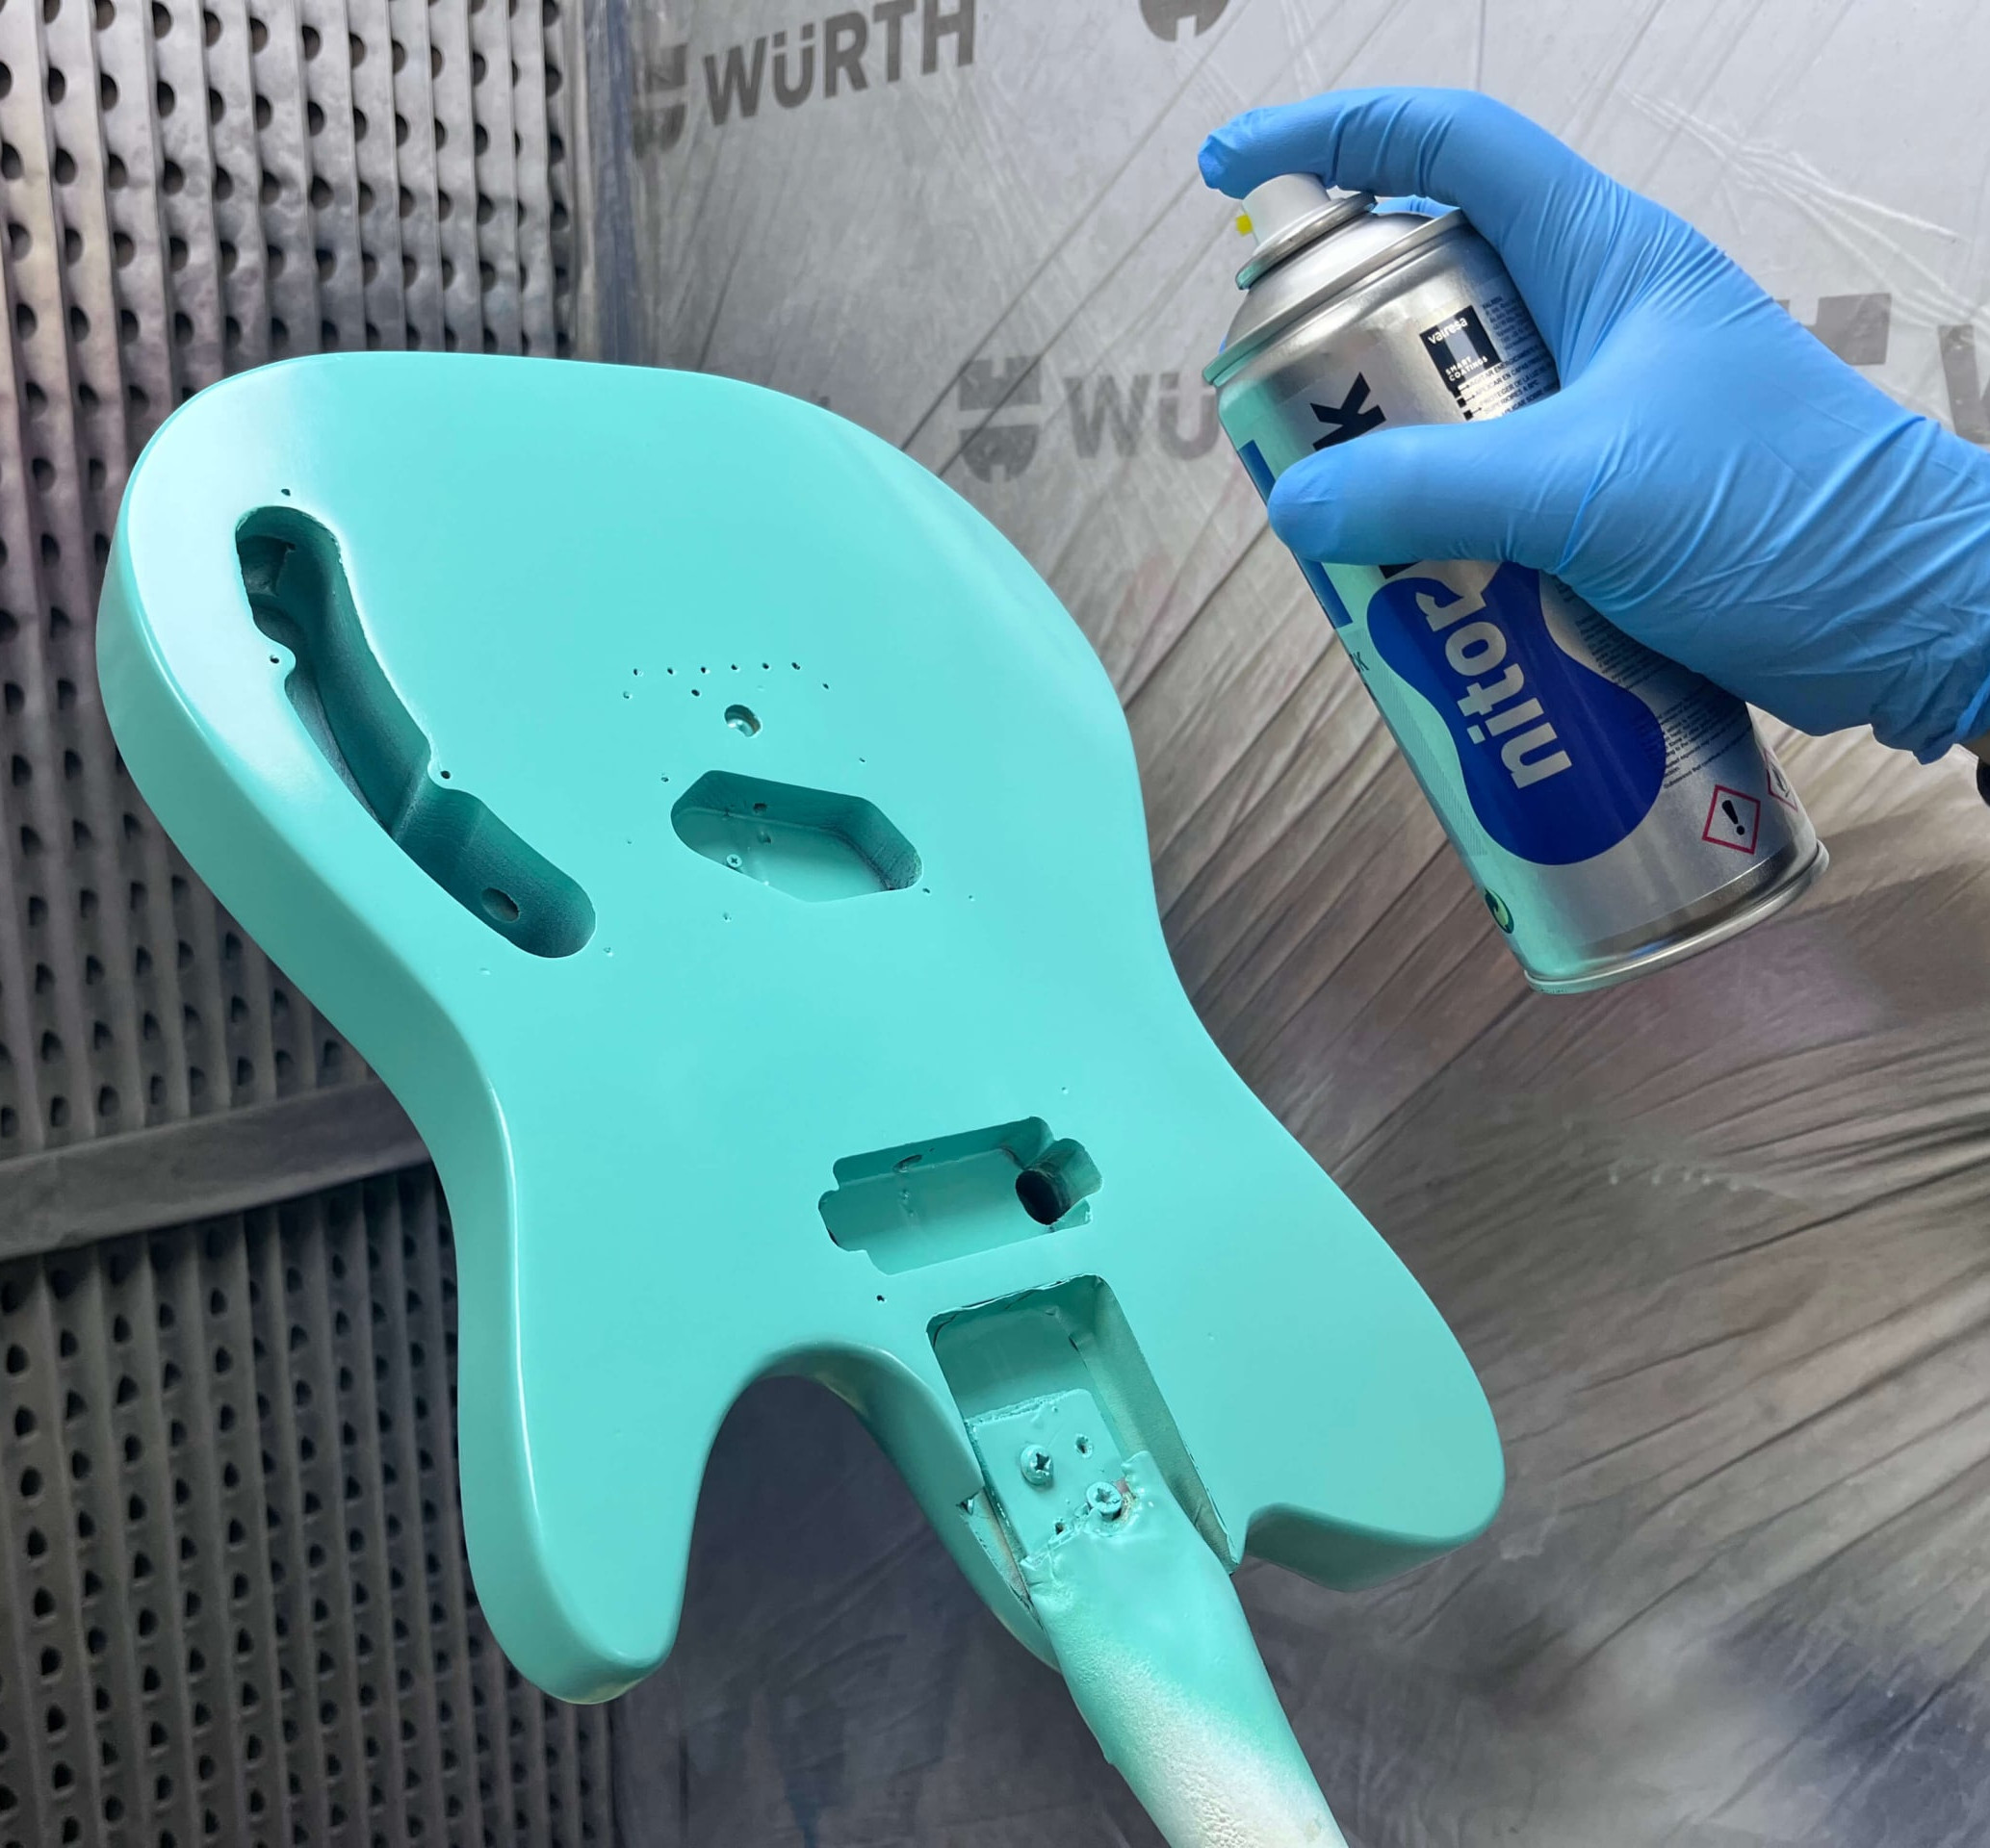
With the surface properly primed and smooth, it’s time to apply the color coats. Whether using spray cans or a paint spray gun, the technique remains the same: even, thin coats are crucial for a professional result.
- First Pass – Edges and Contours: Begin by painting the edges and contoured areas of the guitar body. These areas are often missed and require focused attention to ensure even coverage.
- Main Surfaces – Front and Back: Proceed to paint the front and back surfaces using smooth, linear strokes. Maintain a consistent, overlapping pattern to avoid streaks and ensure uniform color distribution.
- Thin and Even Coats: Apply thin coats of paint to prevent runs and drips. Multiple thin coats are always better than one thick coat. This allows for proper drying and minimizes the risk of imperfections.
- Spray Distance: Hold the spray can or spray gun approximately 25 cm (10 inches) from the guitar surface. Maintaining the correct distance is important for even paint application and preventing paint from pooling or drying unevenly.
- Inter-coat Sanding: Between each color coat, lightly sand with 800 grit sandpaper to remove any minor imperfections or dust particles that may have settled on the surface. This ensures a perfectly smooth base for subsequent coats and ultimately, the final varnish.
- Drying Time: Allow at least 12 hours of drying time between coats. Adequate drying time is essential for the paint to cure properly and prevent issues later in the finishing process. Uniform drying from the initial coat outwards is key to a durable finish.
- Coverage and Inspection: Continue applying thin coats until the entire guitar surface is uniformly covered with color and free of any visible imperfections. Inspect the surface carefully under good lighting to ensure complete and even coverage.
- Final Sanding (Color Coats): After achieving full color coverage, perform a final sanding with 800 grit sandpaper to ensure the surface is perfectly smooth and ready for the varnish layers.
Phase 3: Applying the Guitar Finish (Varnish/Lacquer)
 pintando una guitarra
The varnish or lacquer coats are what truly bring the guitar finish to life, providing depth, gloss, and crucial protection to the color coats underneath. This phase is critical for the final aesthetic and durability of your painted guitar. We recommend using Nitorlack Lacquer or Nitorlack Golden Age for an authentic nitrocellulose finish.
- Application Technique: Follow the same spraying techniques used for the color coats – consistent distance, thin, even coats, and overlapping strokes.
- Clean and Controlled Environment: Ensure you are working in a clean, dry environment with good ventilation. Avoid high humidity and maintain temperatures between 15°C and 30°C (59°F and 86°F). These conditions are crucial for proper varnish drying and curing. Dust and humidity are the enemies of a perfect finish.
- Protection and Depth: The varnish layers protect the color coats from wear and tear while enhancing the depth and richness of the finish. Each coat builds upon the previous, contributing to the overall gloss and durability.
- Inter-coat Sanding (Varnish): Sand lightly with P800 grit sandpaper between varnish coats to maintain a smooth surface and remove any imperfections.
- Number of Coats: Apply at least 3 to 4 coats of Nitorlack Lacquer Golden Age for optimal protection and a deep, lustrous finish. More coats can be applied for increased depth and durability, but ensure each coat dries adequately.
- Drying Time (Varnish): Allow 12 hours of drying time between varnish coats to ensure proper curing and prevent issues in the final stages. Patience is key in achieving a professional-grade finish.
Phase 4: Optional Final Sanding and Polishing for a Showroom Shine
 5 1
5 1
Even with careful application, minor imperfections like dust specks or slight orange peel texture can sometimes appear in the varnish. While often subtle, for a truly professional, showroom-quality finish, final sanding and polishing are essential.
- Curing Time: Crucially, wait at least 21 days after the last varnish coat before beginning sanding and polishing. This extended curing time ensures the nitrocellulose finish is completely dry and hardened, preventing issues during the polishing process.
- Sanding Progression: Begin with P800 sandpaper and progressively move through P1200, P1500, and P2000 grits. You can sand dry or use a wet sanding technique with water and a drop of soap as a lubricant. Wet sanding helps to minimize dust and provides a smoother sanding action.
- Achieving a Matte Surface: The goal of sanding is to achieve a uniformly matte surface, free of any shiny spots. Shiny areas indicate remaining imperfections. Focus sanding on these areas, being careful not to sand through the varnish layers and reach the color coats.
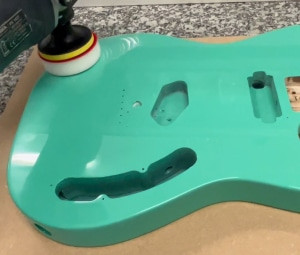
- Polishing – Mirka Polarshine System: Once the surface is completely matte and sanded to P2000 grit, move to the polishing stage. Use Mirka Polarshine 10 with a white polishing sponge to remove the P2000 sanding marks and bring out a high gloss shine.
- Optional Fine Polishing – Mirka Polarshine 5: For an even deeper shine and to eliminate any potential swirl marks or holograms, follow with Mirka Polarshine 5 using a black polishing sponge. This final polishing step will bring the finish to a mirror-like clarity.
- Final Cleaning: Gently clean the polished guitar with a microfiber cloth to remove any polishing residue and reveal the finished, gleaming surface.
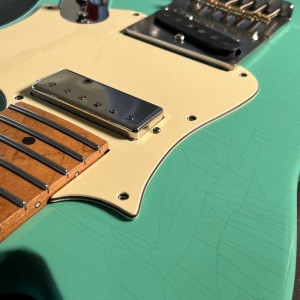
Phase 5: Optional Guitar Aging (Relicing) for a Vintage Look
This phase is entirely optional and depends on your desired aesthetic. Aging or relicing a guitar finish creates a vintage, played-in look, simulating the wear and tear of years of use.
- Pre-aging Damage (Optional): Before inducing cracks, you can simulate “war wounds” by carefully creating small dents or dings in the finish. These will influence the direction of the cracks and add to the realism of the aging process.
- Freezing Technique for Cracking (Crazing): Temperature shock is used to create the characteristic cracks in a nitrocellulose finish. Place the guitar in a freezer at -20°C (-4°F) for 12-24 hours.
- Crack Formation: The cold temperature causes the wood to contract, while the less flexible nitrocellulose finish cracks under the stress.
- Highlighting Cracks: Immediately after removing the guitar from the freezer, the cracks will be most visible and open. Use this opportunity to highlight them. Apply a water-based dye or bitumen of Judea (a dark, asphalt-like substance) with a cloth, working it into the cracks. Quickly wipe away the excess from the surface, leaving the dark stain primarily within the cracks, making them stand out.
- Repeat for More Cracking (Optional): If you desire more extensive cracking, you can repeat the freeze and stain process multiple times to build up the aged effect.
By following these detailed steps, you can confidently paint your guitar and achieve a professional-quality finish. Remember to take your time, be meticulous in each phase, and enjoy the rewarding process of transforming your instrument. For further assistance or specific questions, don’t hesitate to seek personalized support from guitar finishing experts.