
Guitar Inlays are more than just decorative elements on your instrument’s fretboard; they are crucial for visual orientation and contribute significantly to the guitar’s aesthetic appeal. Typically, inlay work is a task best undertaken during a refretting process, before the frets are installed. However, what happens when you decide to upgrade your inlays after your frets are already in place? This was the exact situation faced when a client wanted to replace the trapezoidal inlays on his Les Paul after a recent refret job with stainless steel jumbo frets. While replacing guitar inlays in reverse order presents a unique set of challenges, it’s certainly achievable with patience and the right techniques. This guide will walk you through the process of replacing guitar inlays post-refret, drawing upon a real-world experience to provide practical insights and tips.
The guitar in question initially featured aged, yellowed plastic inlays, a common look for vintage-style instruments.
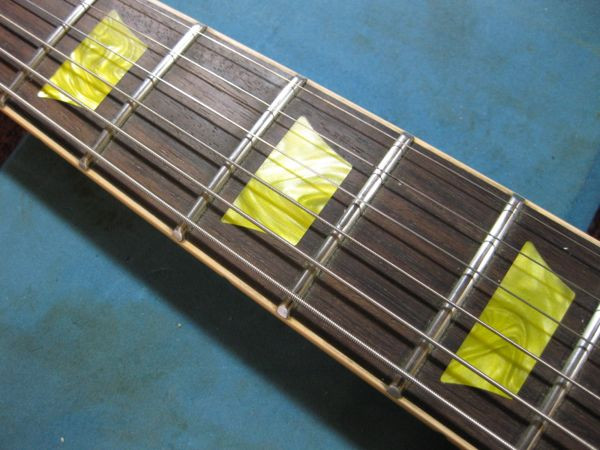 Original plastic inlays on a Les Paul guitar
The goal was to replace these with a set of pearl inlays, offering a classic and elegant upgrade. The first step was to ensure the new pearl inlays were a suitable match in size and shape to the existing routs on the fretboard. A quick visual alignment confirmed they were close enough to work with, setting the stage for the more intricate tasks ahead. Replacing guitar inlays after fretting demands precision and care, as the presence of frets complicates access and increases the risk of damaging the fretboard.
The Challenge of Retrofitting Guitar Inlays
Replacing guitar inlays after the frets are installed is not the conventional approach, and for good reason. Typically, the inlay process is integrated into the guitar building or refretting workflow before frets are in place. When inlays are installed on a bare fretboard, the surface is flat, making routing and leveling much simpler. However, attempting this after fretting introduces several complications:
- Curved Fretboard: Fretboards are radiused, meaning they have a curve across their width. Routing inlay cavities on a curved surface requires more control to avoid uneven depths.
- Obstruction from Frets: The installed frets are now obstacles, limiting access and increasing the chances of accidentally damaging them or the surrounding wood during routing and other procedures.
- Unknown Original Inlay Depth: Without knowing the exact depth of the original inlay cavities, there’s a risk of routing too deep and compromising the fretboard or ending up with inlays that sit too low.
Despite these challenges, with careful planning and execution, a successful guitar inlay replacement is entirely possible. The key is to proceed methodically and cautiously at each step.
Step-by-Step Guide to Replacing Guitar Inlays Post-Refret
This section outlines the process used to replace the trapezoidal inlays, offering a practical guide for tackling a similar project.
1. Removing the Old Guitar Inlays
The first hurdle is removing the existing inlays without damaging the fretboard or the newly installed frets. Since the inlays were firmly glued, lifting them out as a whole piece wasn’t feasible. The chosen method involved carefully routing them out using a Dremel and a small cutting bit.
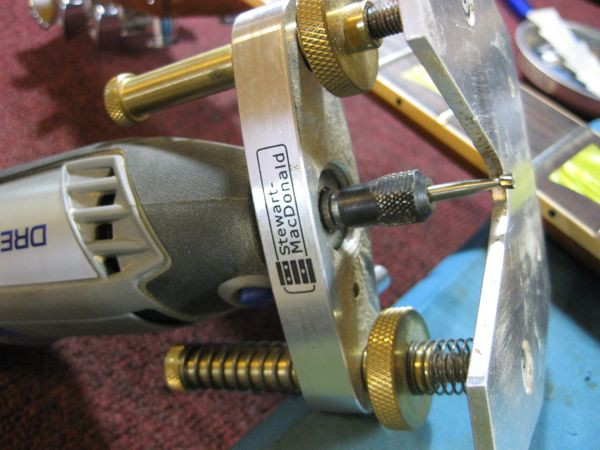 Drilling a pilot hole into the old plastic inlay
To start, a pilot hole was drilled into the center of the plastic inlay, where it was thickest. This exploratory drilling was crucial to gauge the depth. The bit was incrementally lowered in small increments (0.25mm) until the rosewood fretboard was reached. This cautious approach helped in determining the approximate depth of the inlay and avoid over-routing.
 Enlarging the pilot hole for inlay removal
Initially, there was an attempt to lift the inlays out after making the pilot hole, but their strong adhesion made routing the more viable option. It was essential to stay precisely within the lines of the inlay to prevent any damage to the surrounding fretboard. During the routing of the first inlay, a sense of caution led to backing off the initial depth setting, which proved to be a wise decision.
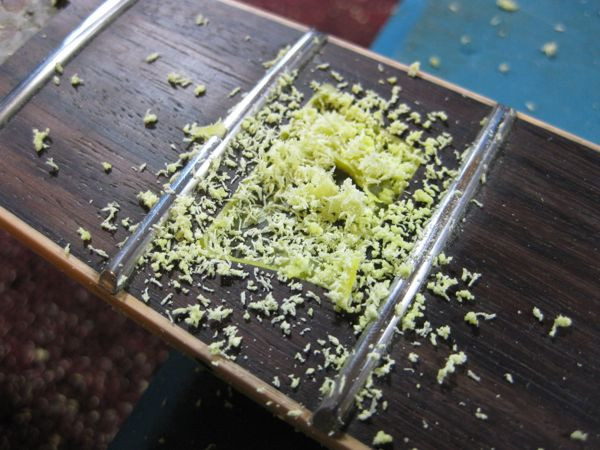 Routing out the old plastic guitar inlay
 Close-up of the routed inlay cavity
Once the first inlay was removed, the actual depth and the amount of glue used became apparent. The plastic inlays were thicker than the replacement pearl inlays (1.9mm vs 1.6mm), and there was nearly 1mm of glue underneath. This discovery highlighted the importance of the exploratory pilot hole in preventing potential over-routing. With the correct depth now accurately measured, removing the remaining inlays became a cleaner and more controlled process.
 Cleaned inlay cavity after removing the old inlay
2. Preparing for the New Inlays: Shimming and Shaping
A challenge arose because the new pearl inlays were thinner than the originals. To compensate for this difference, shims were needed to bring the new inlays to the correct height, level with the fretboard.
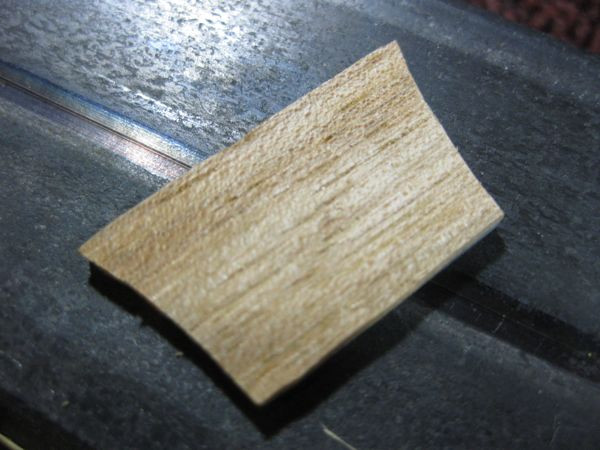 Applying mahogany veneer shims to the back of pearl inlays
Thin mahogany veneer was glued to the back of each pearl inlay and then carefully trimmed to match the inlay shape. After sanding the mahogany shims to the correct thickness, the inlays were at the ideal height, slightly above the fretboard surface for later leveling.
Furthermore, some of the pearl inlays were slightly oversized for the original routs. This required meticulous reshaping of the inlays to ensure a perfect fit. This step demanded patience and precision, as removing too much material would create unsightly gaps. The goal was to achieve a snug fit, as if the inlays were originally crafted for the guitar.
3. Installing and Finishing the New Guitar Inlays
With the cavities prepared and the new inlays shimmed and shaped, the next stage was installation. The pearl inlays were glued into their respective routs. Once the glue had set, black superglue was carefully applied to fill any minor gaps around the edges of the inlays. This black filler not only provided a clean, professional look but also helped to secure the inlays firmly in place.
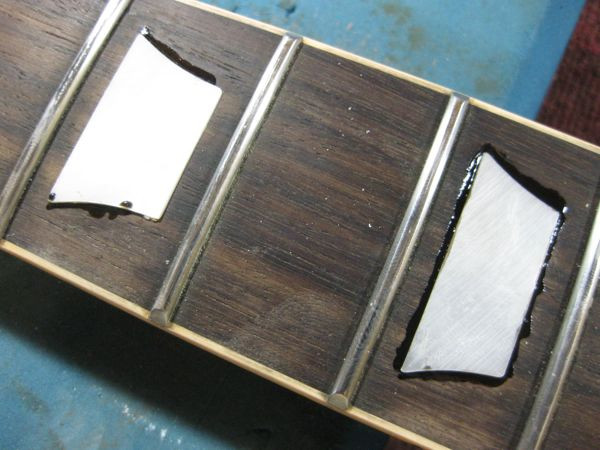 Filling gaps around the new inlays with black superglue
The inlays were intentionally left slightly proud of the fretboard surface. In a standard inlay job done before fretting, these would be leveled during the fretboard planing and radiusing. However, with the frets already installed, hand-filing and sanding became necessary.
 Close-up showing inlays slightly above the fretboard surface
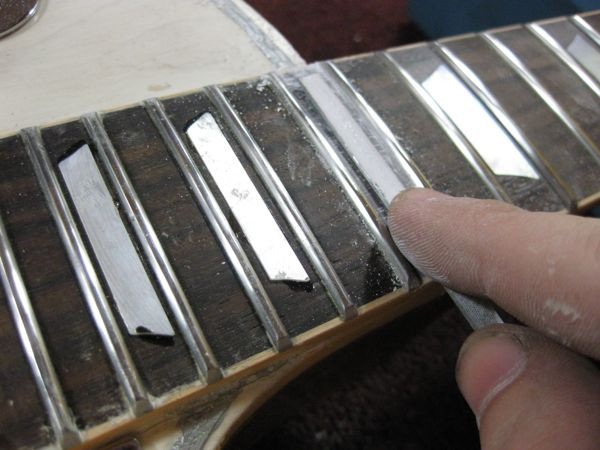
Each inlay was carefully filed down to be level with the fretboard and to match the fretboard’s radius. This process required a series of files, followed by progressively finer grits of sandpaper and finally, polishing with ultrafine Scotch Brite pads. The result needed to be perfectly smooth to the touch, ensuring comfortable playability.
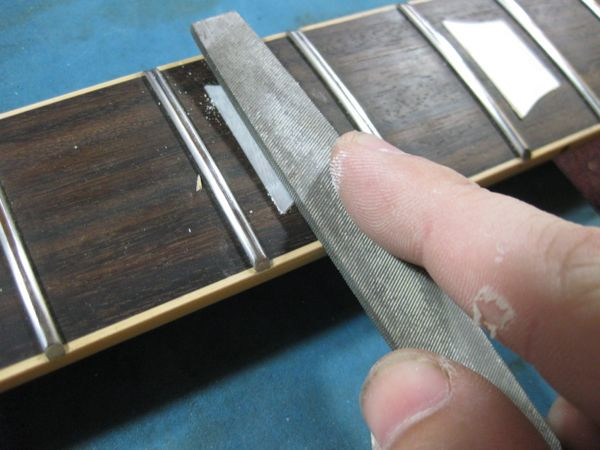 Filing down the new pearl guitar inlays
 Sanding and polishing the inlays to a smooth finish
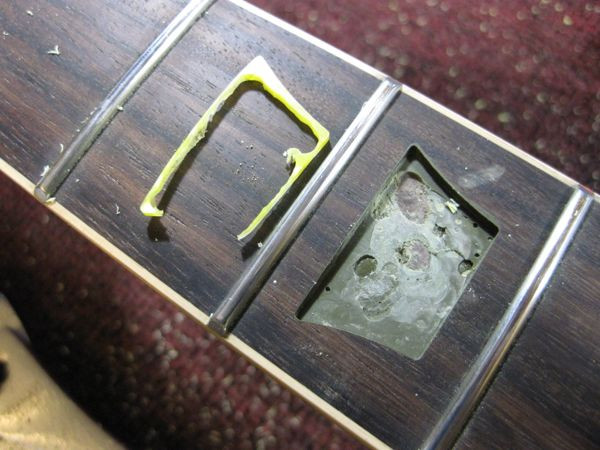
After the initial leveling and polishing, cleaning and oiling the fretboard revealed minor imperfections. Pearl dust trapped in air pockets within the black superglue filler appeared around a few inlays.
 Pearl dust visible in the superglue filler after initial finishing
To achieve a flawless finish, these imperfections were meticulously cleaned out with a razor blade, refilled with black superglue, and then re-sanded and polished. This extra attention to detail ensured a truly professional result.
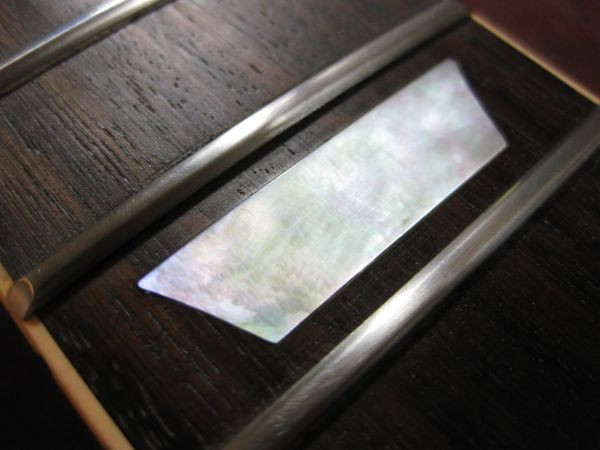
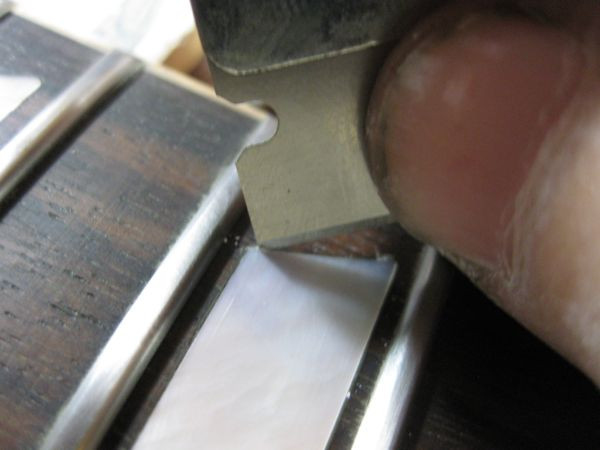 Final polished inlay with clean superglue filling
Final Outcome and Key Takeaways
The completed inlay replacement transformed the look of the Les Paul, giving it a refreshed and upgraded aesthetic. The pearl inlays provided a striking contrast against the dark rosewood fretboard and offered a smooth, seamless feel under the fingers.
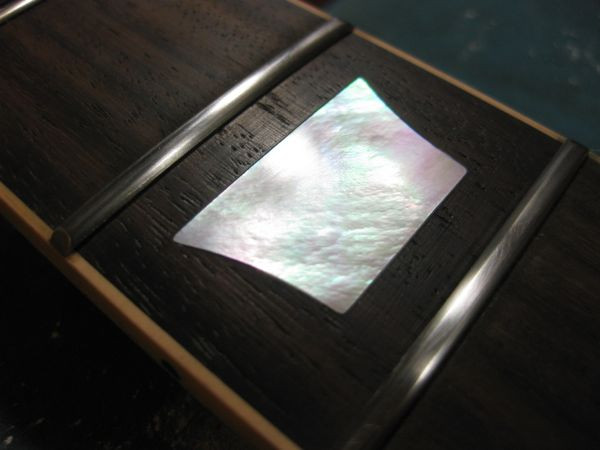 Finished guitar fretboard with new pearl trapezoid inlays
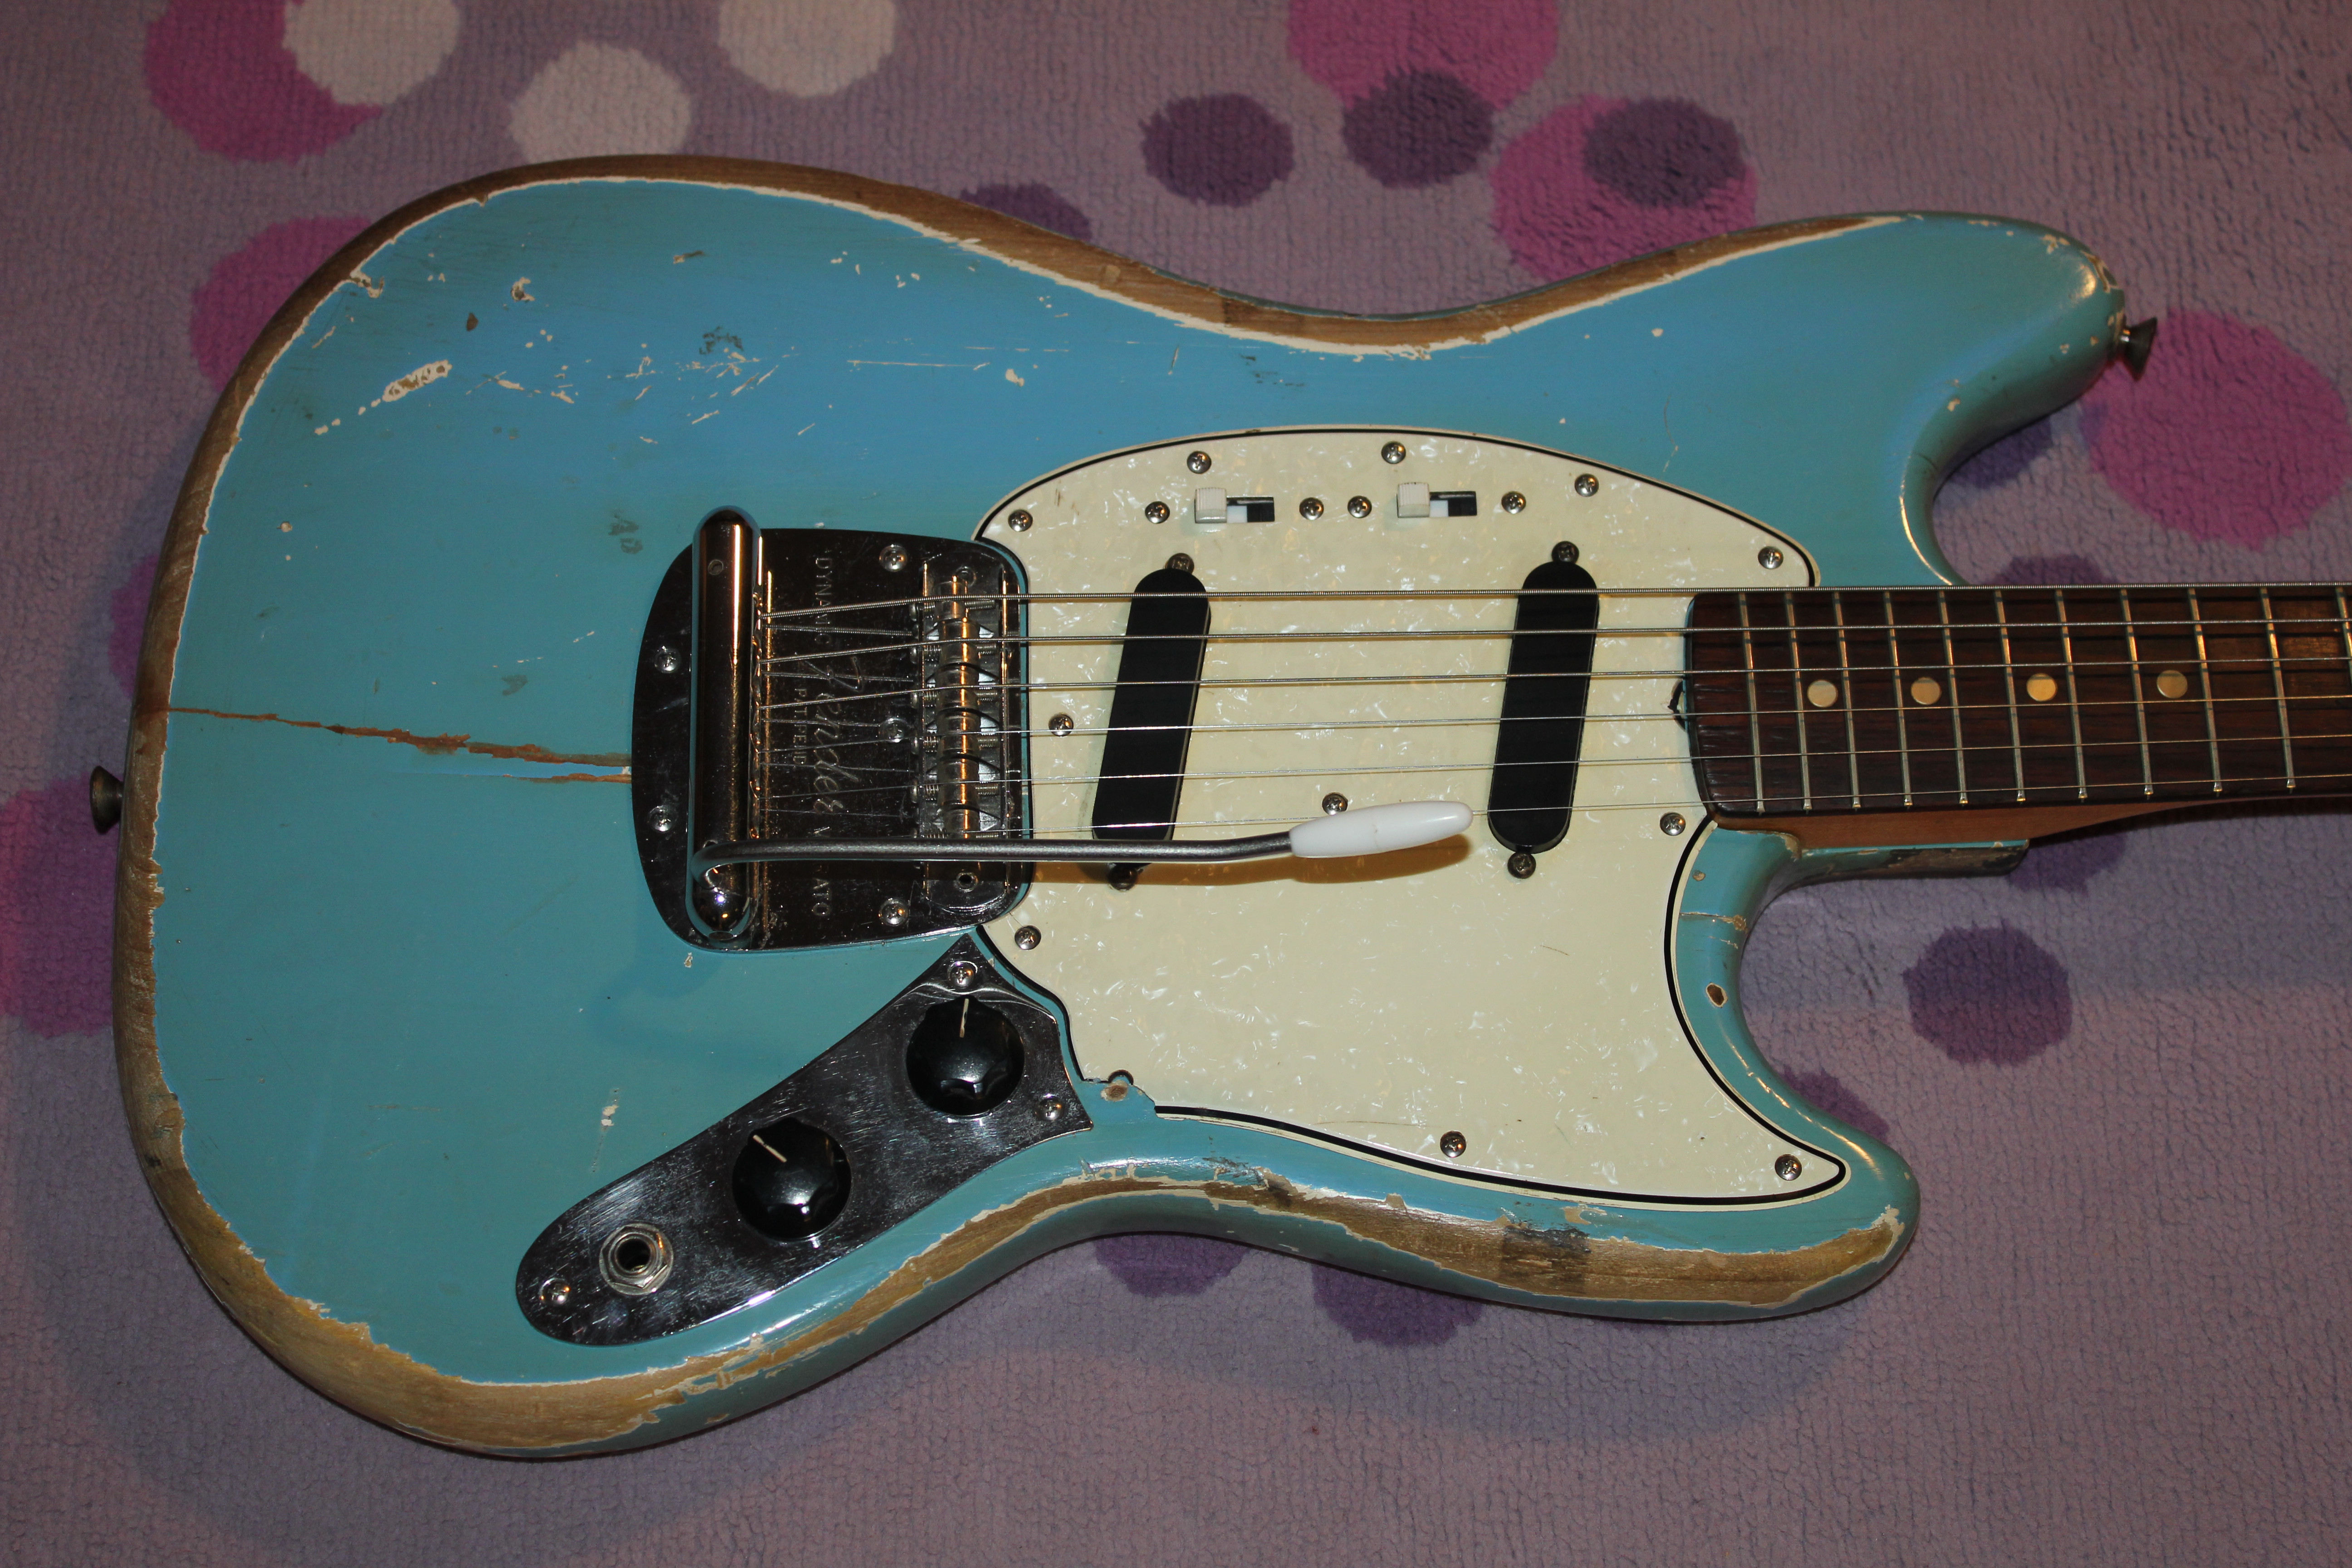
 Full view of the Les Paul headstock and fretboard with upgraded inlays
Replacing guitar inlays after a refret is undoubtedly more challenging than doing it in the conventional order. However, by employing careful techniques, taking precise measurements, and prioritizing patience, it is possible to achieve excellent results. This project underscores the adaptability required in guitar repair and customization, proving that even “bass-ackwards” approaches can lead to successful and visually stunning outcomes. Whether you are upgrading for aesthetic reasons or restoring a vintage instrument, understanding the process of guitar inlay replacement is a valuable skill for any guitar enthusiast or luthier.