Turning a photograph into a precise Computer-Aided Design (CAD) drawing is a valuable skill for guitar builders, designers, and anyone interested in replicating or modifying guitar shapes. This guide will walk you through the process of creating accurate Guitar Drawings from photos using free and accessible software: Inkscape and NanoCAD. Whether you’re aiming to recreate a vintage model or design your own custom instrument, starting with a photo and converting it to CAD is an efficient and effective method.
The first crucial step is to secure the right photographic resources. High-quality photos are paramount for achieving accurate guitar drawings. Ideally, you’ll want images where the guitar is positioned as perpendicularly to the camera lens as possible. This minimizes perspective distortion, which can skew your final drawing. Avoid photos where the guitar is tilted backward, forward, or to the sides.
Contrast is another key factor in photo selection. Images with strong contrast between the guitar body and the background, as well as between the body and elements like the pickguard or control plates, will yield the best results when tracing. Furthermore, aim for photos that capture the entire guitar, or at the very least, include the 12th fret. This fret position is a critical reference point for scaling and accuracy.
Sourcing images for common guitar models is usually straightforward. However, if you’re working with a less common or vintage instrument, you might need to dedicate some time to searching online archives, forums, or even contacting owners directly. In some cases, you may need to compromise and work with the best available images, even if they aren’t perfectly ideal. While multiple photos can be beneficial, a single, well-chosen photograph can be sufficient to create detailed guitar drawings.
For this tutorial, we will use a Fender Meteora as an example. This model offers a good balance of readily available photos and a unique shape that’s interesting to work with, and provides a great subject for creating detailed guitar drawings.
-
Launch Inkscape and Import Your Photo
Begin by opening Inkscape, a free and powerful vector graphics editor. Once Inkscape is running, drag and drop your chosen guitar photo directly into the Inkscape window. An import dialog box will appear; accept the default settings and click “OK”.
-
Orient and Align Your Image
If necessary, rotate the imported image so that the centerline of the guitar is horizontally aligned. This horizontal orientation will simplify the subsequent steps.
-
Establish a Horizontal Reference Line
Next, create a straight horizontal line using the Bézier curves and straight lines tool (or by pressing
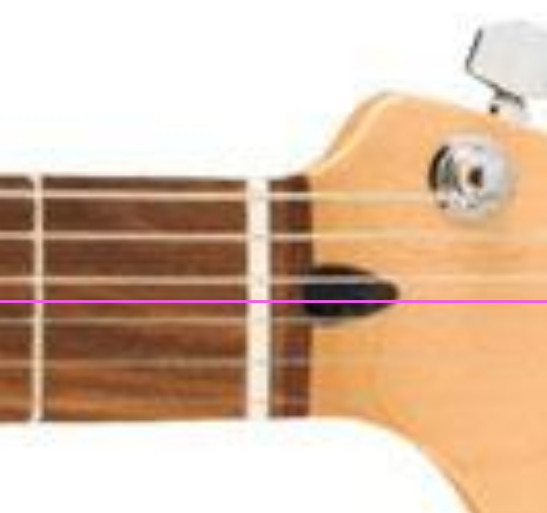
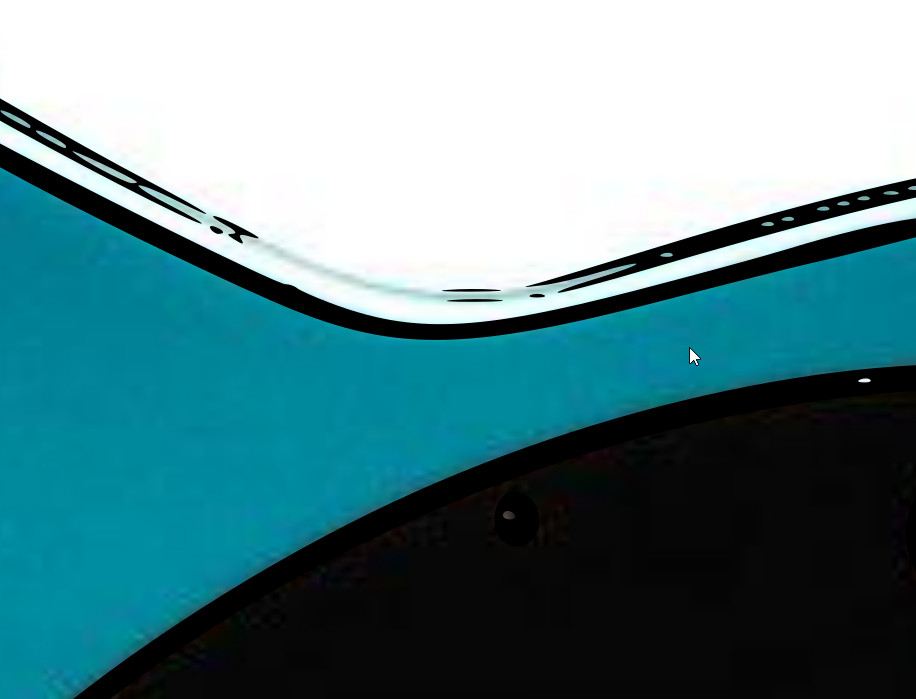
B). Make this line longer than the guitar image and choose a bright color for visibility against the photo. Position this line so that it is precisely centered between the D and G strings at the bridge of the guitar in your photo. Zoom in closely to ensure maximum accuracy in this alignment. This horizontal line serves as a crucial reference for maintaining the guitar’s axis throughout the drawing process.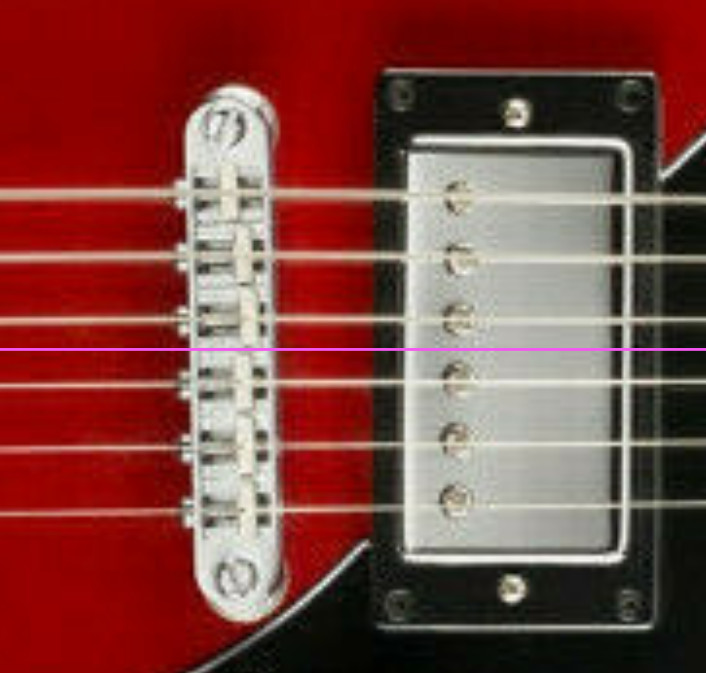 Image
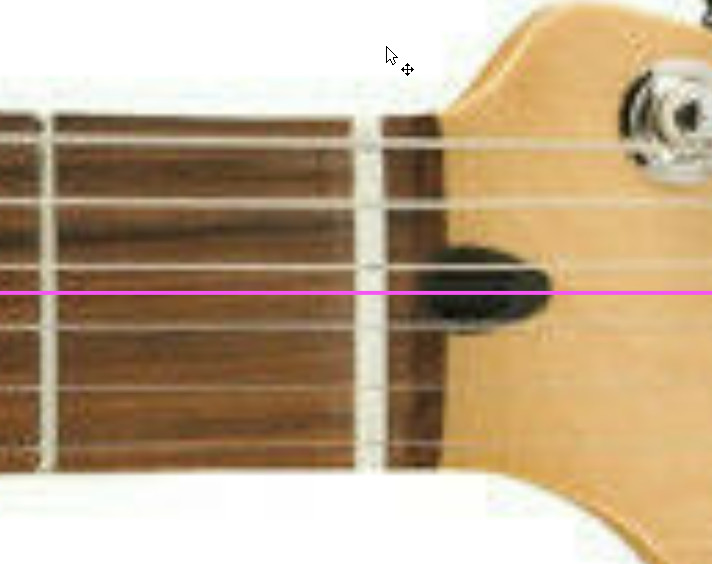
ImageAfter aligning at the bridge, zoom in on the nut of the guitar in the photo. Ideally, the horizontal line should also be centered between the strings at the nut. If it isn’t perfectly centered at the nut, minor adjustments to the image rotation might be needed.
 Image
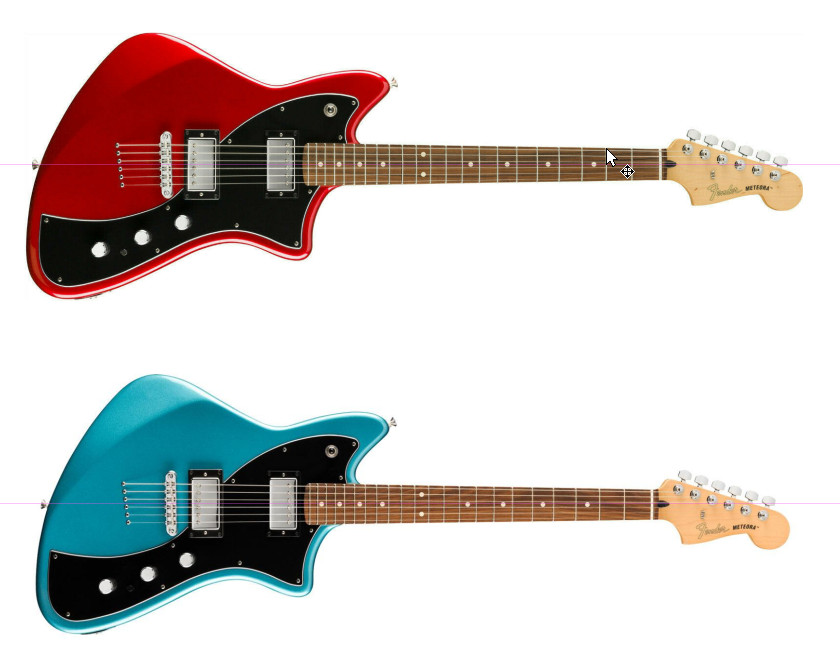
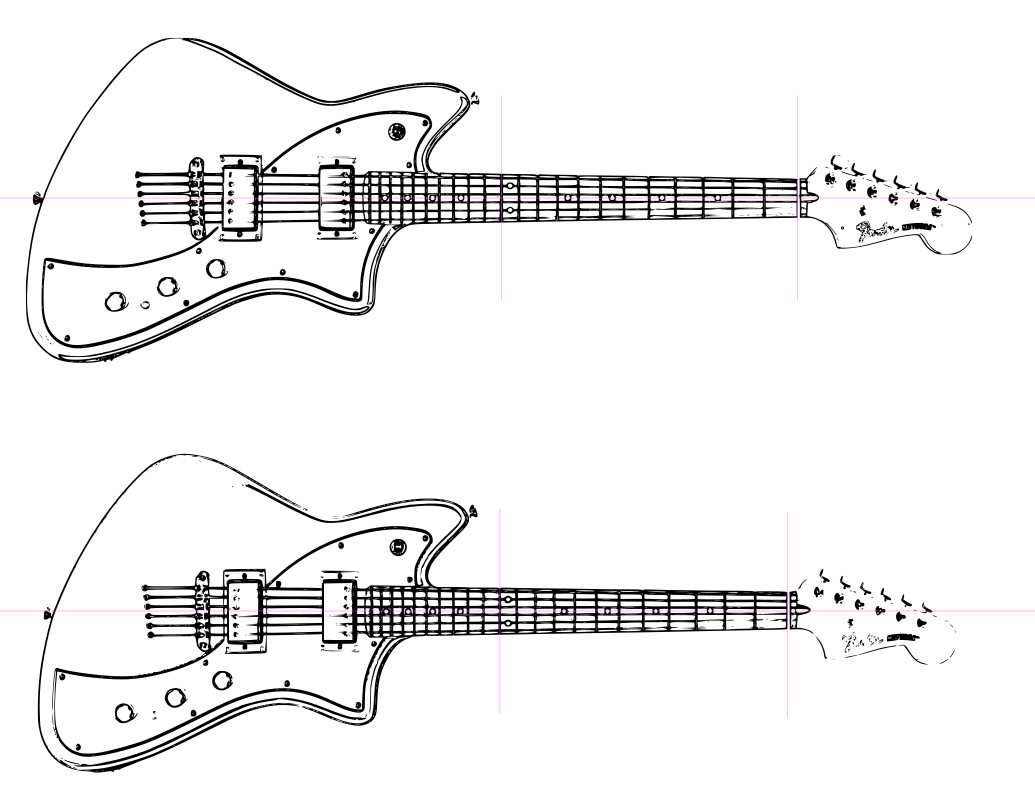
ImageIn some cases, you might be working with multiple photos. Here are two photos of guitars from the same source:
 Image
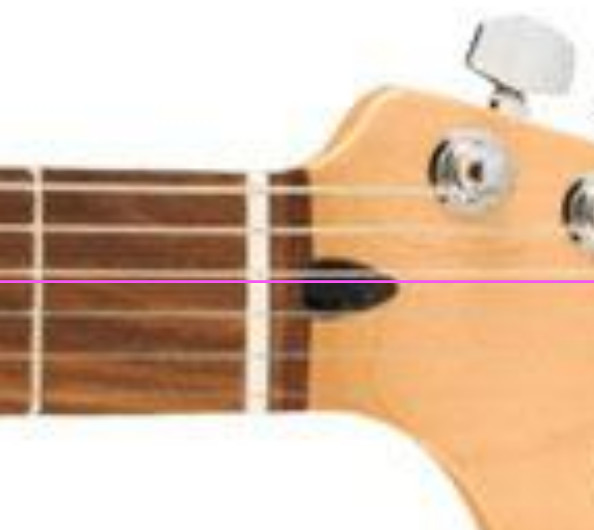
ImageHowever, slight variations might exist even between photos of the same model. Observe the nut alignment in this blue guitar photo:
 Image
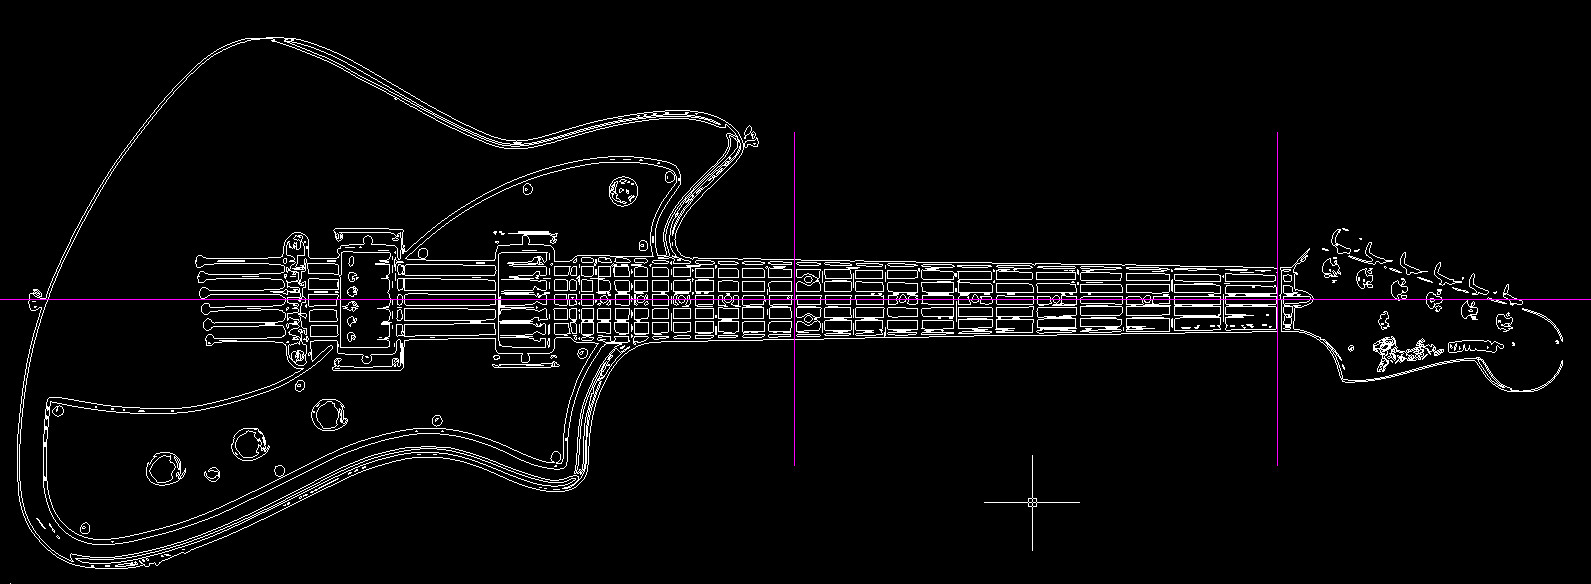
ImageAfter a minor rotation adjustment (in this case, 0.2 degrees) and confirming the bridge alignment, the nut alignment should also be corrected.
 Image
Image -
Create Vertical Scaling Lines
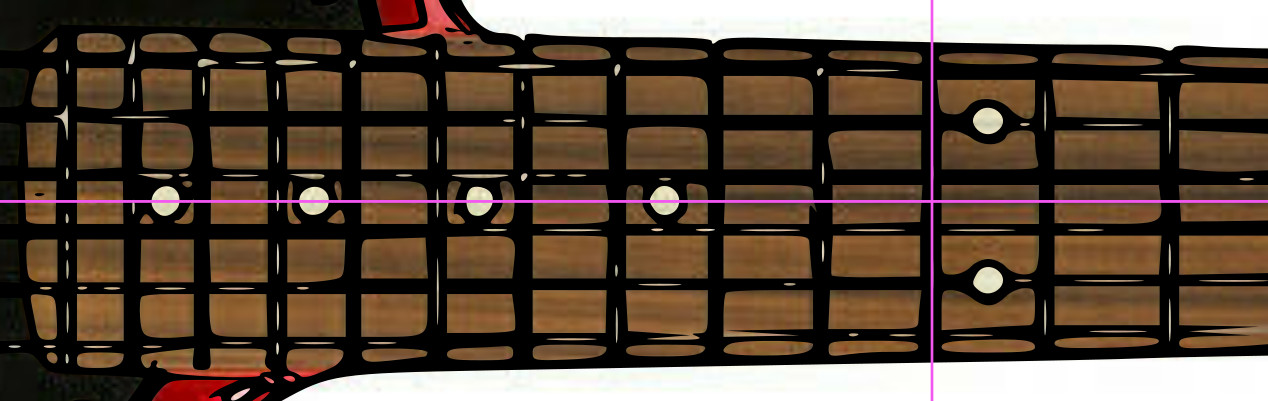
Now, create a vertical line using the same Bézier tool. Position this vertical line precisely over the 12th fret of the guitar in your image. Duplicate this vertical line (Ctrl+D) and move the copy to align with the edge of the nut. The distance between these two vertical lines represents the 0-12 fret scale length, a critical dimension for accurately scaling your guitar drawings later on.
 Image
Image -
Trace the Bitmap Image
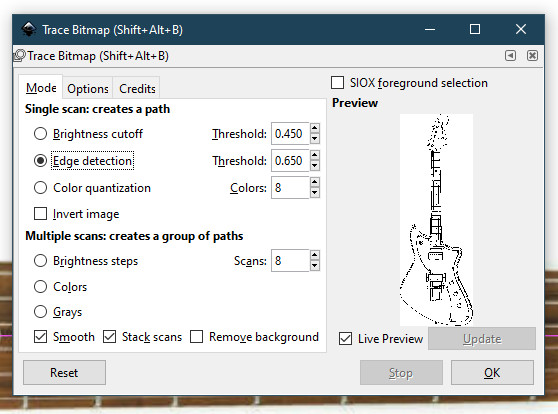
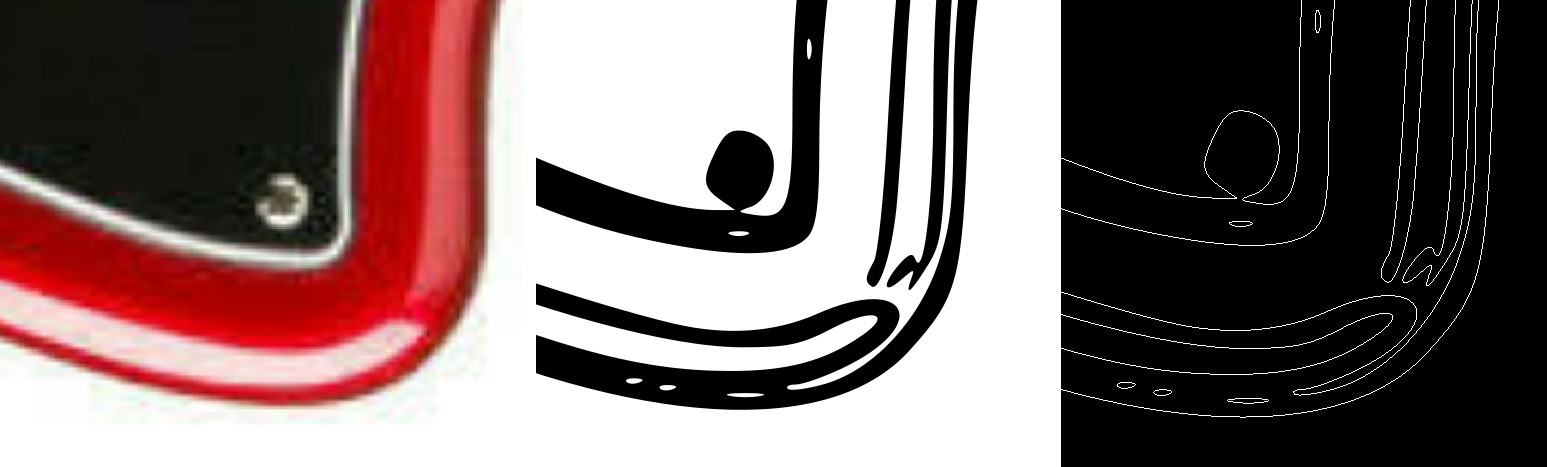
This is where the magic happens. Select your guitar image. Navigate to the “Path” menu in Inkscape’s top menu bar and choose “Trace Bitmap…”. In the Trace Bitmap dialog box, set the “Mode” to “Edge Detection.” Leave the “Threshold” at its default setting for now. Check the “Live Preview” box to see a real-time preview of the tracing result.
 Image
ImageClick “OK” to execute the bitmap tracing. Inkscape will analyze the image and generate a vector outline based on edge detection. You’ll see a vector-based rendition of your guitar overlaid on the original photo, often resembling a comic book style outline. This vector outline is the foundation of your guitar drawings.
 Image
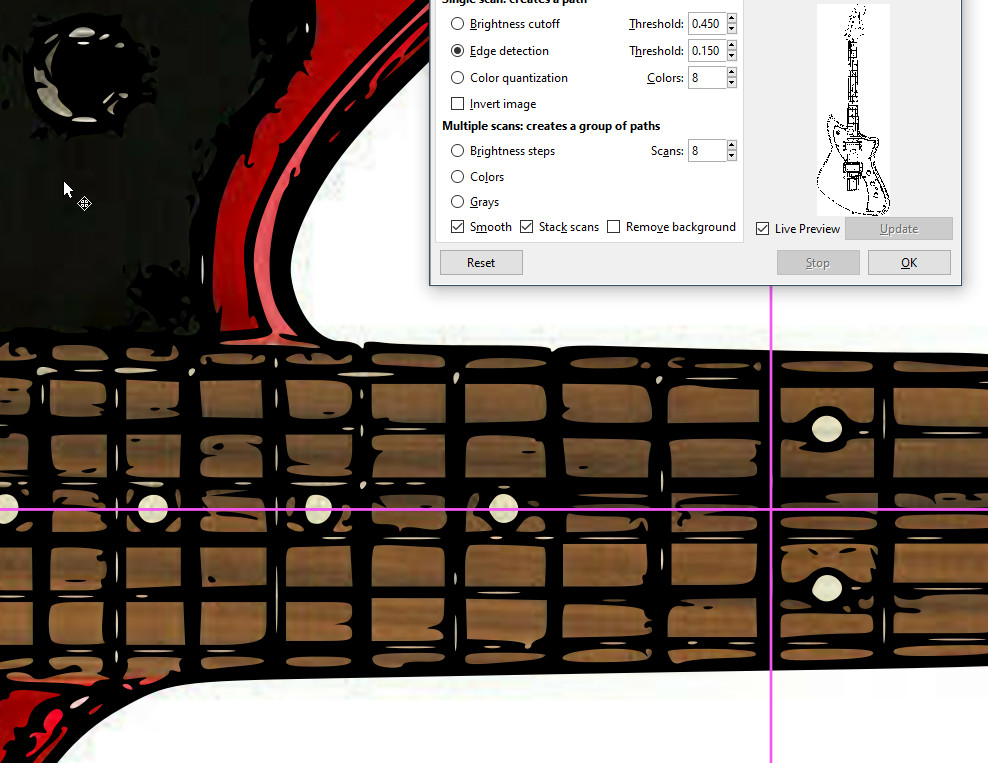
ImageIf the initial tracing isn’t perfect, don’t worry. You can undo the tracing (Ctrl+Z) and adjust the “Threshold” setting in the Trace Bitmap dialog. Lowering the threshold can result in more jagged lines but might capture finer details. Increasing the threshold can smooth lines but might miss some edges. Experiment with different threshold values and observe the “Live Preview” until you achieve the cleanest and most complete outline possible.
Remember, Inkscape is analyzing contrast, not recognizing a guitar. It will trace edges of reflections, hardware, and shadows, in addition to the body and pickguard outlines. The most crucial elements for your guitar drawings are the body outline, pickguard outline, and the positions of control knobs and other hardware.
Here are examples of tracing results with suboptimal threshold settings:
 Image
Image Image
ImageAim for a balanced threshold that yields smooth and complete lines around the guitar body, pickguard, and other key features. Different photos will require slightly different threshold adjustments to achieve the best balance.
In the example below, using the same settings that worked well for the red guitar image, a section of the body perimeter is missing on the blue guitar image due to a strong reflection and low contrast in that area.
 Image
ImageIt can be beneficial to keep multiple tracings, even imperfect ones, as different tracings might capture different details better. Having more information to work with can be advantageous in the refinement stage of creating guitar drawings.
-
Export to DXF and Open in NanoCAD
At this stage, you can delete the original photo images from your Inkscape document to declutter your workspace. Save your Inkscape file as a DXF (.dxf) file. DXF is a drawing exchange format compatible with many CAD programs.
 Image
ImageNow, open NanoCAD, a free 2D CAD software, and open the DXF file you just saved. Your traced guitar drawings will appear in NanoCAD.
 Image
ImageHere’s a side-by-side comparison showing the original photo, the tracing in Inkscape, and the imported drawing in NanoCAD:
 Image
ImageRemember to save your work in NanoCAD’s native DWG format and delete the DXF file to keep your project organized.
The drawing at this stage is a raw tracing and will require cleanup and refinement in NanoCAD. This crucial next step, where we refine the traced lines, ensure accuracy, and prepare the drawing for guitar design or building, will be covered in the next part of this guide. Stay tuned to learn how to transform this traced outline into polished and precise guitar drawings ready for your next project!