
Are you itching to shred some virtual tunes on Guitar Hero Arcade but struggling to get your trusty RB1 or GH guitar controller working on your PC? You’re not alone! Many Guitar Hero enthusiasts have faced the challenge of setting up this arcade classic for home play. Navigating fragmented forums and scattered information can be frustrating.
This guide is designed to streamline the process, providing a clear, step-by-step walkthrough to get Guitar Hero Arcade running smoothly with your RedOctane RB1 guitar (model 822151) and Guitar Hero guitar (model 95893.805). Let’s dive in and get you rocking!
What You Need to Get Started
Before we begin, you’ll need to download a few essential files. These tools will ensure the game runs correctly and recognizes your guitar controller.
-
Guitar Hero Arcade Game Files (with Patches): This download includes the base game, crucial patches for stability and enhanced features like freeplay and unlocked content.
- Download Mohkers’ Dump for GH Arcade (Password: MOHKERZ)
-
x360ce Controller Emulator: This tool is vital for mapping your Guitar Hero guitar controller to be recognized as an Xbox 360 controller by the game. This package comes pre-configured for RB1 and GH guitars, but we’ll also cover manual setup.
Step-by-Step Guide to Setting Up Guitar Hero Arcade
Follow these steps carefully to configure Guitar Hero Arcade and your guitar controller for optimal performance.
1. Extract and Patch Game Files
- Download the “Mohkers’ dump for GH Arcade” and extract the contents to your desired location on your PC. This will be your main Guitar Hero Arcade game folder.
- Inside the downloaded archive, you’ll find a “patch” folder. Navigate to this folder and copy all the files within it.
- Paste these copied files directly into your main Guitar Hero Arcade game folder, replacing any existing files when prompted. This applies the necessary patches for crash fixes, freeplay mode, and unlocking all content.
2. Configure Executable Compatibility
To ensure the game runs smoothly and avoids common issues, we need to adjust the compatibility settings for the game’s executable files.
- Locate “GHA_LAUNCHER_v1_admin.exe” in your Guitar Hero Arcade game folder.
- Right-click on “GHA_LAUNCHER_v1_admin.exe” and select “Properties” from the context menu.
- Go to the “Compatibility” tab in the Properties window.
- Check the boxes next to:
- “Disable full-screen optimizations”
- “Run this program as an administrator”
- Click “Apply” and then “OK”.
- Repeat these exact steps for “GHA.exe”, also located in the main game folder.
3. Set Your Screen Resolution
Guitar Hero Arcade needs to be configured for your monitor’s resolution. This is done by editing the “AspyrConfig.xml” file.
- Open “AspyrConfig.xml” with Notepad (or any text editor). This file is located in your Guitar Hero Arcade game folder.
- Look for the lines
<ScreenWidth>and<ScreenHeight>. - Modify the values between these tags to match your screen resolution. For example, for a 2560 x 1440 monitor, you would change them to:
<ScreenWidth>2560</ScreenWidth> <ScreenHeight>1440</ScreenHeight> - Save the “AspyrConfig.xml” file and close Notepad.
4. Configure x360ce for Guitar Controller Input
Now, we’ll set up x360ce to recognize your Guitar Hero guitar as a compatible controller.
- Backup Original xinput1_3.dll: Before proceeding, locate “xinput1_3.dll” in your Guitar Hero Arcade game folder and rename it to something like “xinput1_3.dll.bak”. This creates a backup of the original file in case you need to revert changes.
- Extract x360ce Files: Download the “x360ce_GHA.rar” file and extract its contents.
- Copy x360ce Files to Game Folder: Copy all the extracted files (including “x360ce.exe”, “x360.ini”, and “xinput1_3.dll”) into your Guitar Hero Arcade game folder.
- Run x360ce.exe: Double-click “x360ce.exe” to launch the controller emulator.
- Plug in Guitar Dongle: Connect your RedOctane RB1 or Guitar Hero guitar dongle to your PC’s USB port. Ensure your guitar is powered on.
- Initial Device Detection: x360ce should detect your guitar controller. If a “New Device Detected” window appears, click “Next” and then “Finish” to proceed with automatic configuration. It may also automatically load the provided configuration.
5. Verify or Manually Configure x360ce Settings
The downloaded x360ce package includes a pre-configured “x360.ini” file designed for RB1 and GH guitars. Let’s verify if these settings are correctly loaded.
-
In x360ce, go to the “General” tab. You should see an Xbox 360 Controller configuration displayed. Check if the button mappings are similar to the screenshot below. If they are, you can likely skip to step 7.
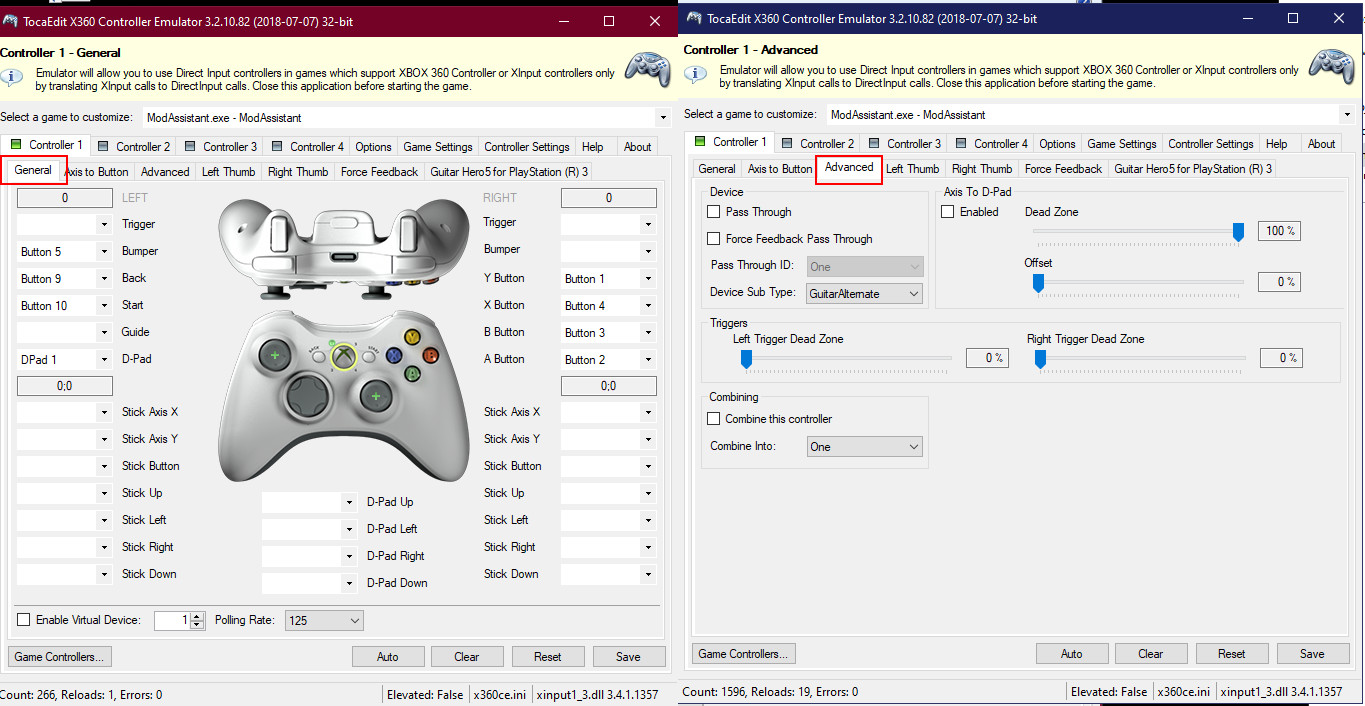 x360ce Controller Configuration for Guitar Hero Arcade
Alt text: Screenshot of x360ce General tab showing controller configuration for Guitar Hero Arcade with button mappings for Left bumper (Orange), Back (Select/Star Power), Start (Start), D-pad (DPad 1), Y Button (Yellow), X Button (Blue), B Button (Red), A Button (Green), and Stick Axis X (Whammy).
-
Manual Configuration (If Auto-Configuration Fails): If the settings are not loaded or your guitar is not responding correctly, you may need to manually configure x360ce.
-
Close x360ce.
-
Delete “x360.ini” and “xinput1_3.dll” from your Guitar Hero Arcade game folder.
-
Relaunch “x360ce.exe”.
-
If prompted to create a new DLL, click “Create”.
-
Plug in your guitar dongle again.
-
In the “General” tab, click “Auto” at the bottom of the window. Click “Yes” on the prompt. This will attempt to automatically configure the controller.
-
If automatic configuration is still not ideal, click “Clear” at the bottom to reset all mappings.
-
Manually input the following settings by selecting the corresponding input from the dropdown menus for each control:
General Settings:
- Left Bumper: Orange Fret
- Back: Select/Star Power Button
- Start: Start Button
- D-pad: DPad 1
- Y Button: Yellow Fret
- X Button: Blue Fret
- B Button: Red Fret
- A Button: Green Fret
- Stick Axis X: Whammy Bar (You may need to find the correct axis by testing different options while moving the whammy bar)
Advanced Settings:
- Device Sub Type: Guitar/Alternate
-
6. Save and Launch Guitar Hero Arcade
- Once you have verified or manually configured the settings in x360ce, click “Save” to save the configuration.
- Close x360ce.
- Launch Guitar Hero Arcade by running “GHA_LAUNCHER_v1_admin.exe”.
7. In-Game Controls and Notes
- Test Menu: In the game, the Blue fret button will open the test menu (debug menu).
- Start Game: To start the game and bypass the test menu, press and hold the Green and Orange fret buttons simultaneously, then press the Blue fret button. This combination acts as the Start button in the game.
- Continue After Song: Note that the start combination may not work for selecting “Continue” after a song.
- Glitches: Be aware of these known glitches:
- Selecting “Multiplayer” in the main debug menu will freeze the game.
- Exiting the audio calibration menu can cause the game to crash.
- Mashing the start button after a song might lead to a glitched waiting screen.
- Accessing the guitar store in career mode will freeze the game.
- Letting the timer run out in career mode can crash the game.
- The whammy bar might appear to be partially engaged even when not in use (this may be an x360ce or game-specific issue).
Get Ready to Rock!
By following these steps, you should now have Guitar Hero Arcade up and running on your PC with your RB1 or GH guitar controller. While there are a few minor glitches to be aware of, you can now enjoy the arcade experience at home. Plug in, tune up, and become a Guitar Hero Arcade legend!